¶ Unboxing Video
¶ Graphic and Text Instructions
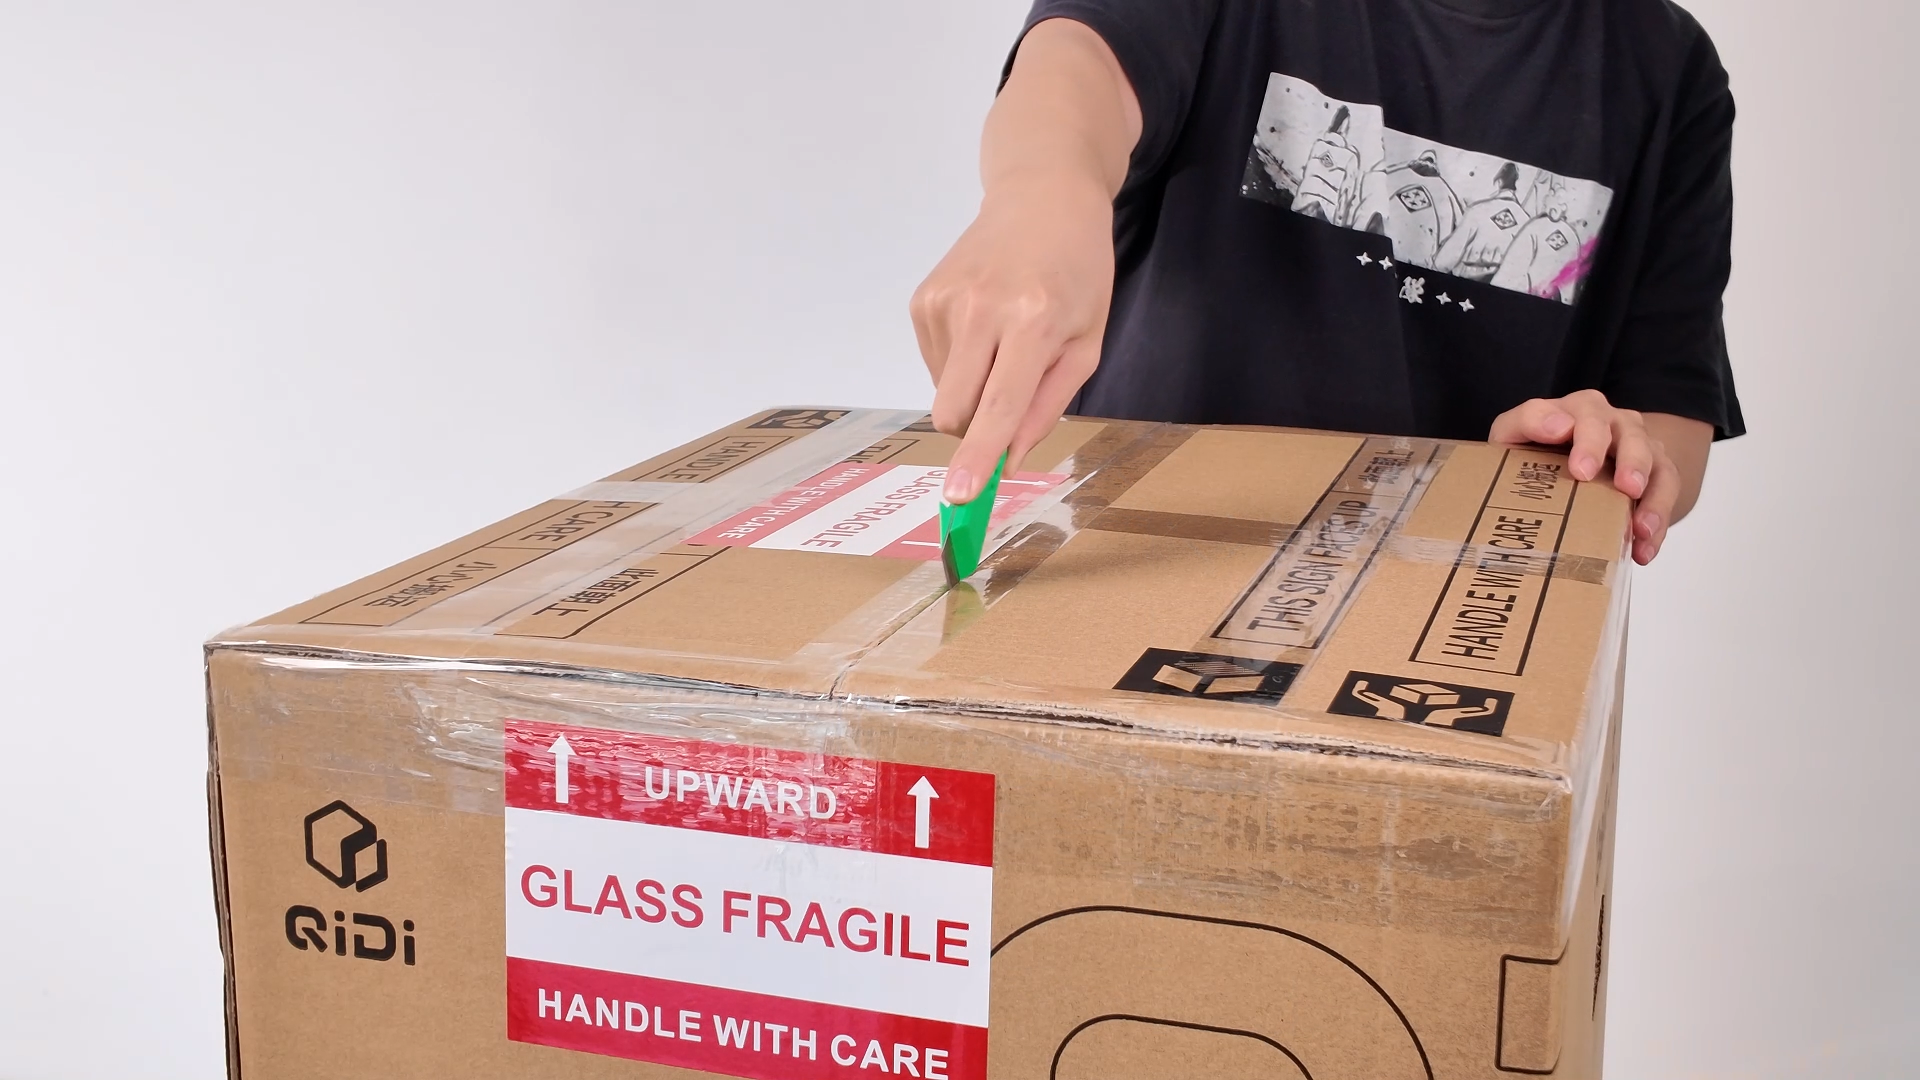
¶ Open the Cardboard Box
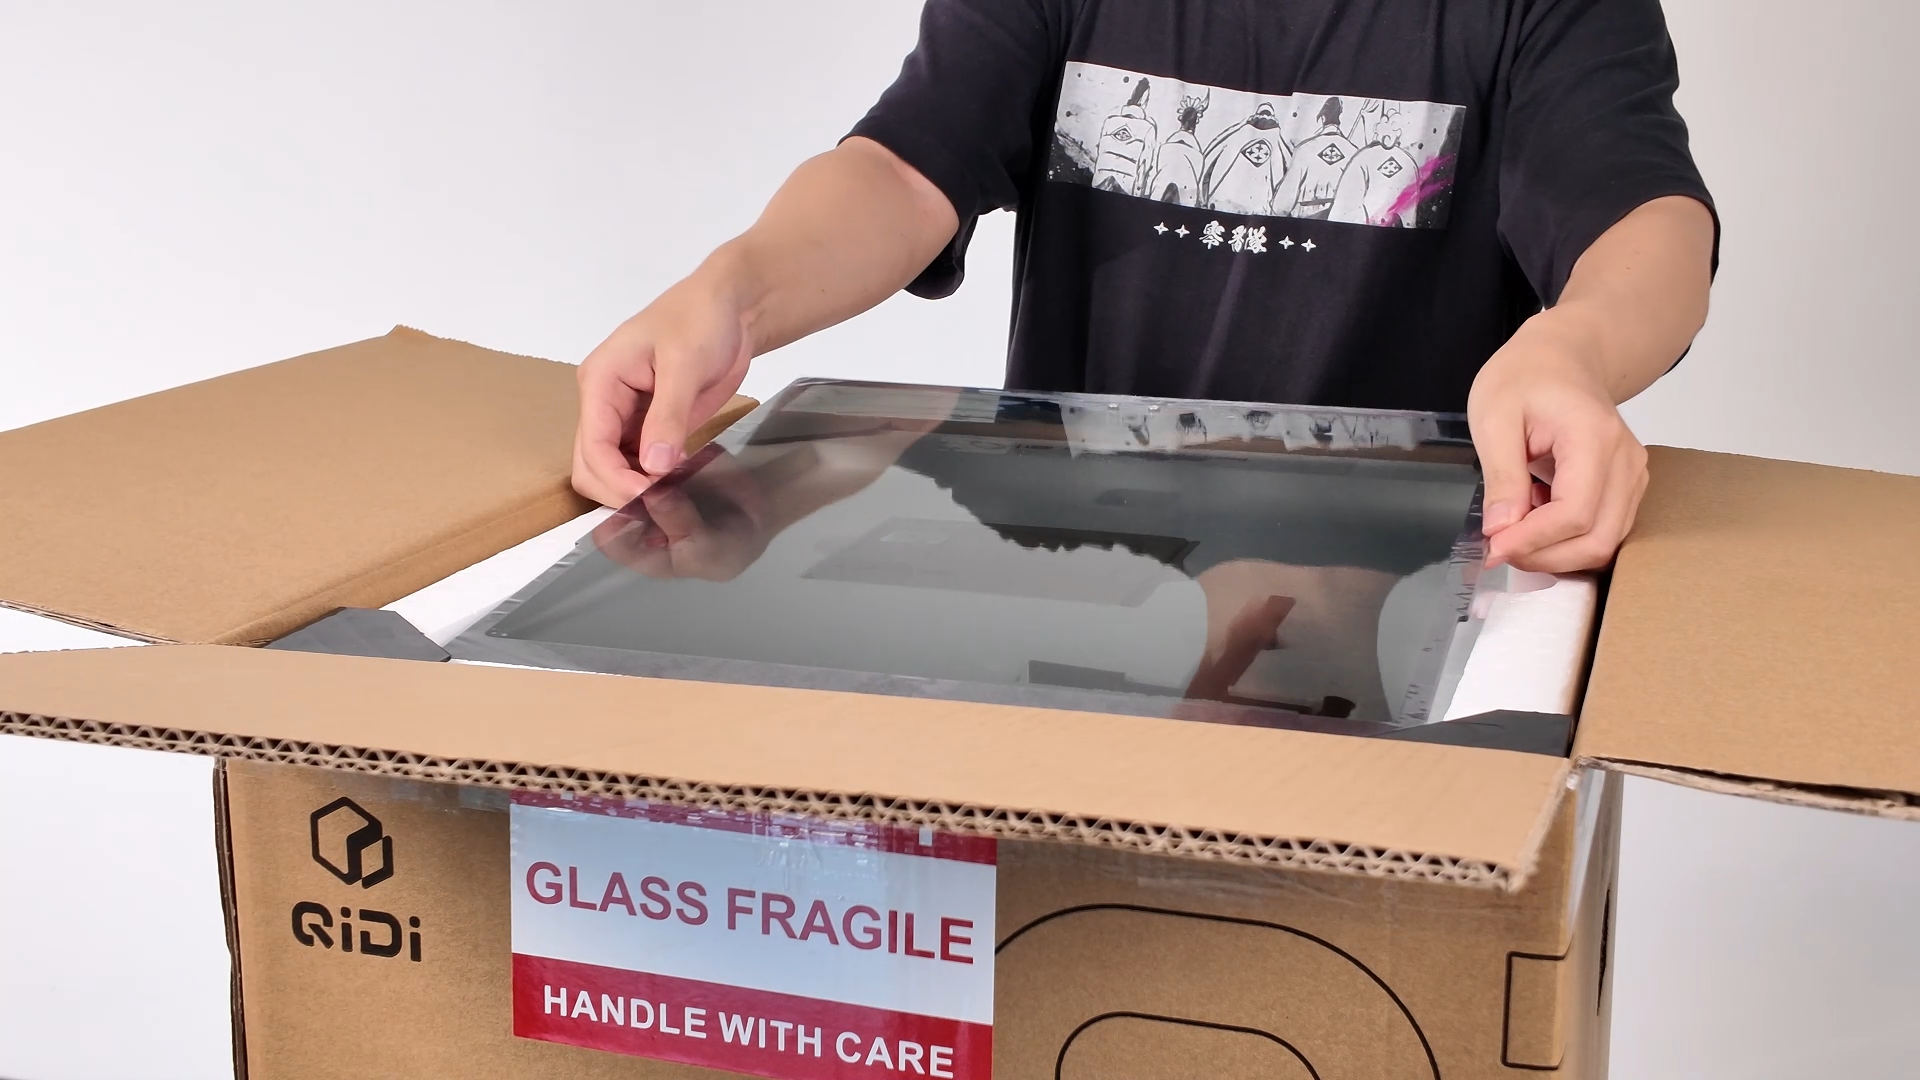
¶ Remove the Top Cover
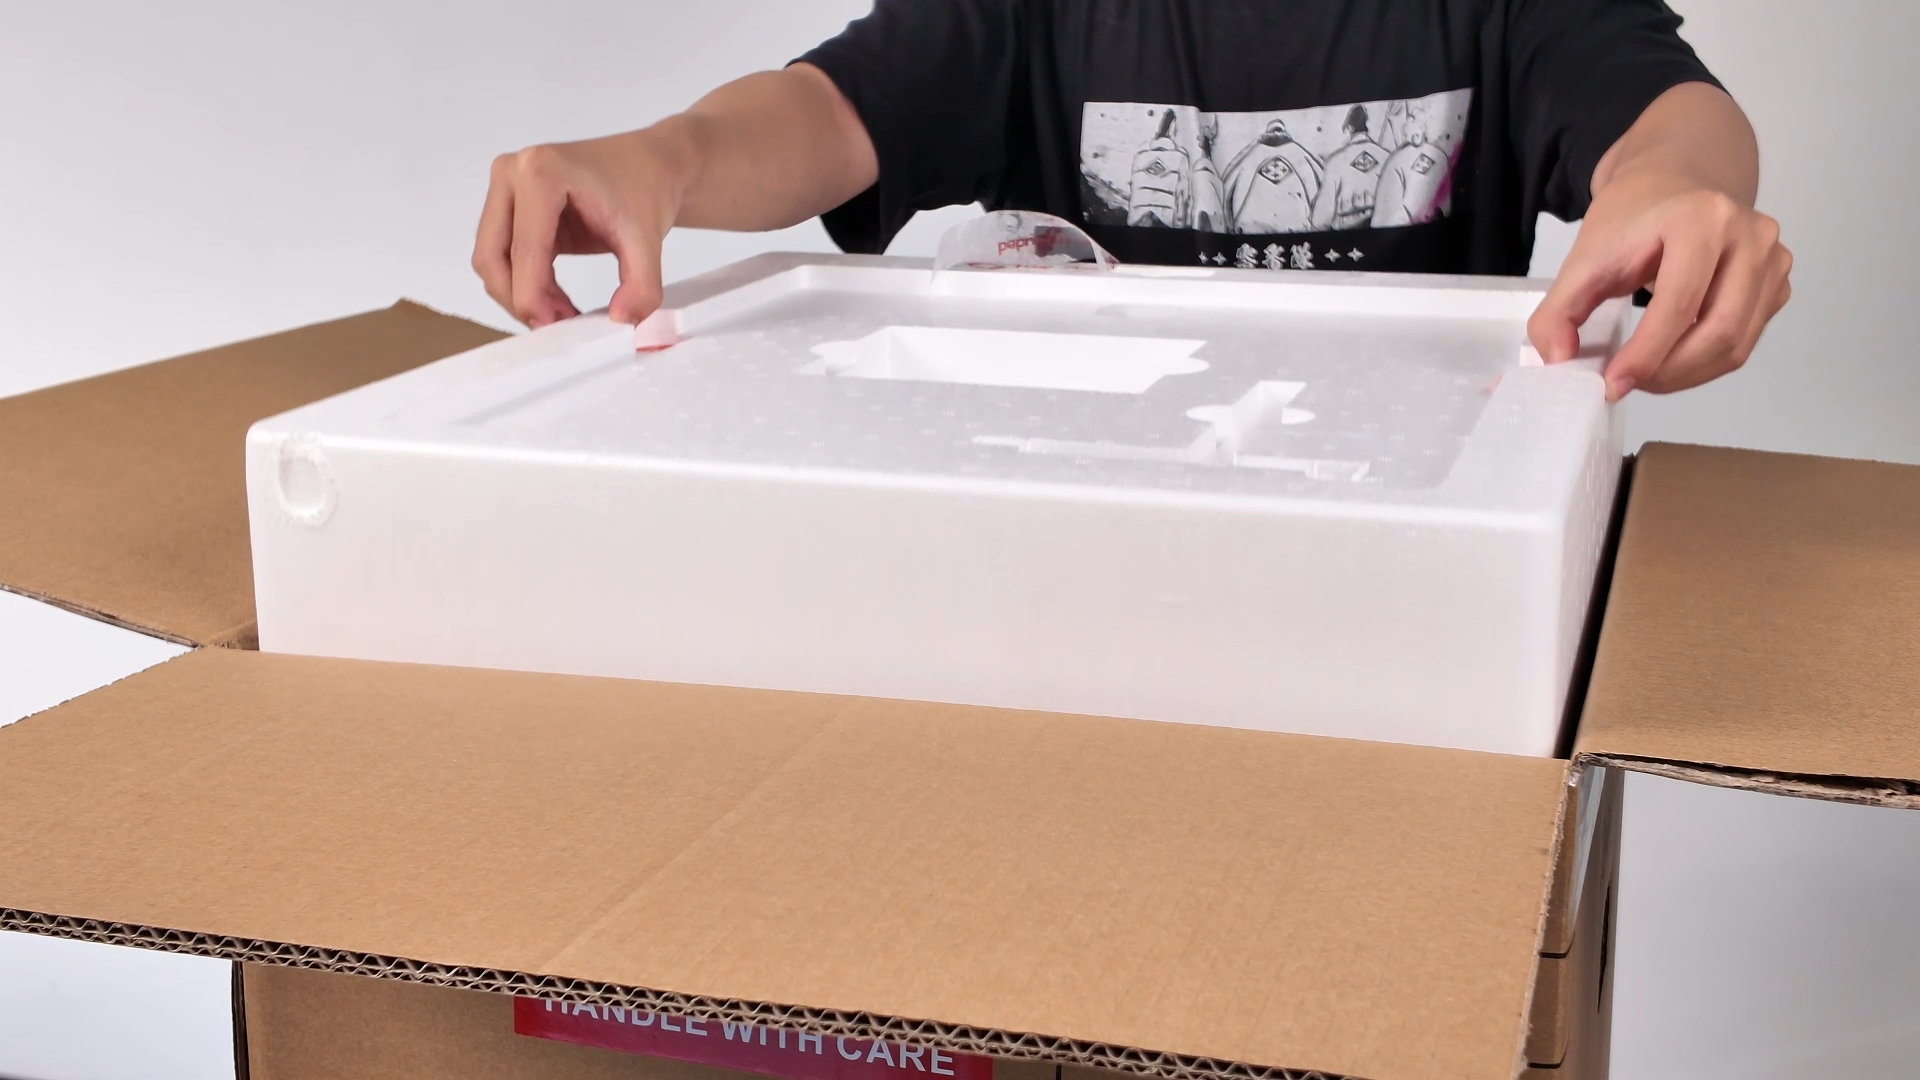
¶ Remove the Foam Box
¶ Remove the Main Printer Unit
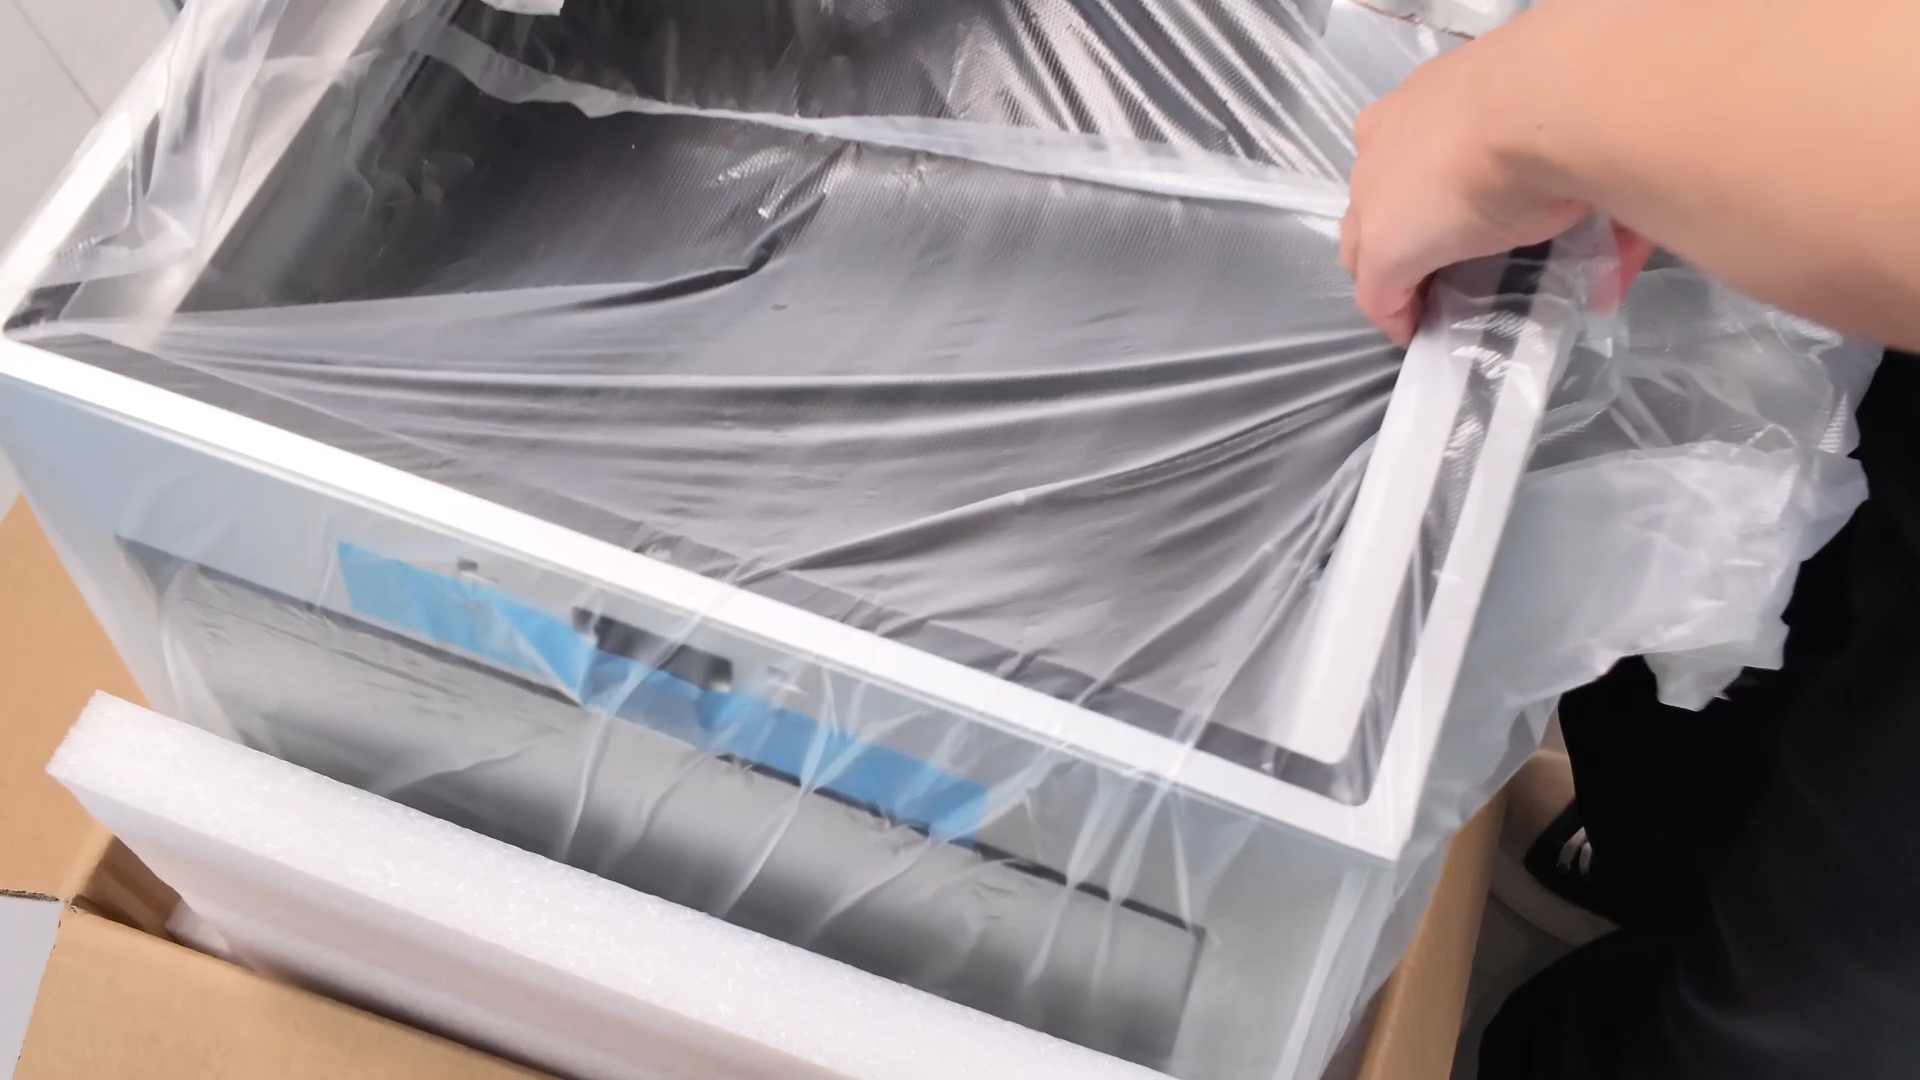
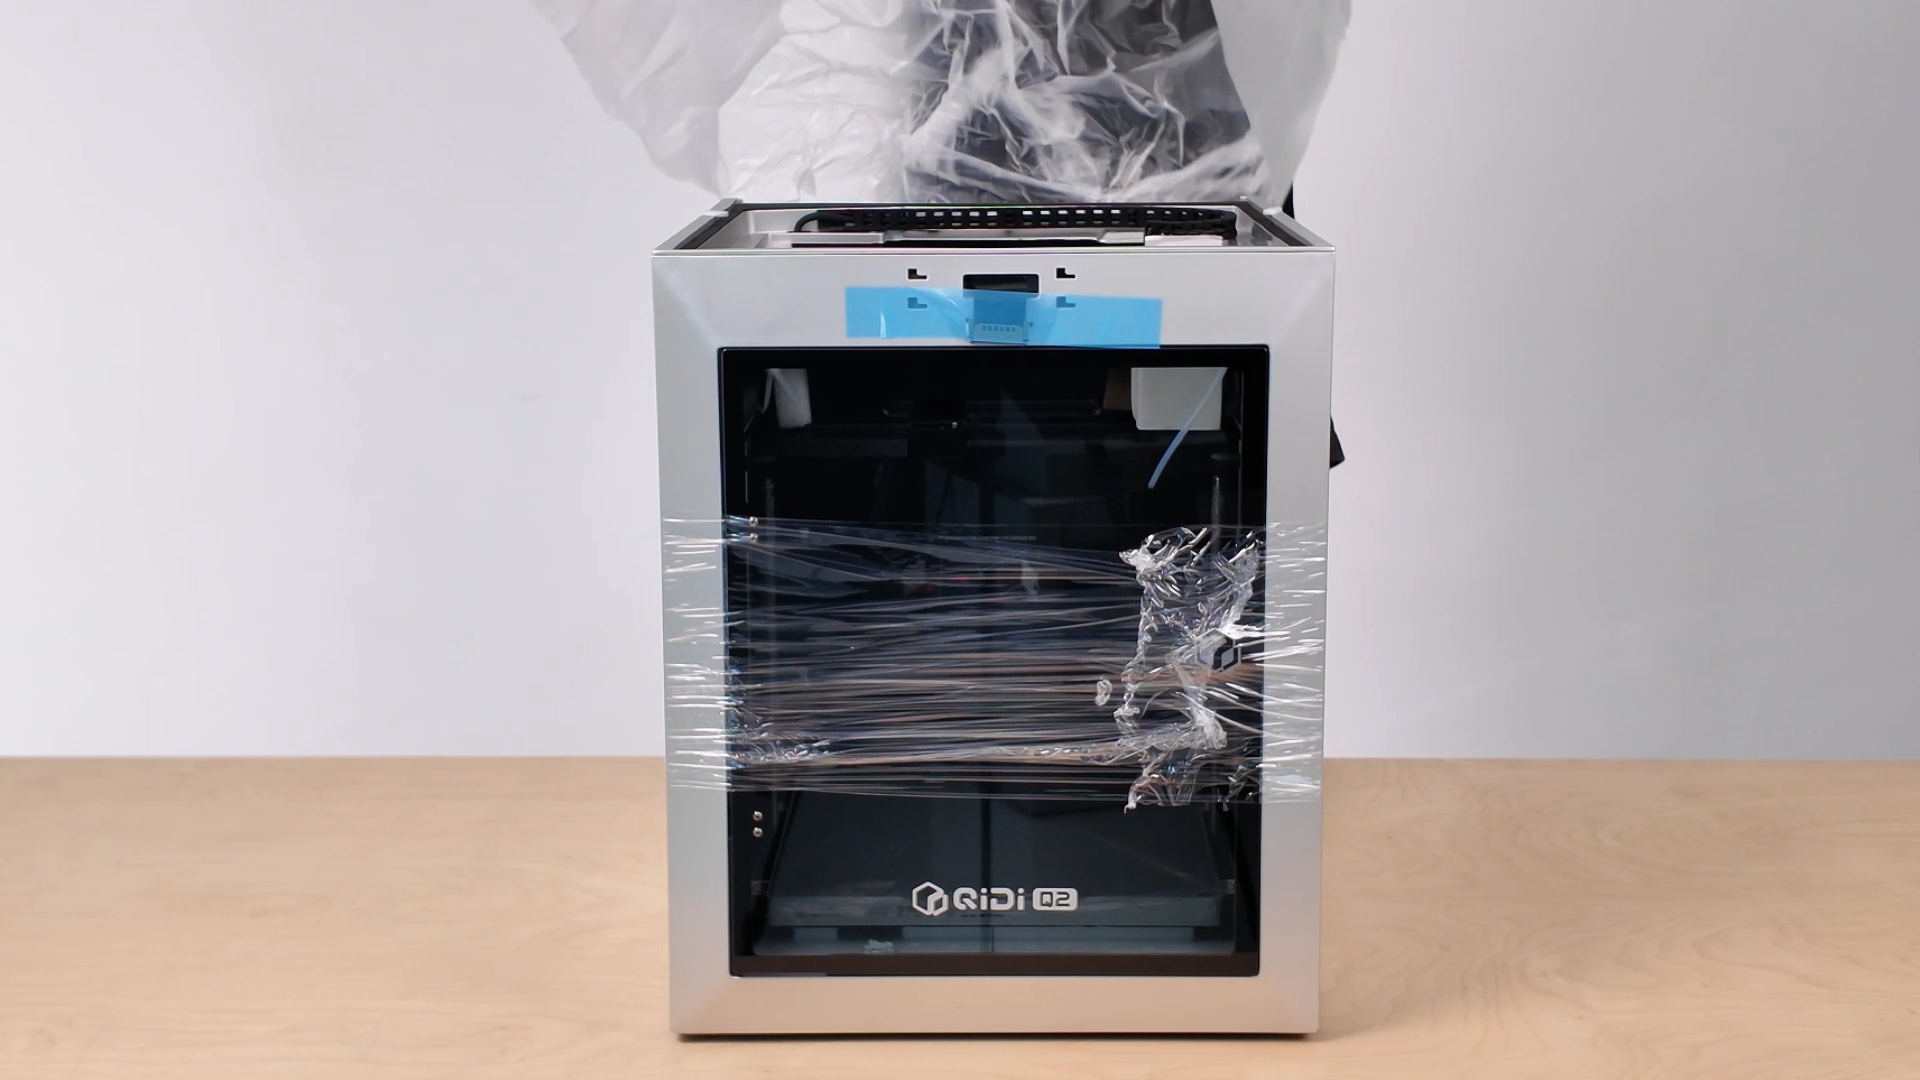
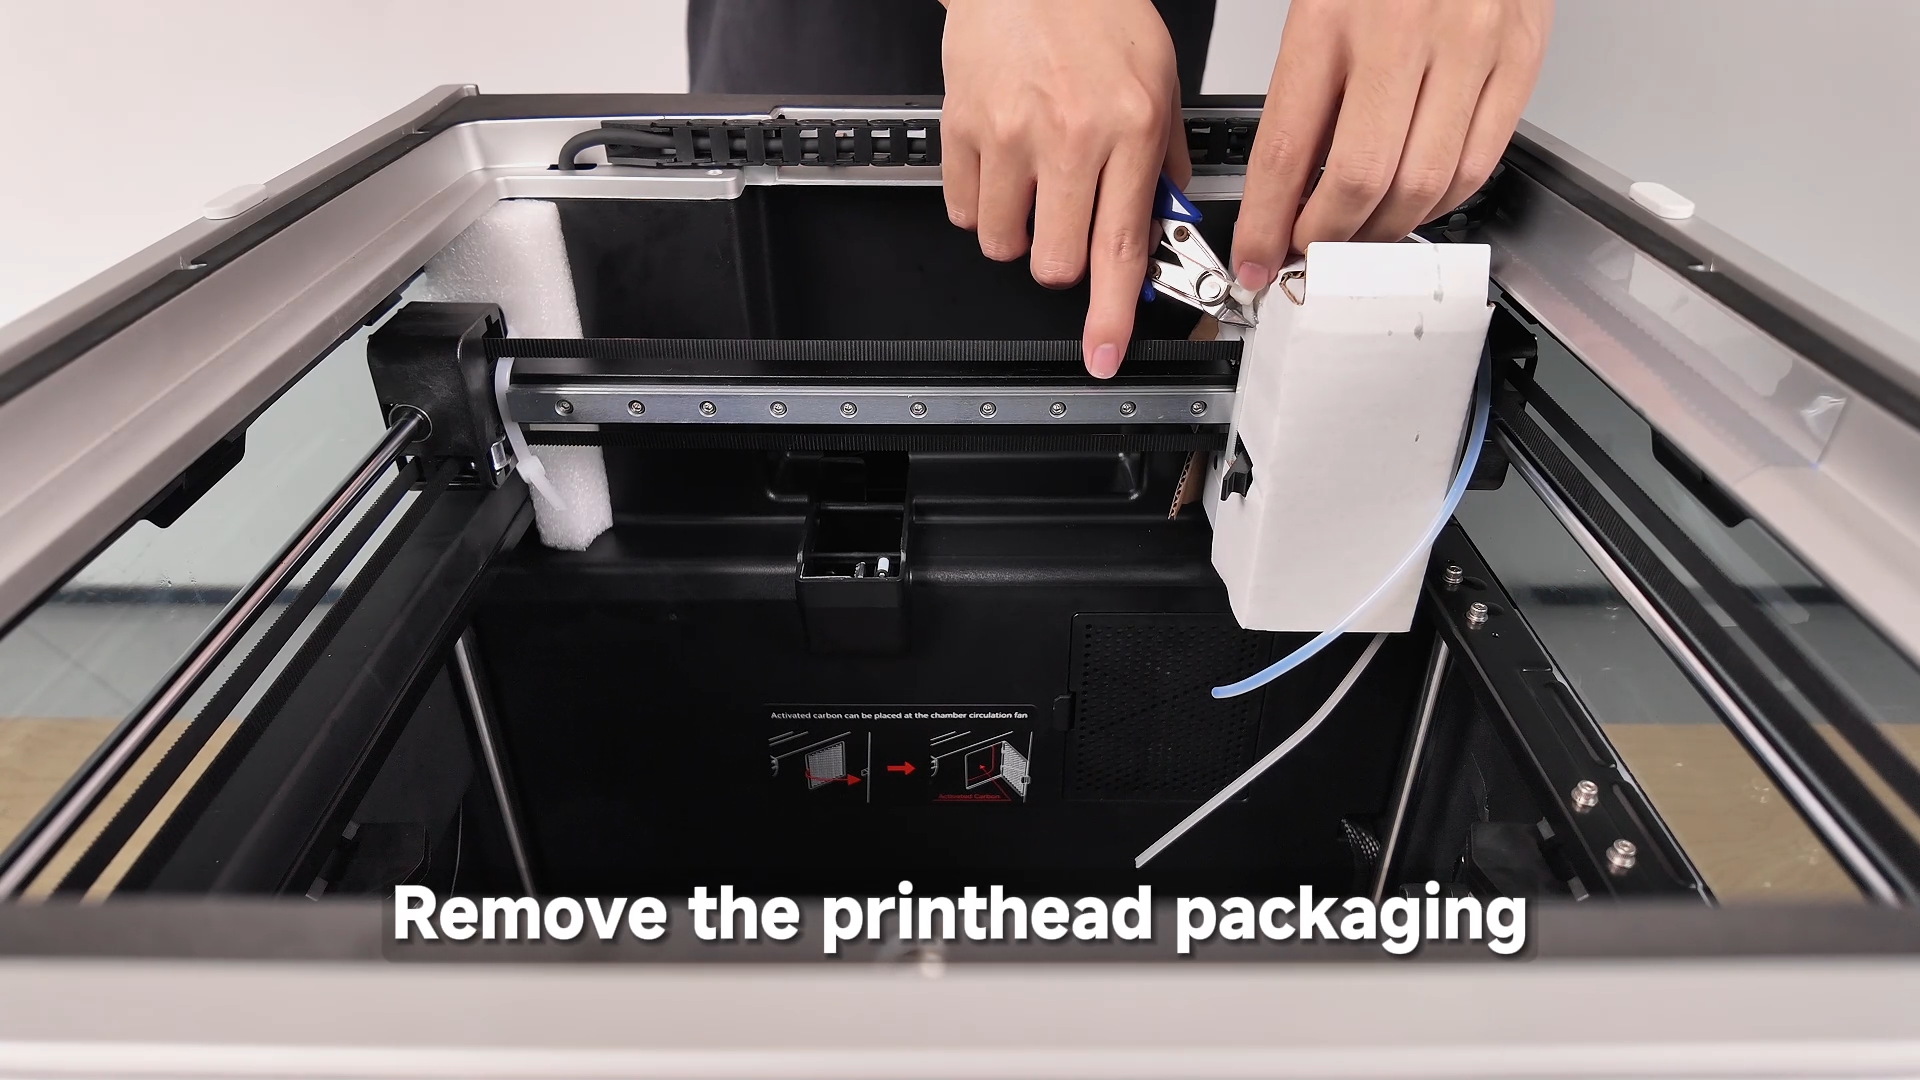
¶ Remove Protective Plastic Packaging
¶ Remove the Touchscreen
¶ Connect the Cables

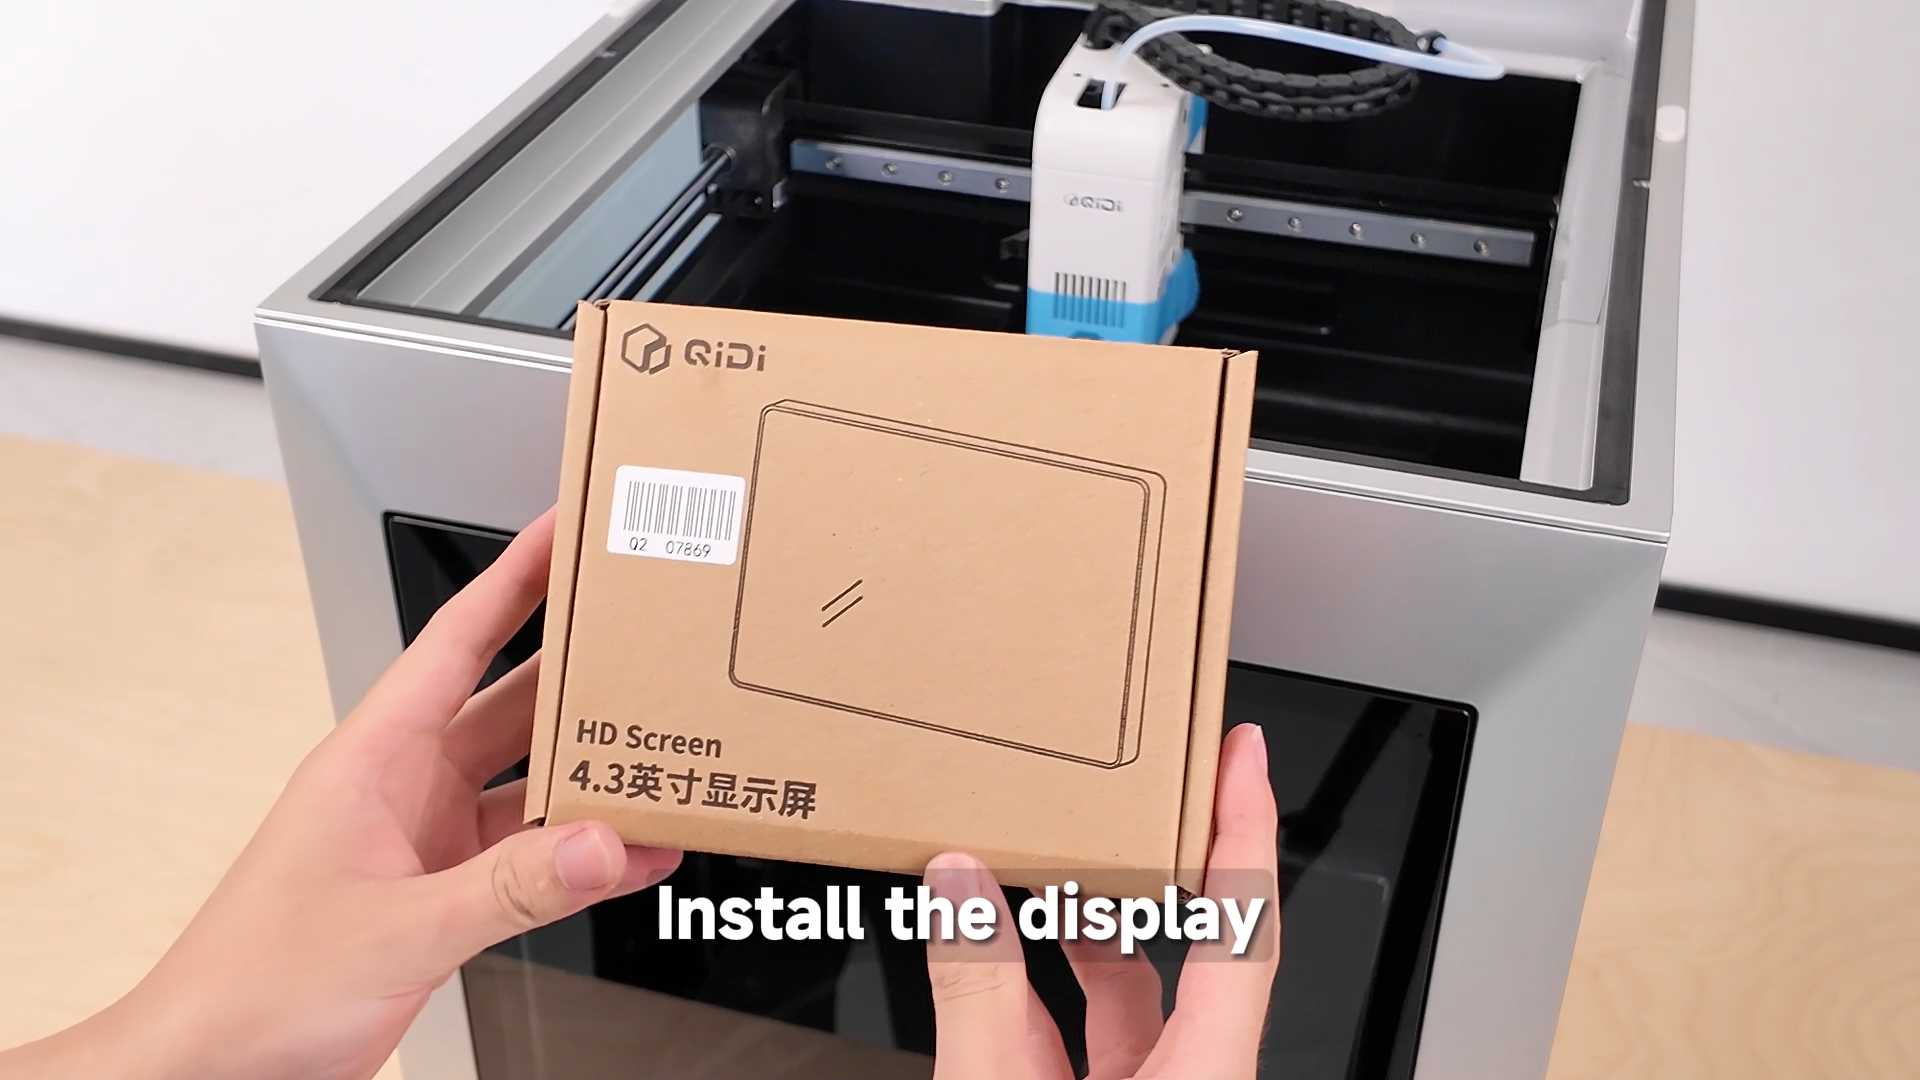
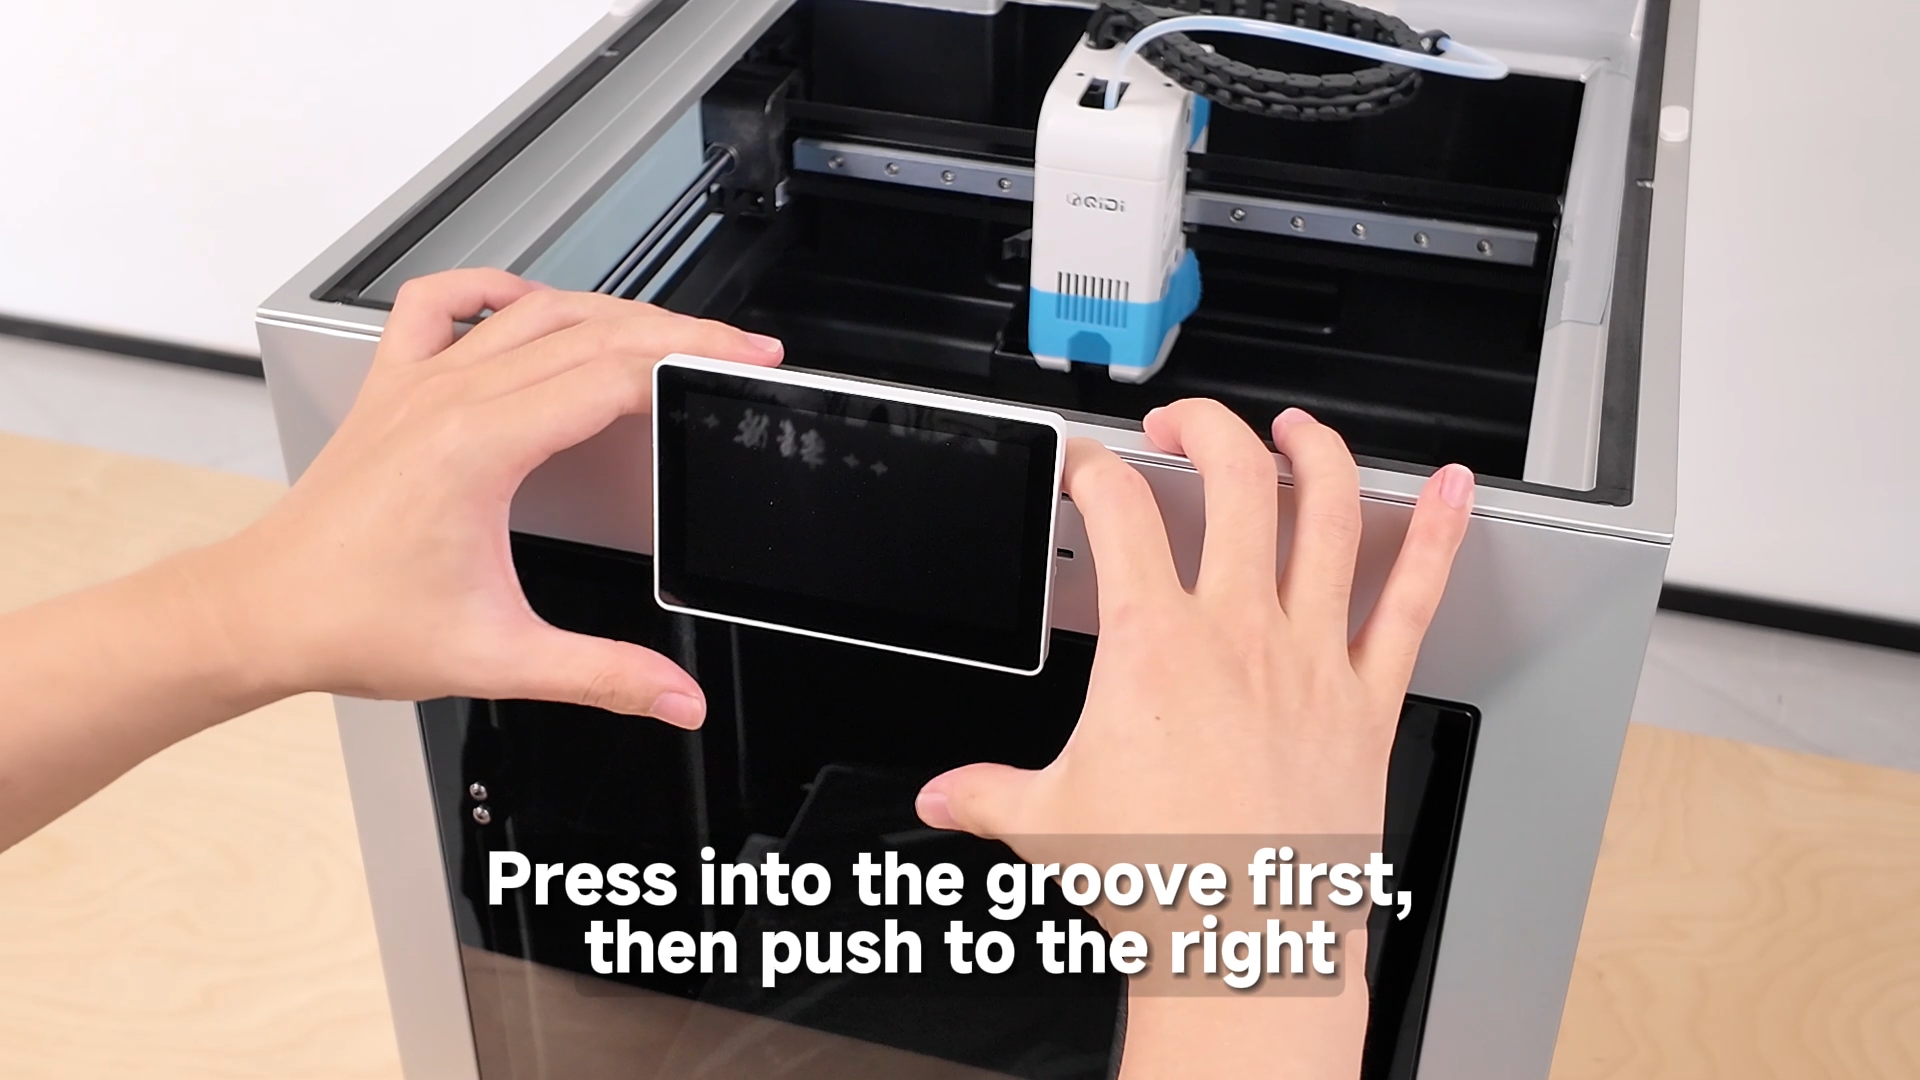
¶ Install the Touchscreen
¶ Install the Filament Extension Bracket

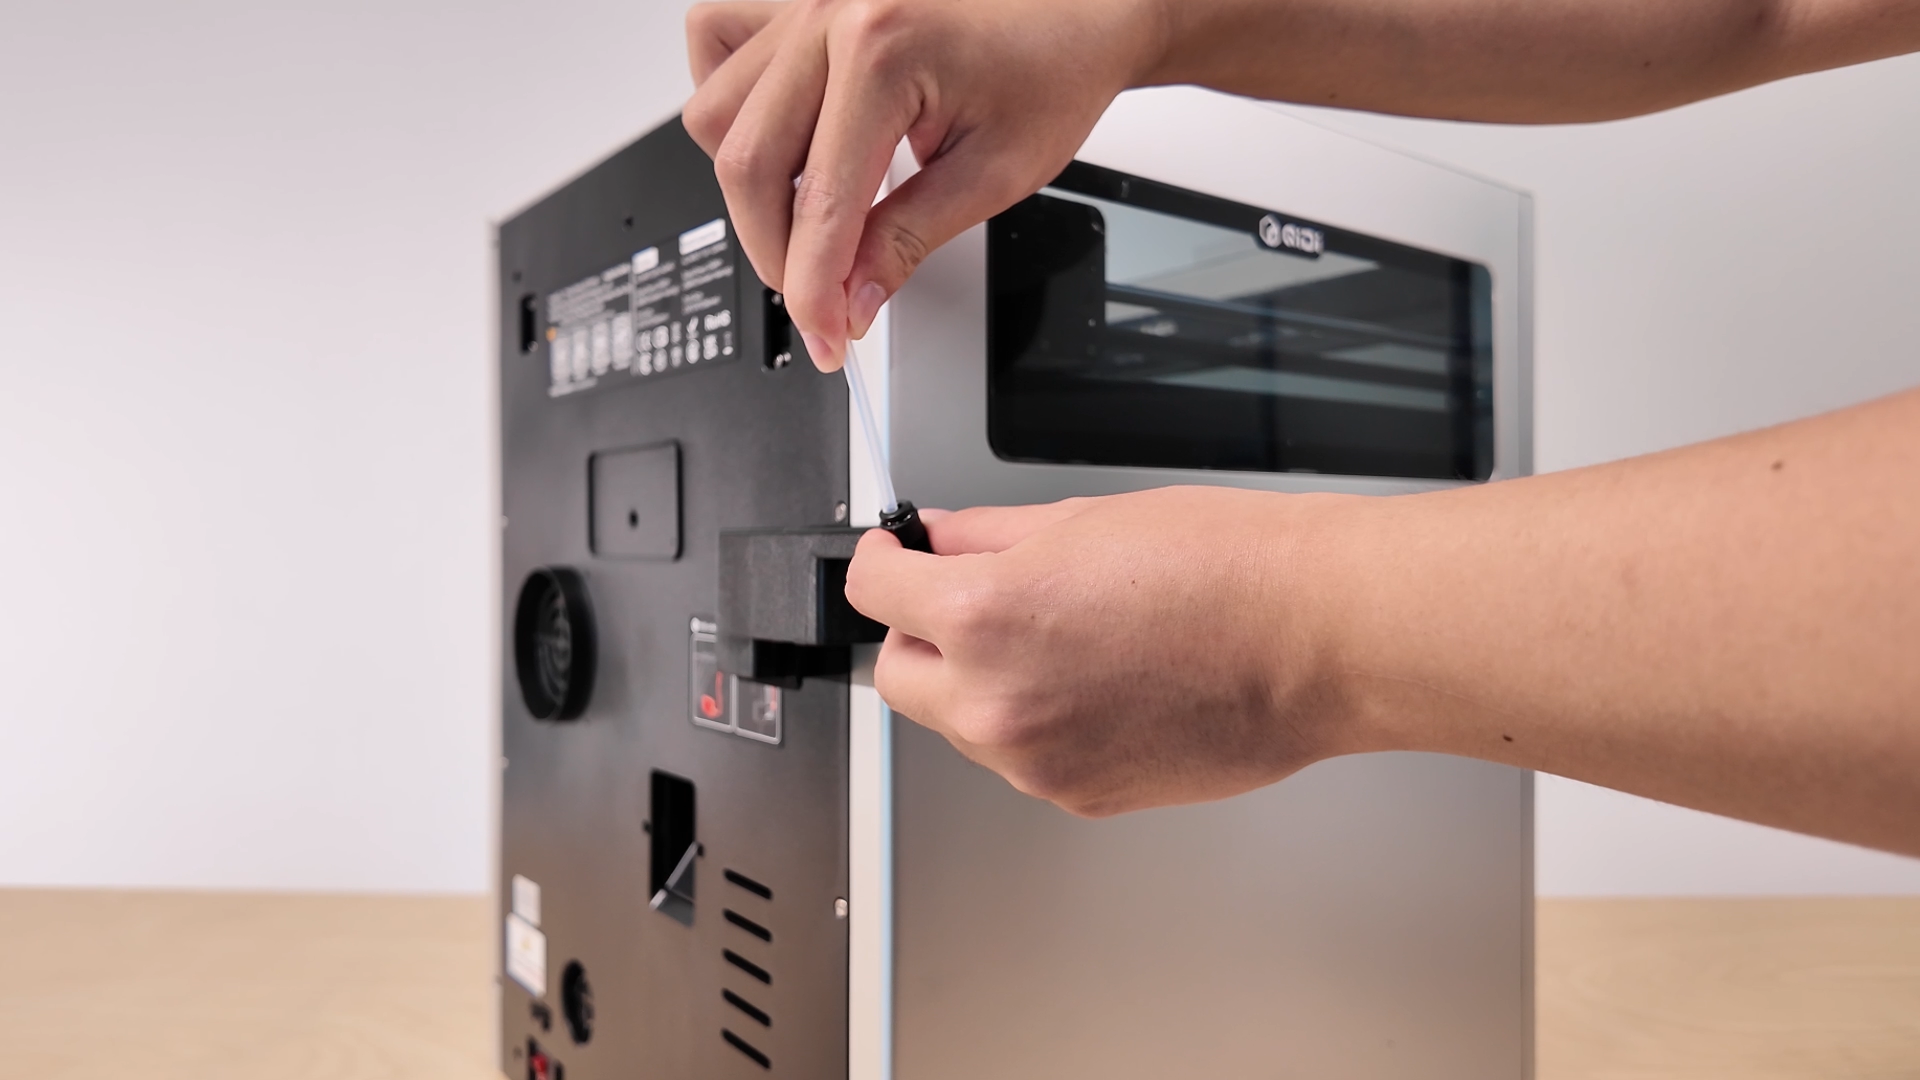
¶ Connect the PTFE Tubes
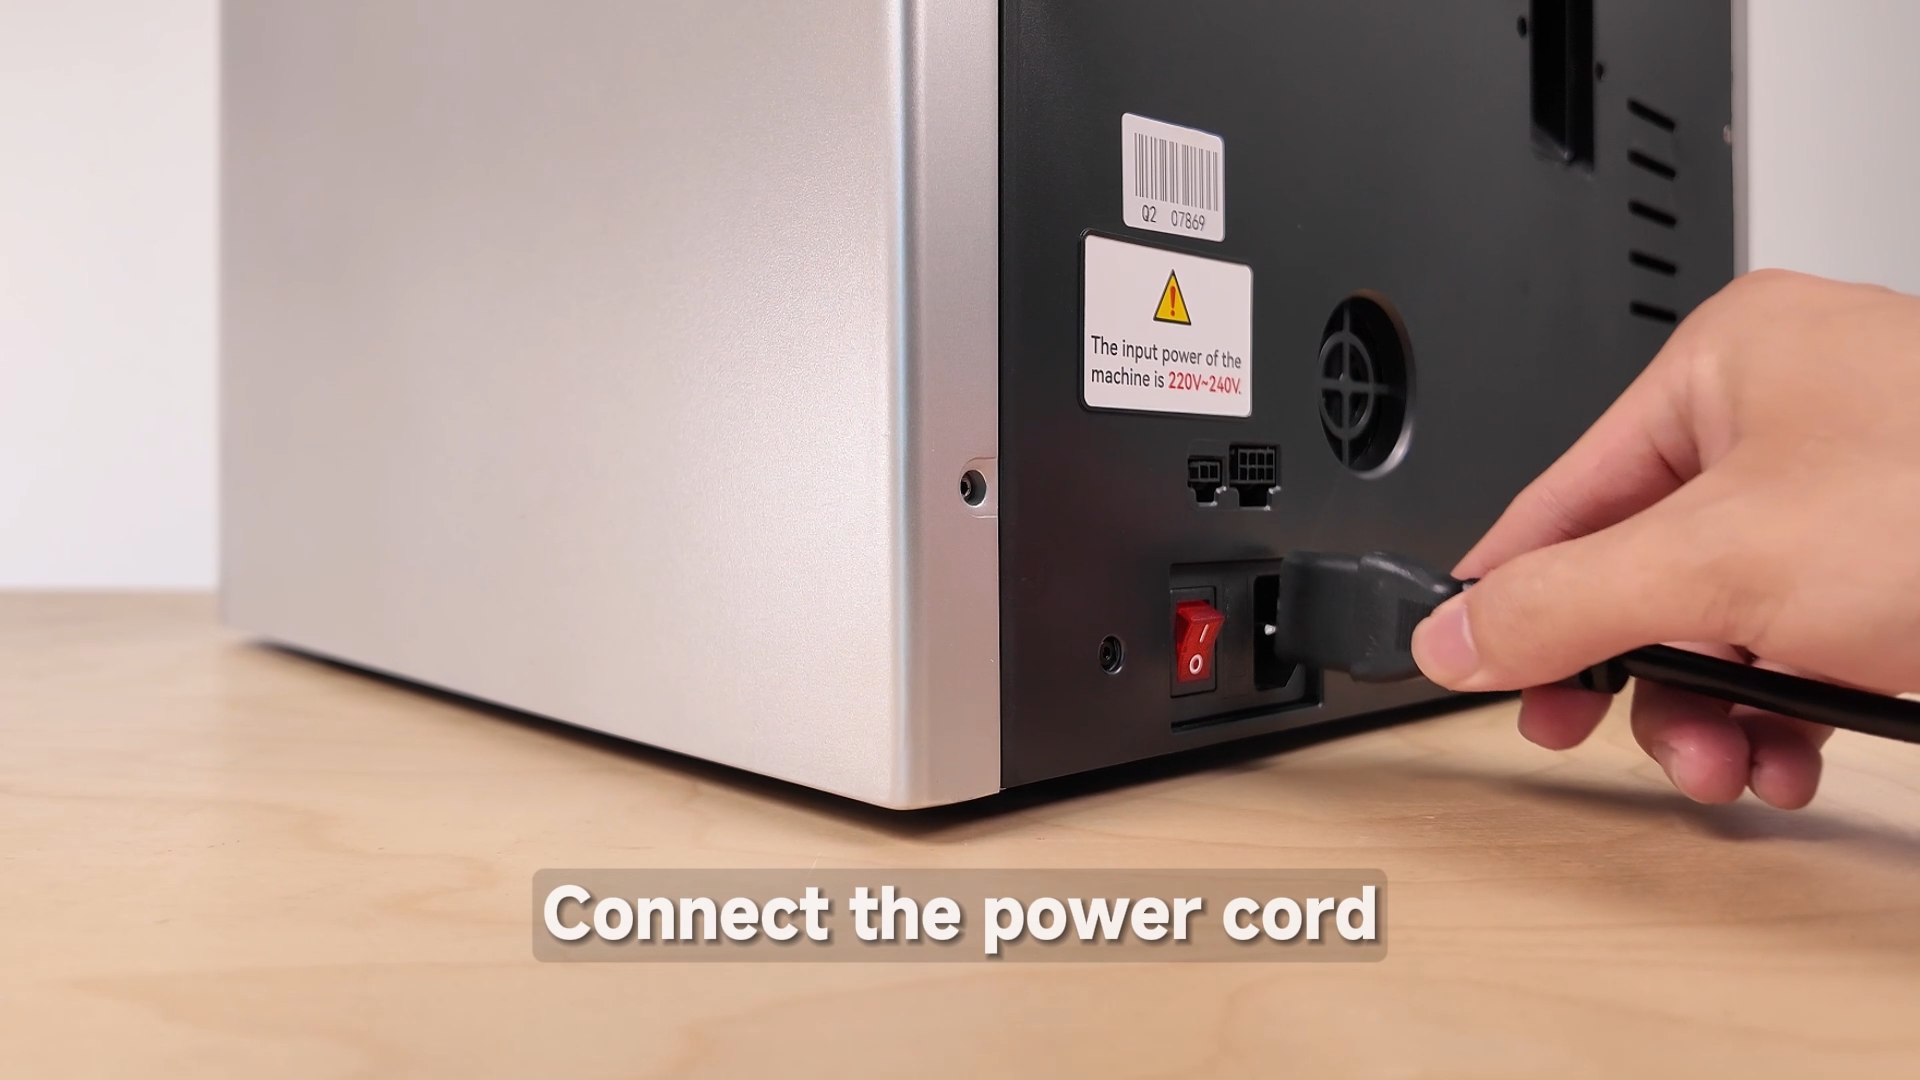
¶ Connect the Power Cable
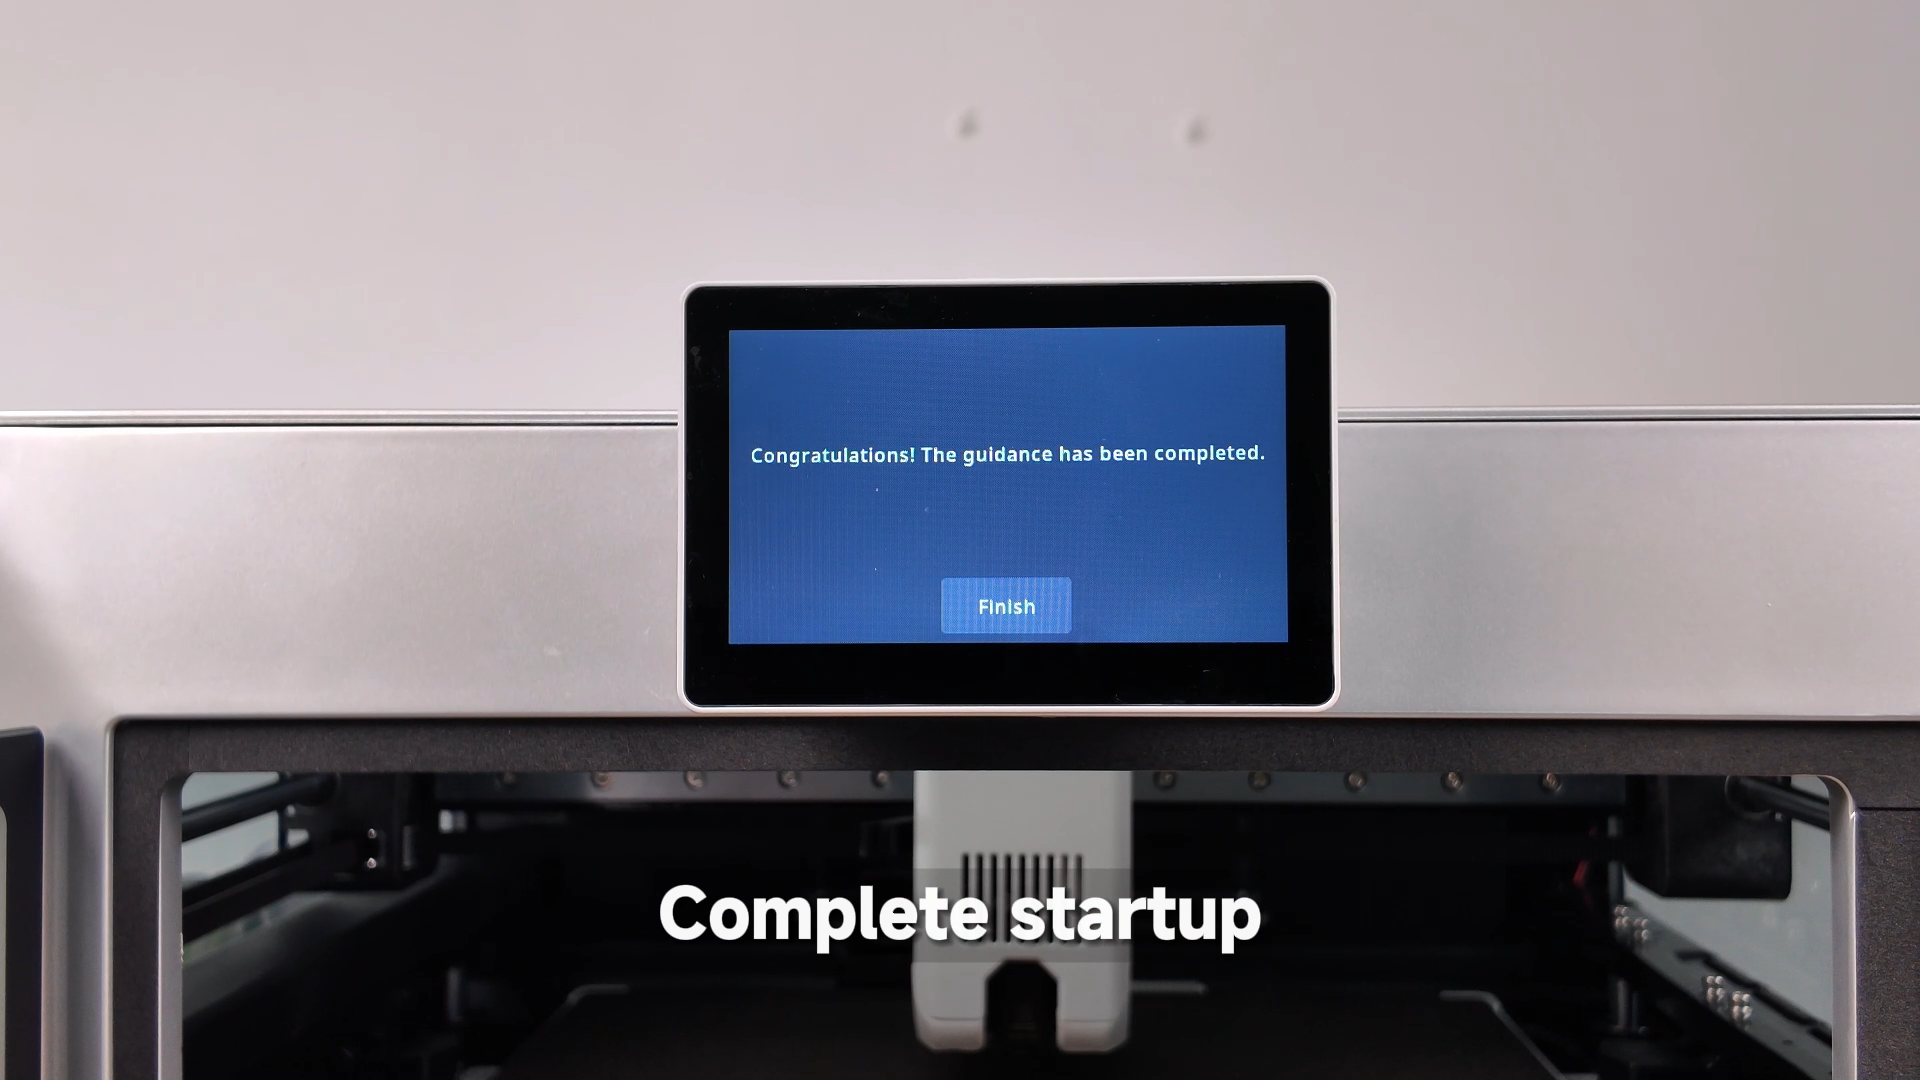
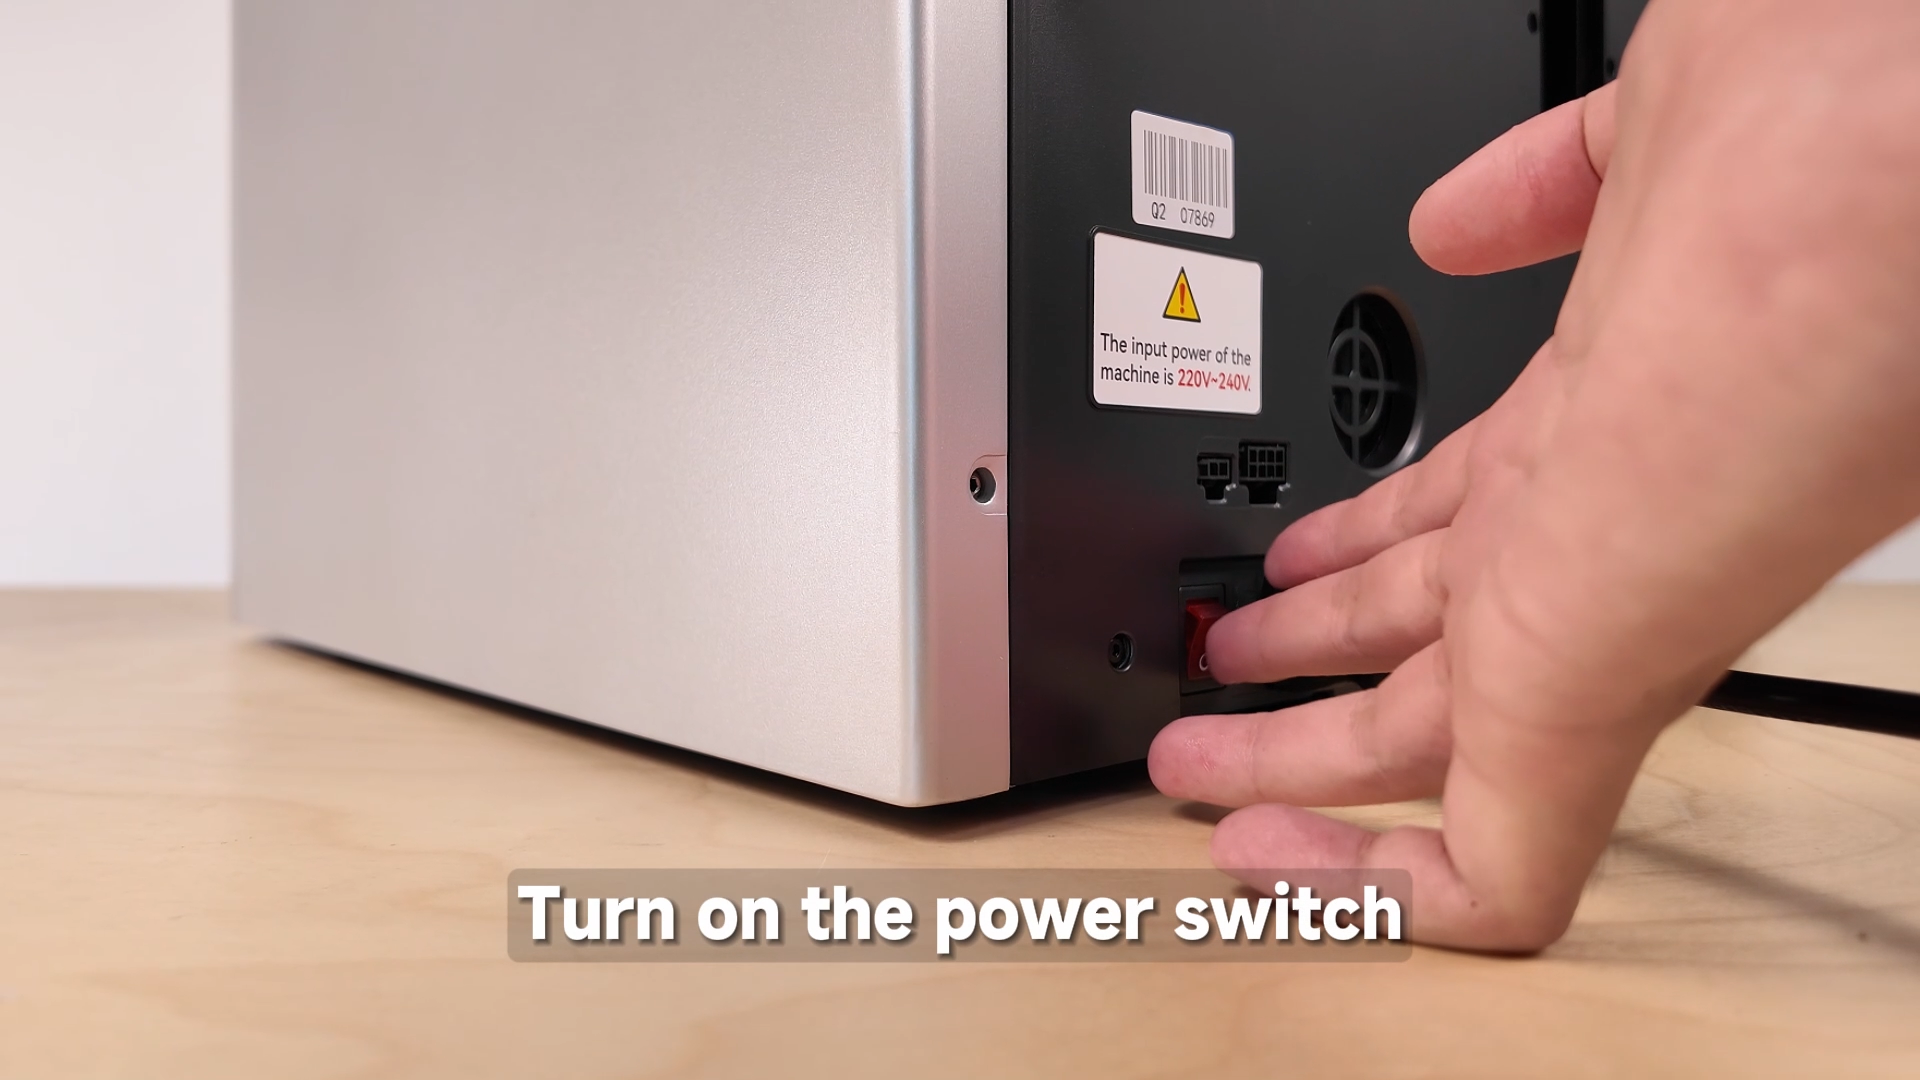
¶ Power On the Printer
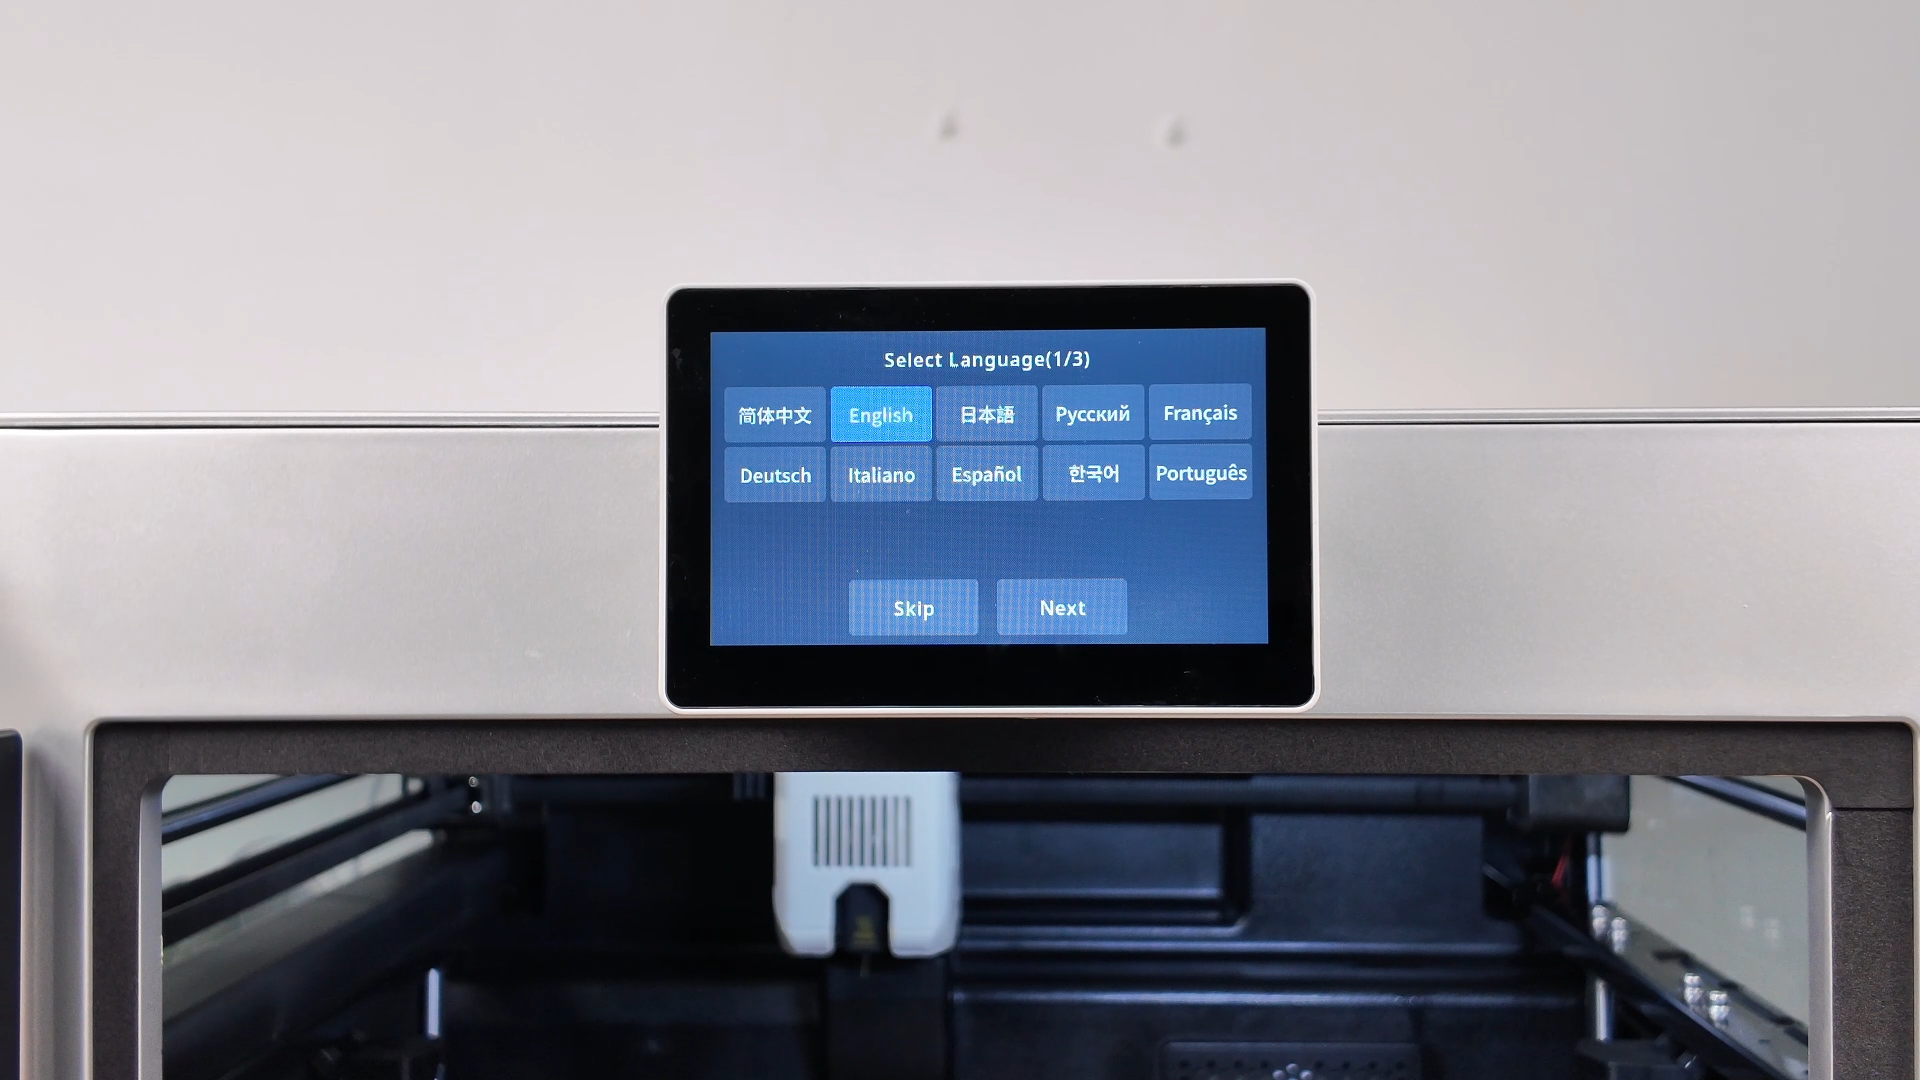
¶ Select the Language
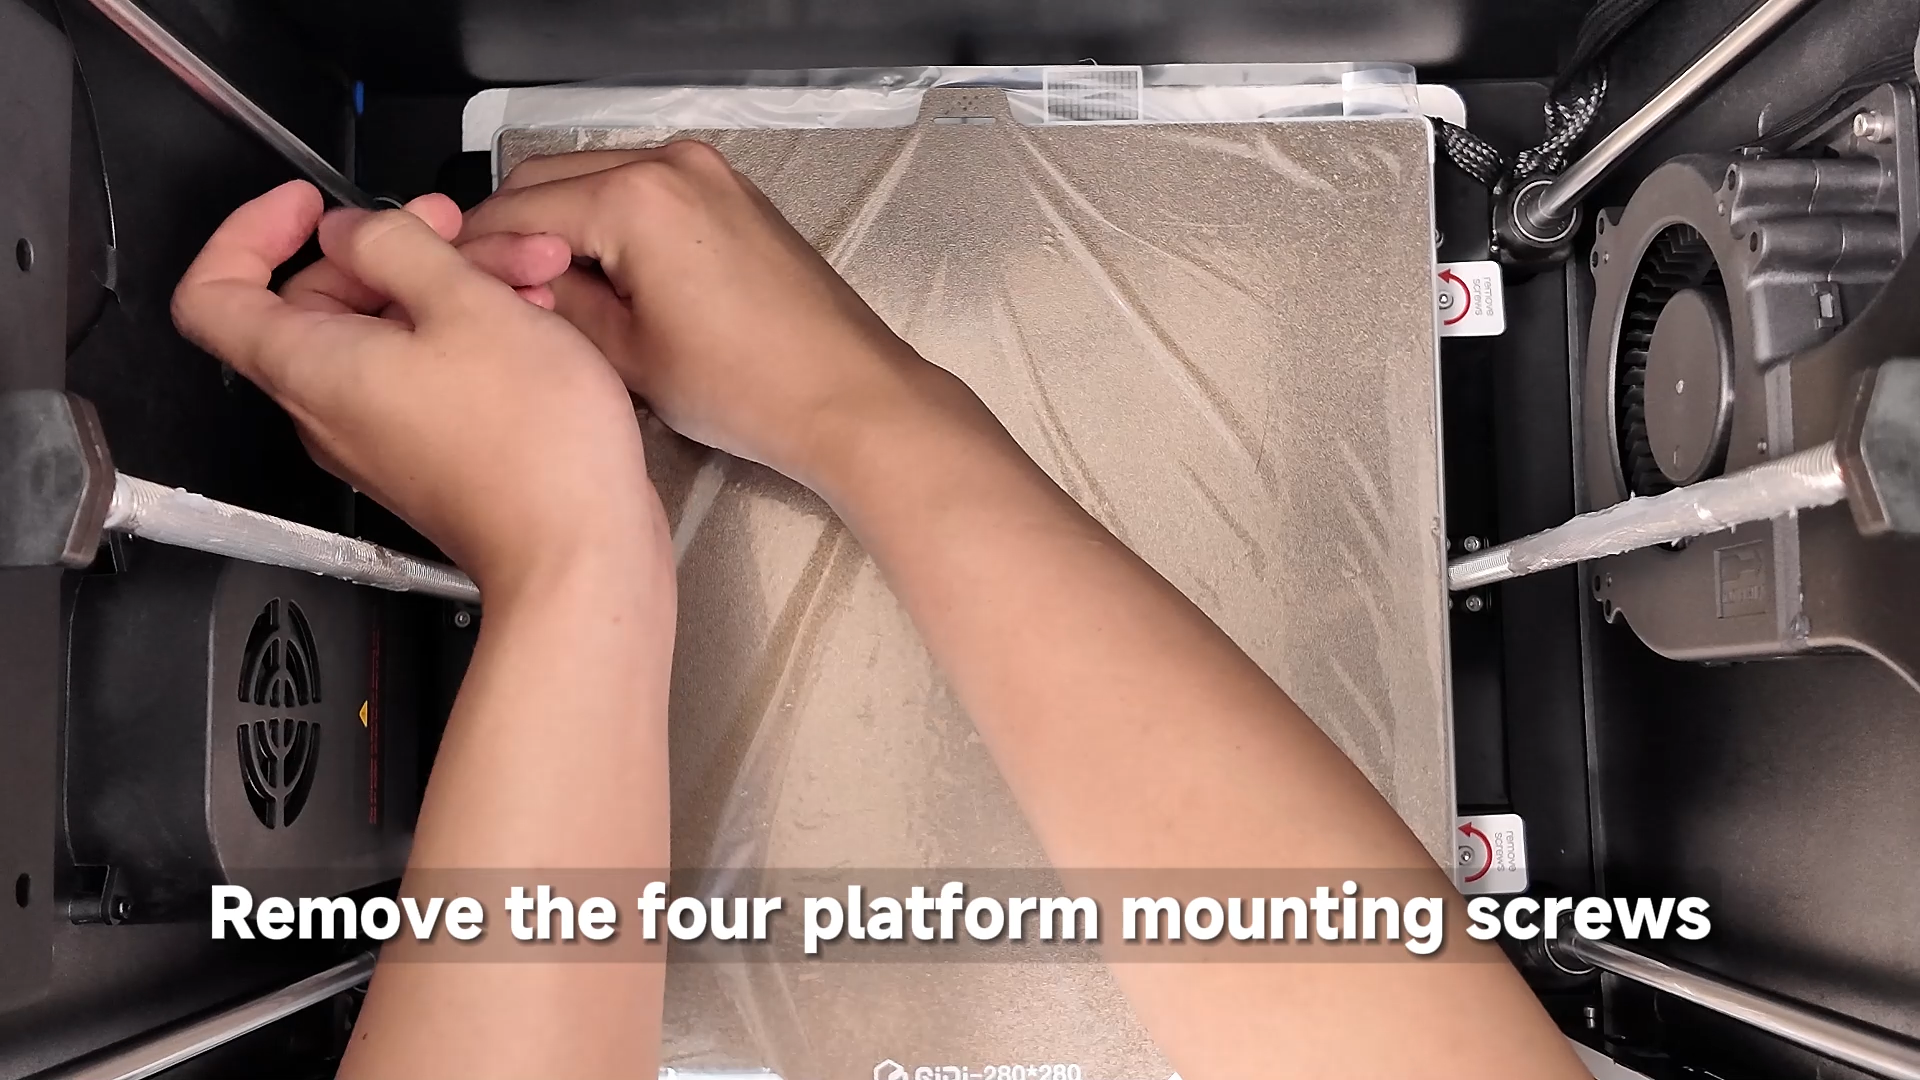
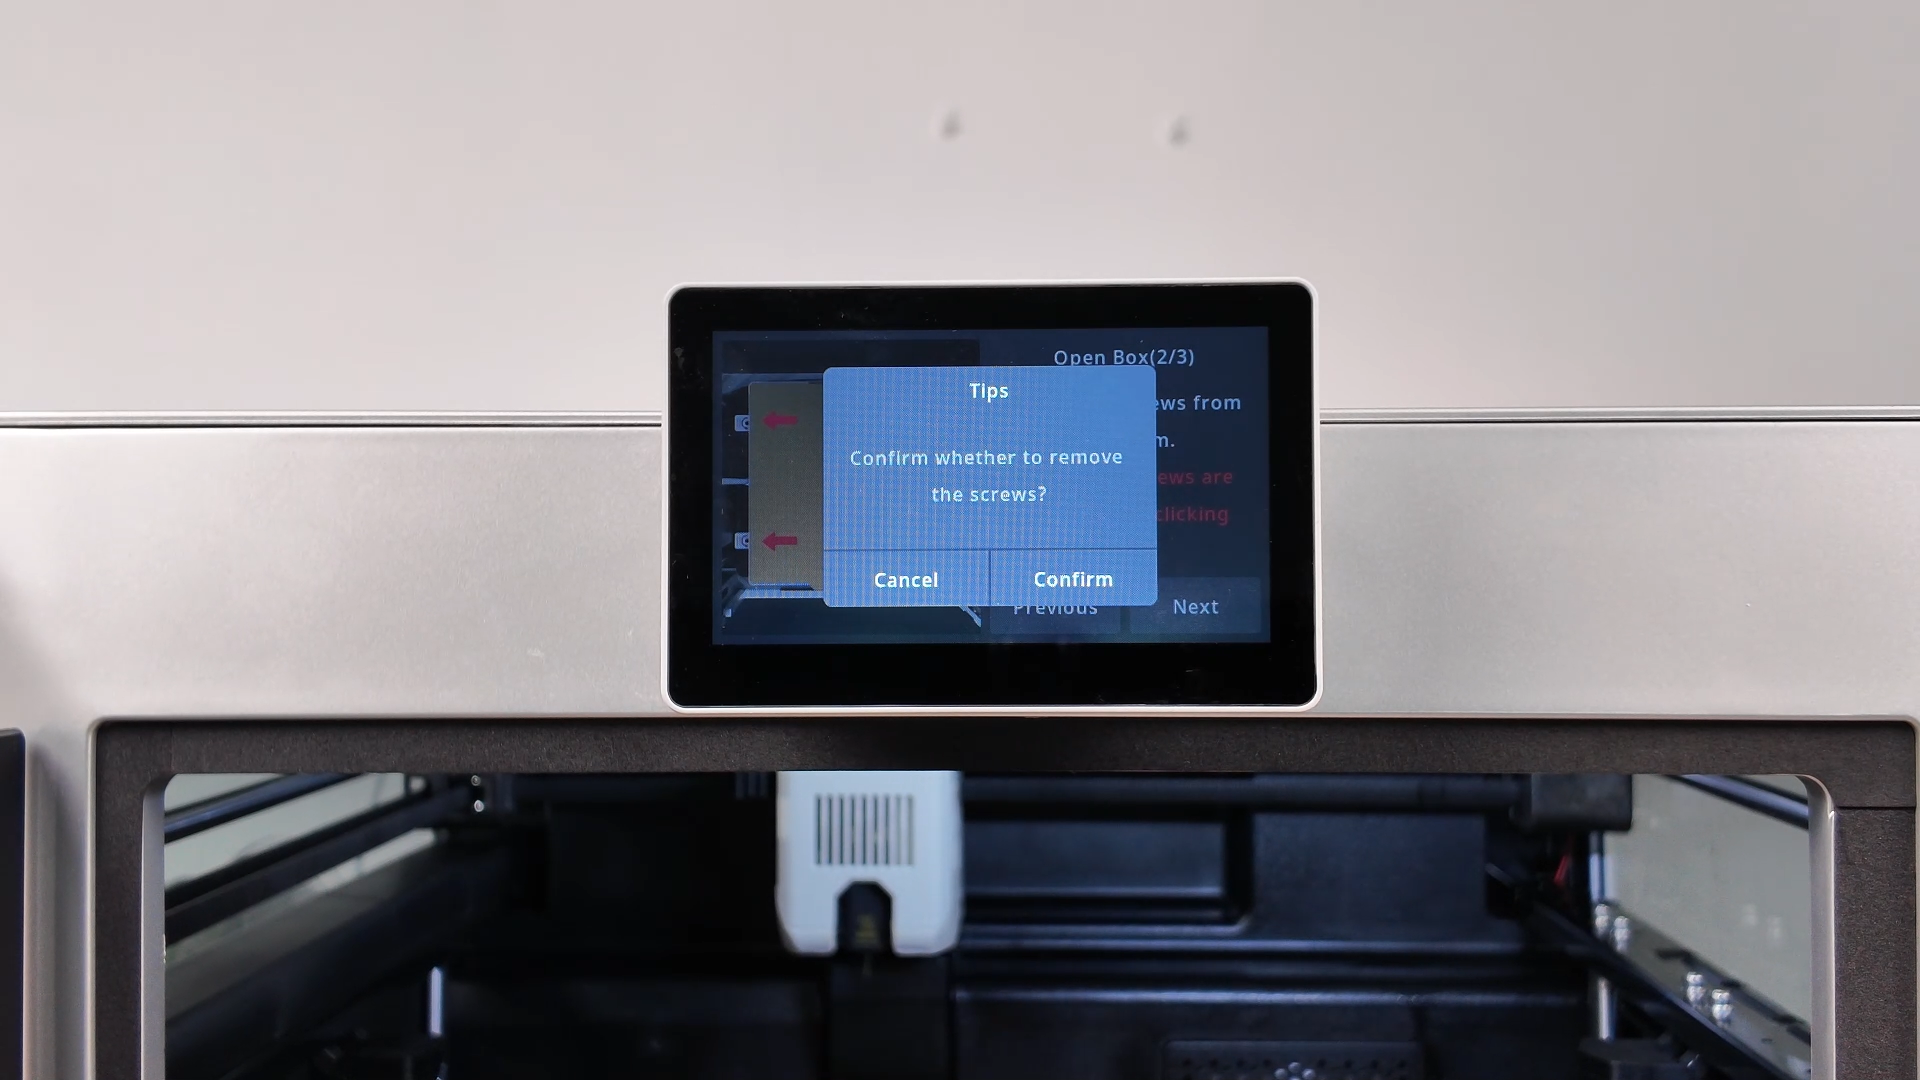
¶ Remove the Screws Securing the Build Plate
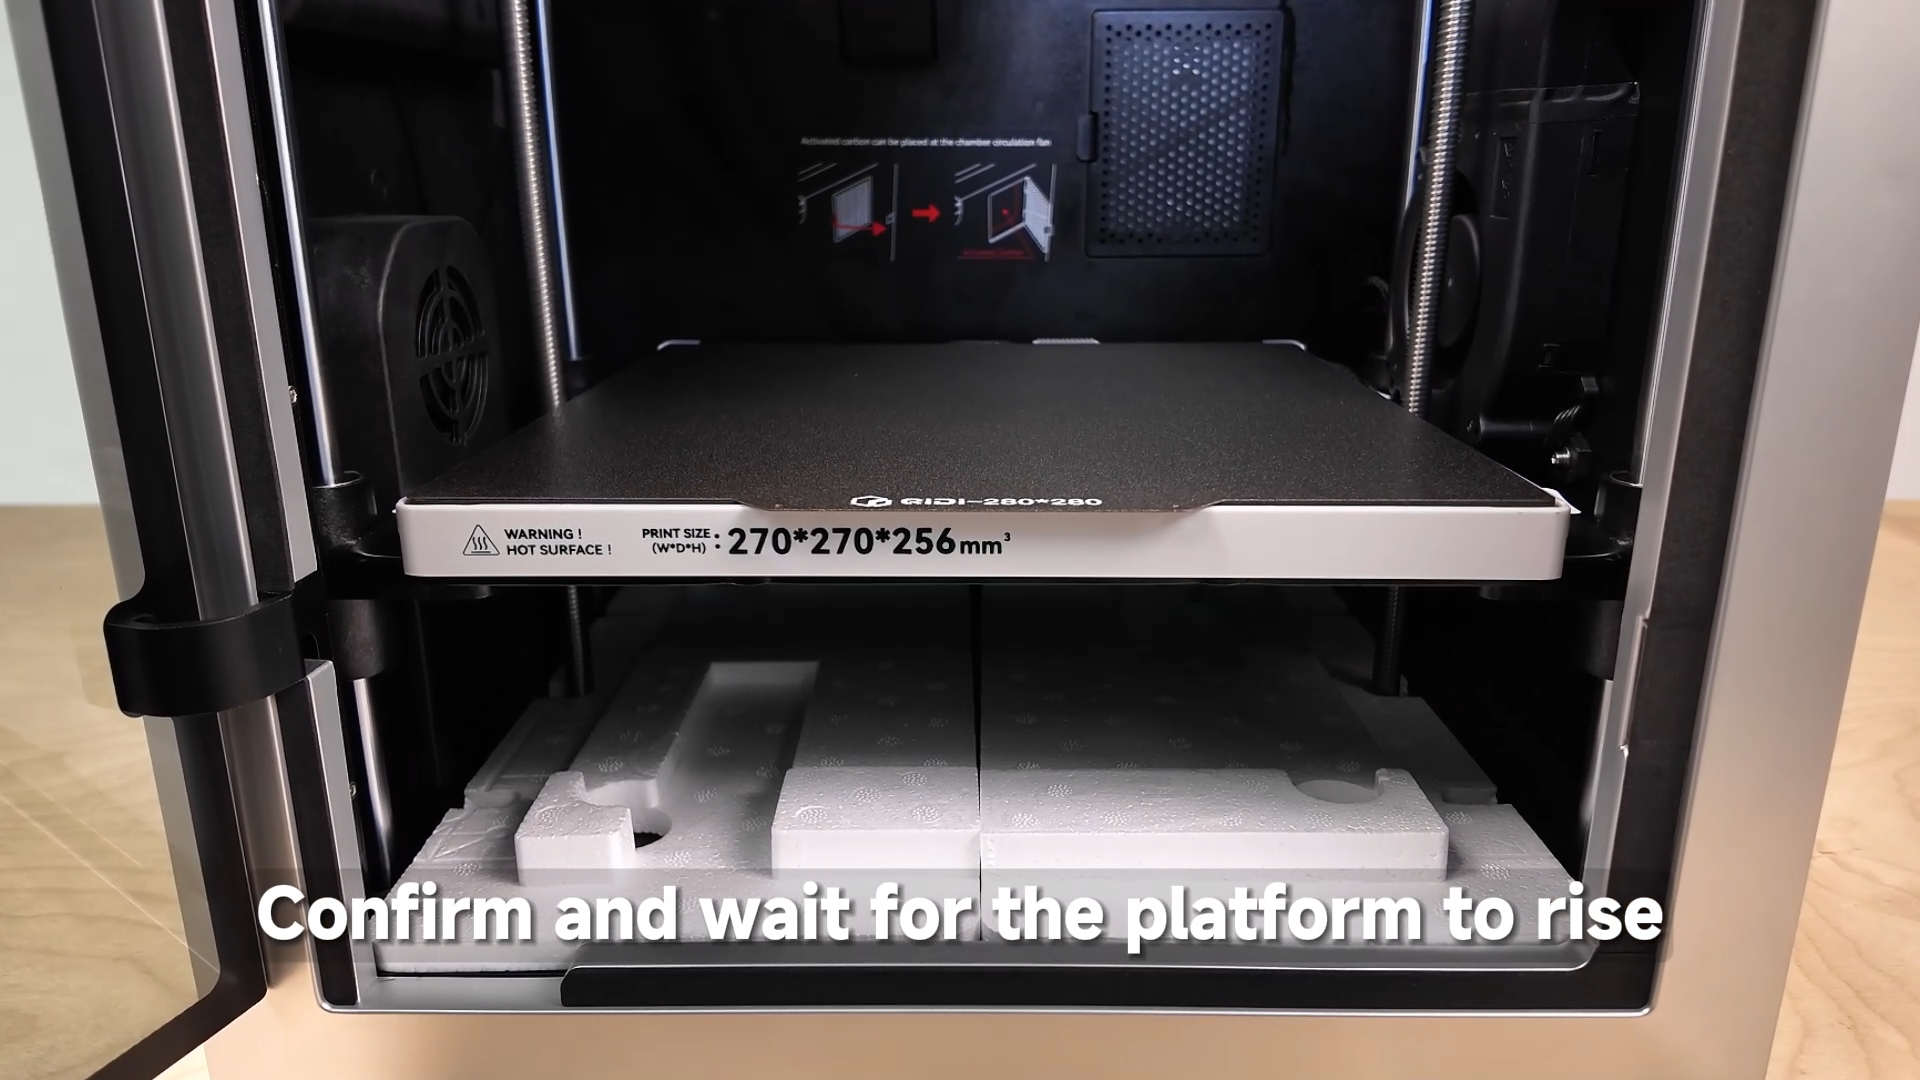
¶ Wait for the Build Plate to Rise and Remove the Foam
¶ Ensure the Build Plate Is Unlocked
¶ Cut the Zip Ties
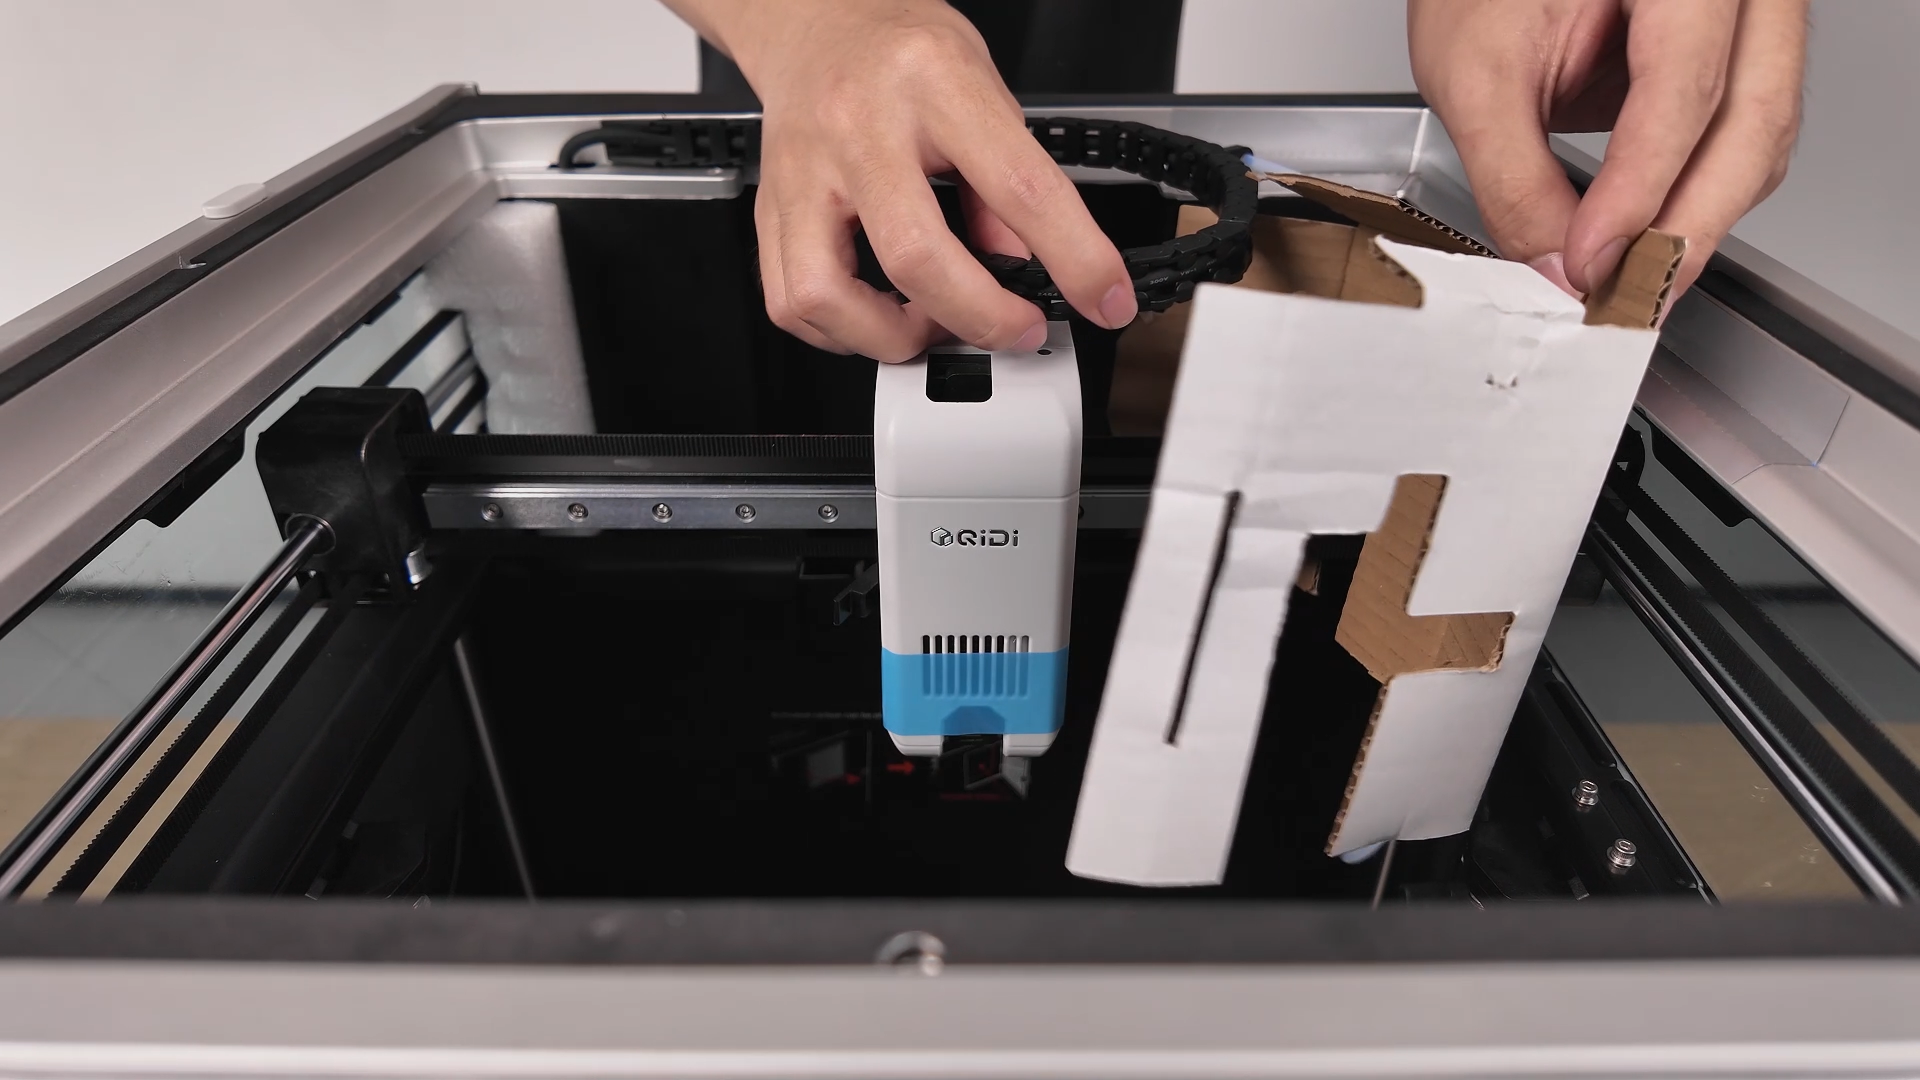
¶ Remove the Cardboard Insert
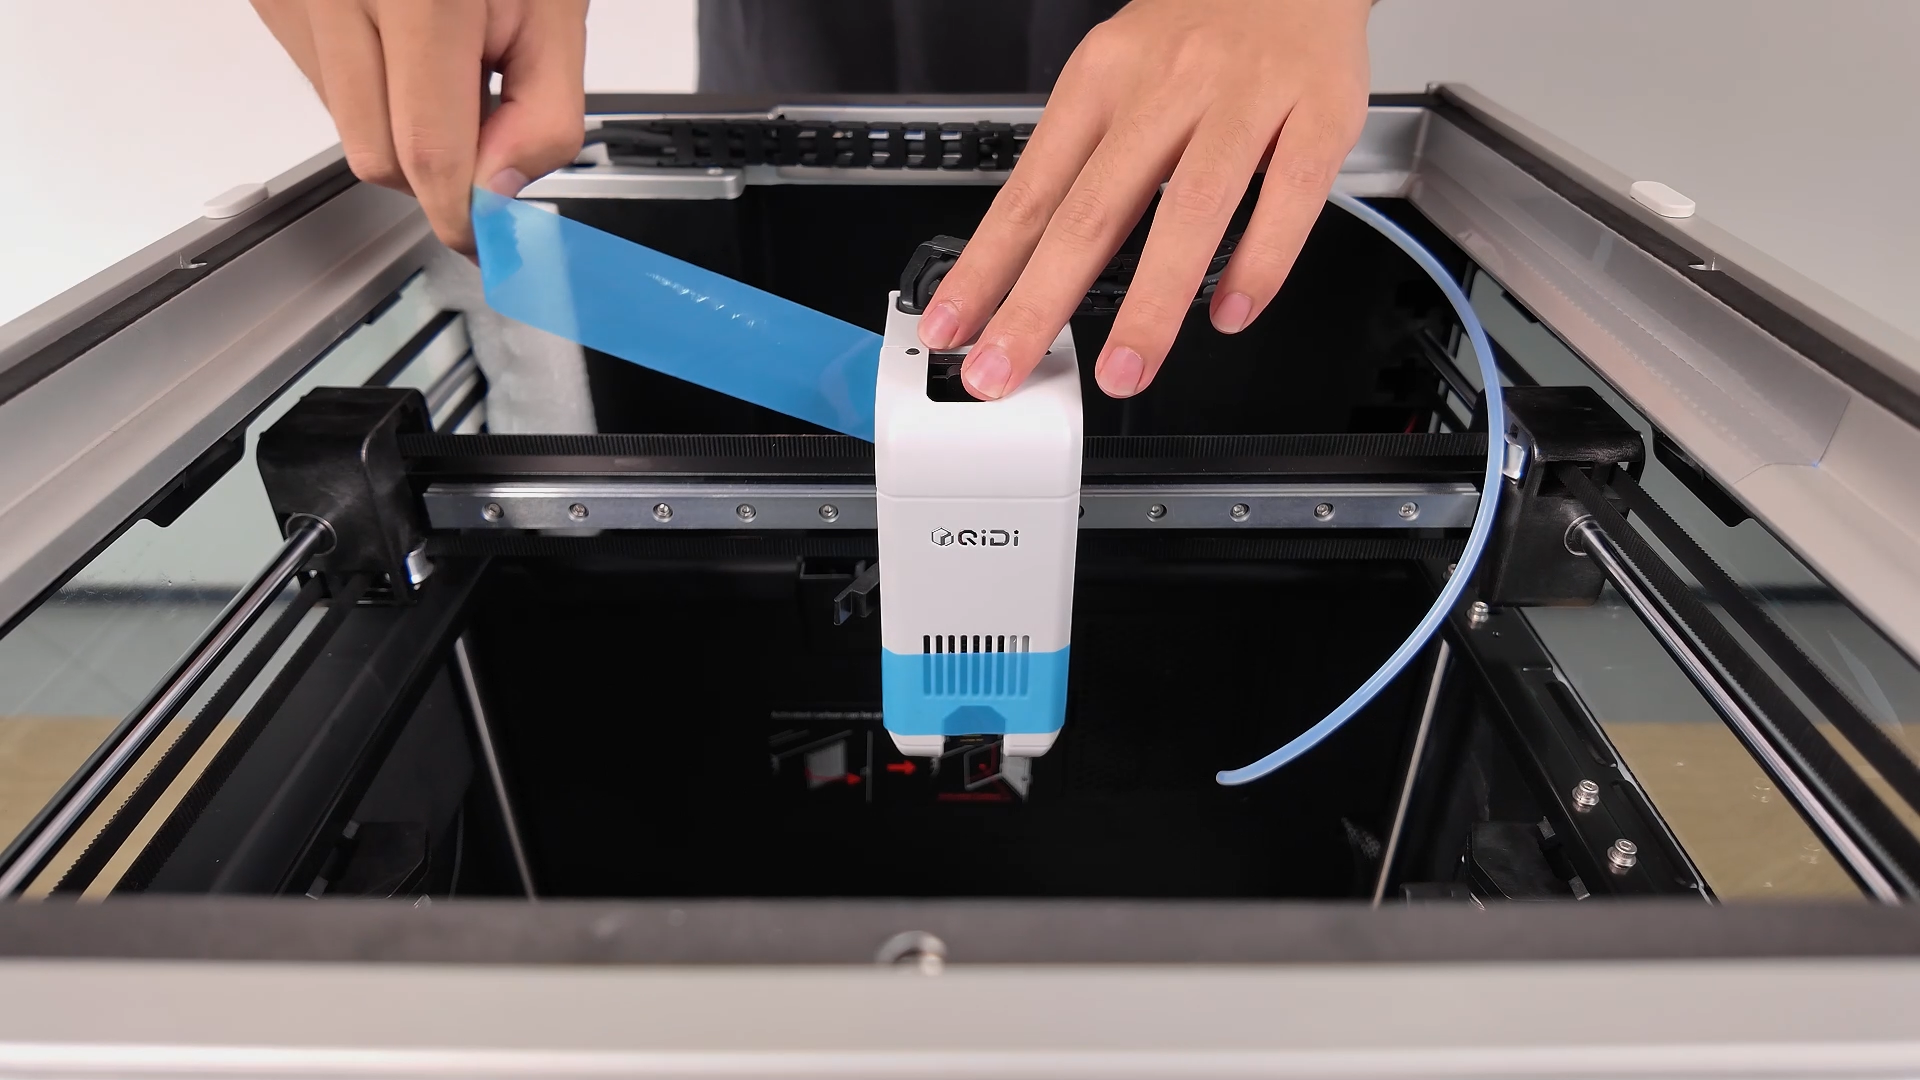
¶ Remove the Tape
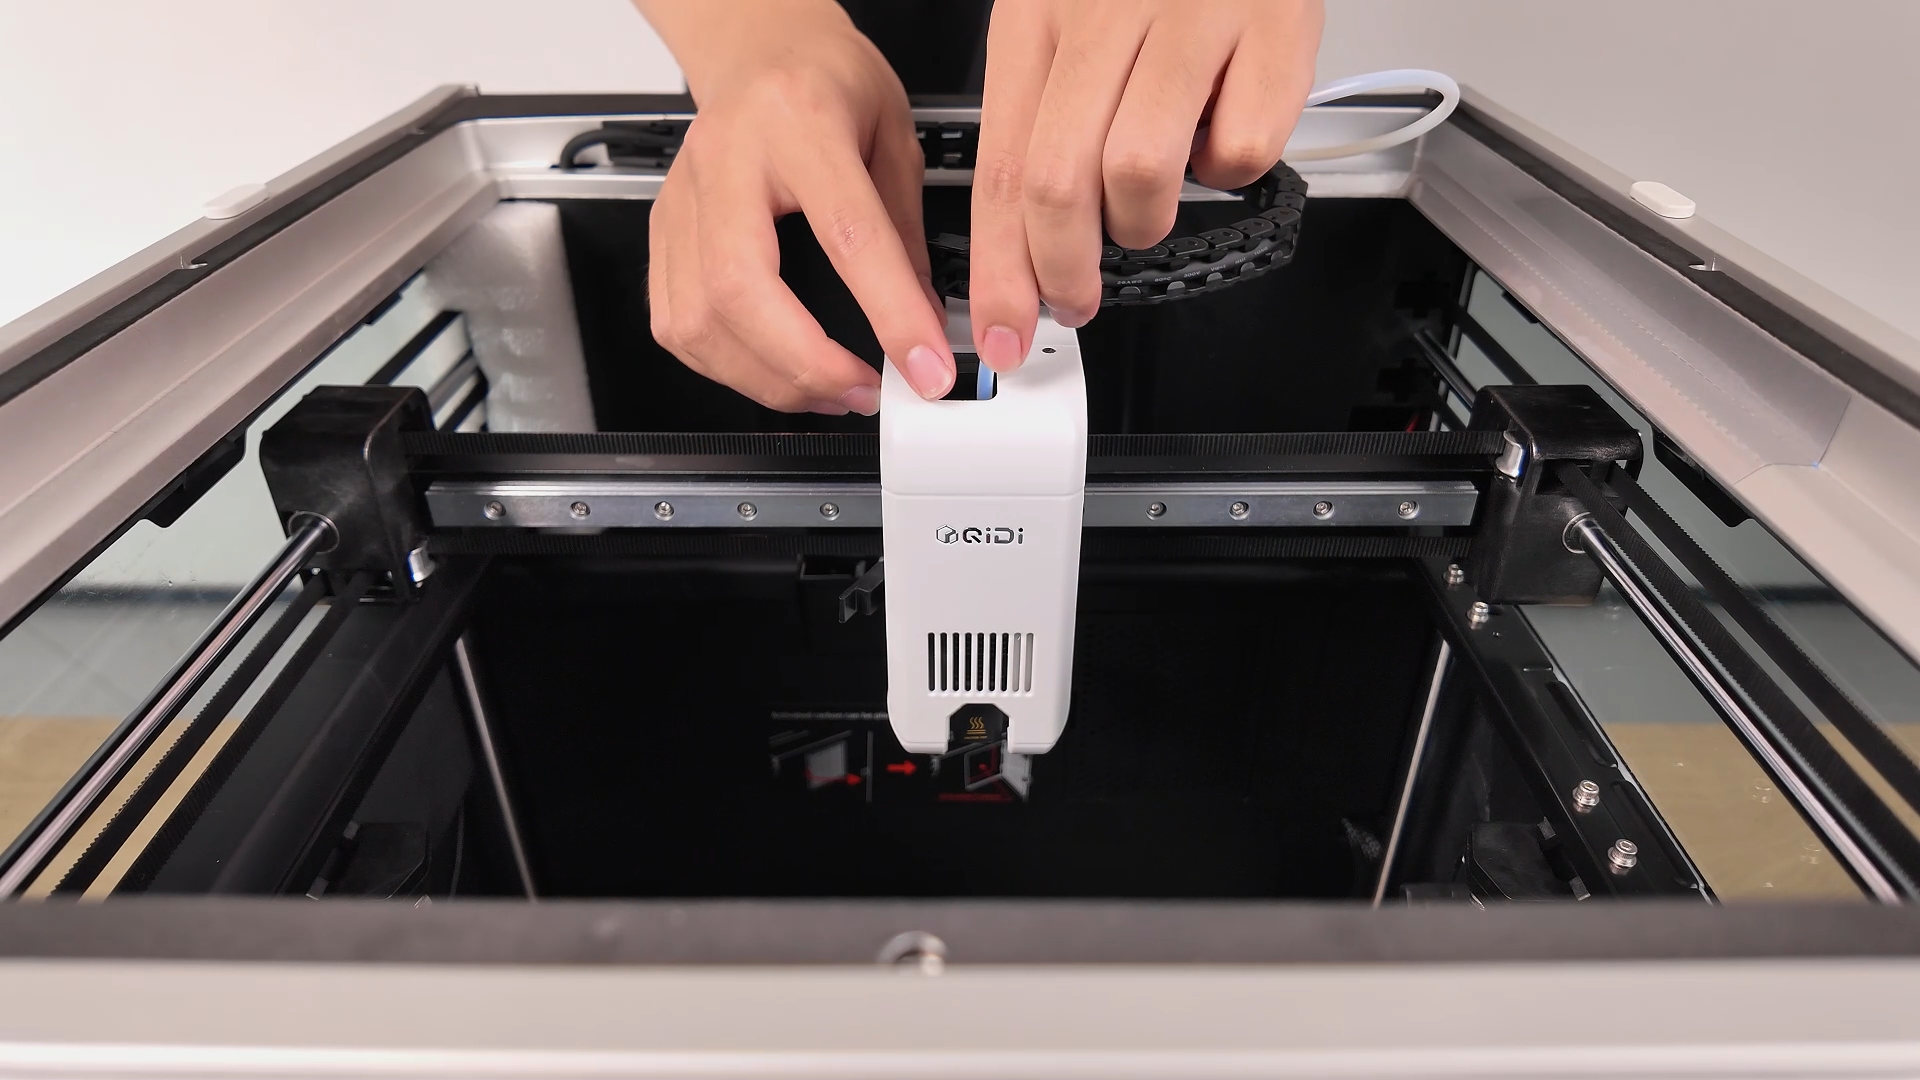
¶ Insert the PTFE Tube
¶ Remove the Remaining Foam

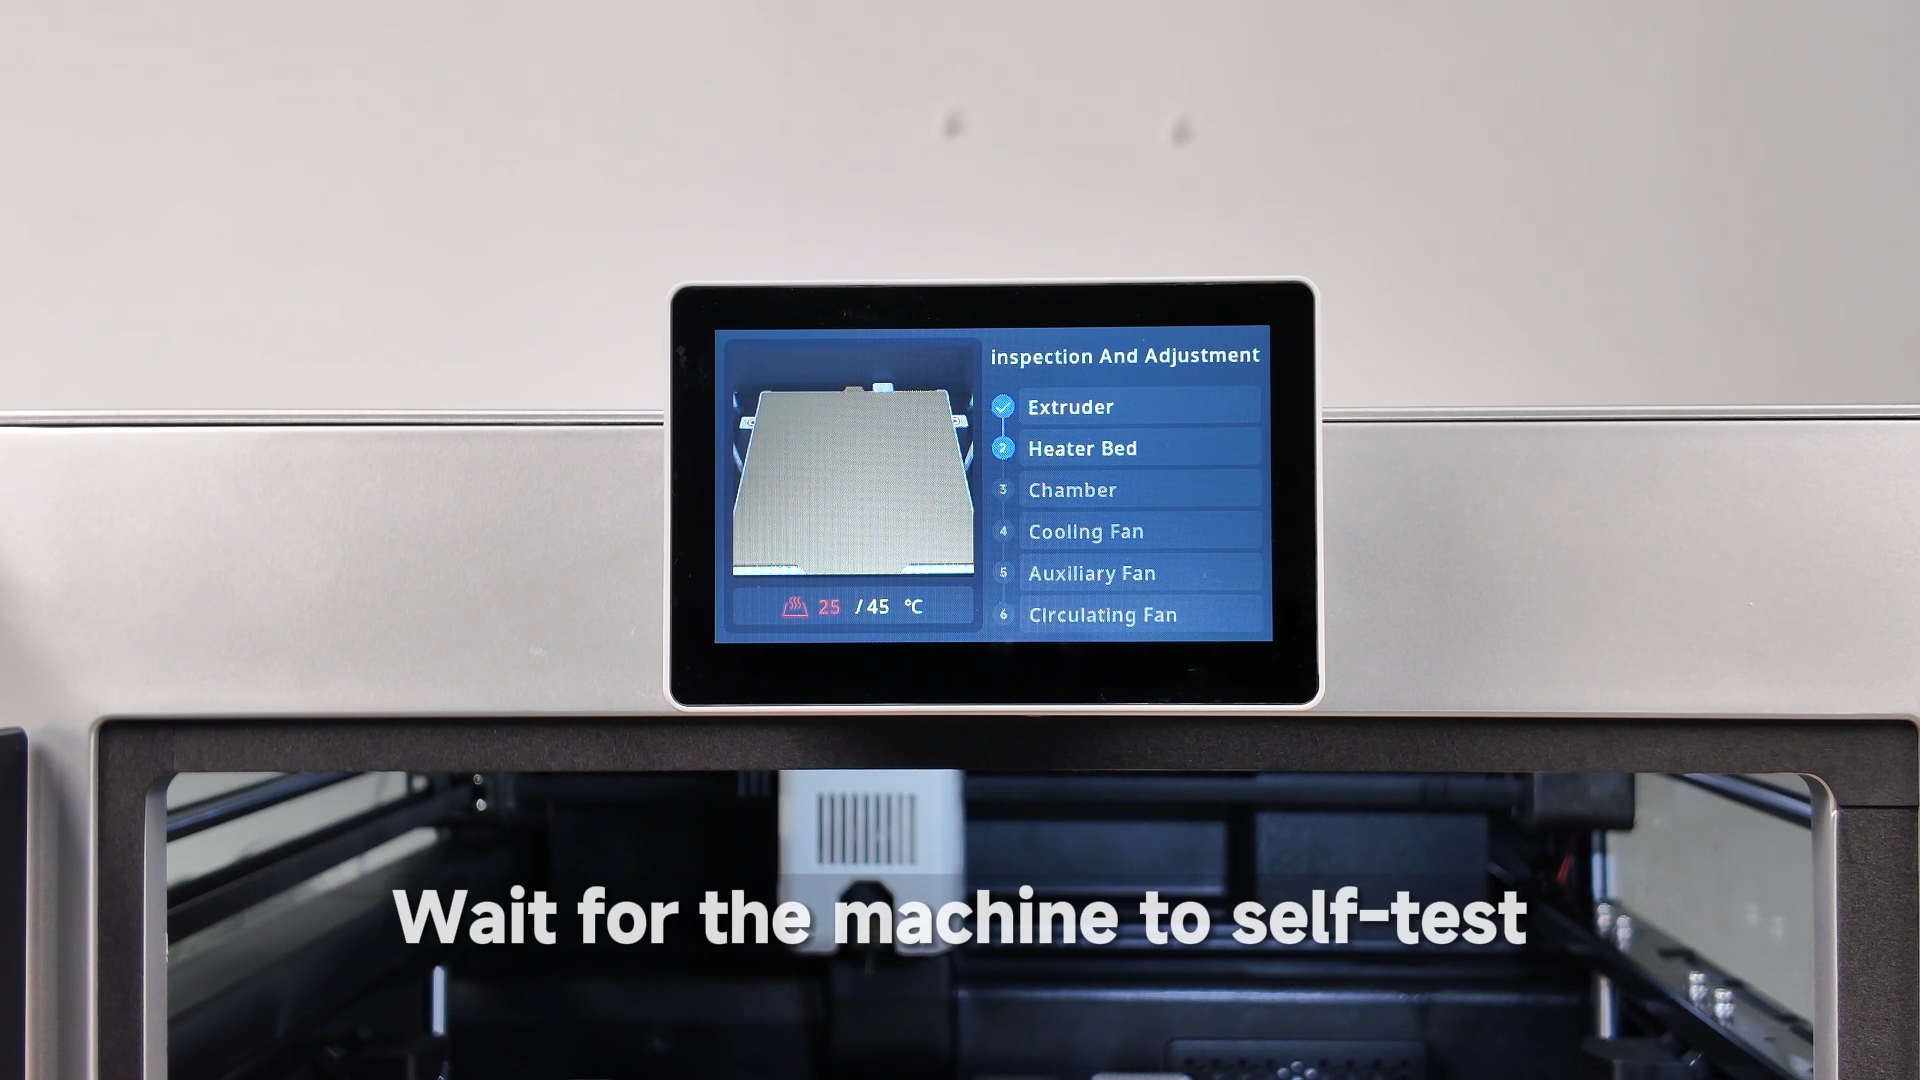
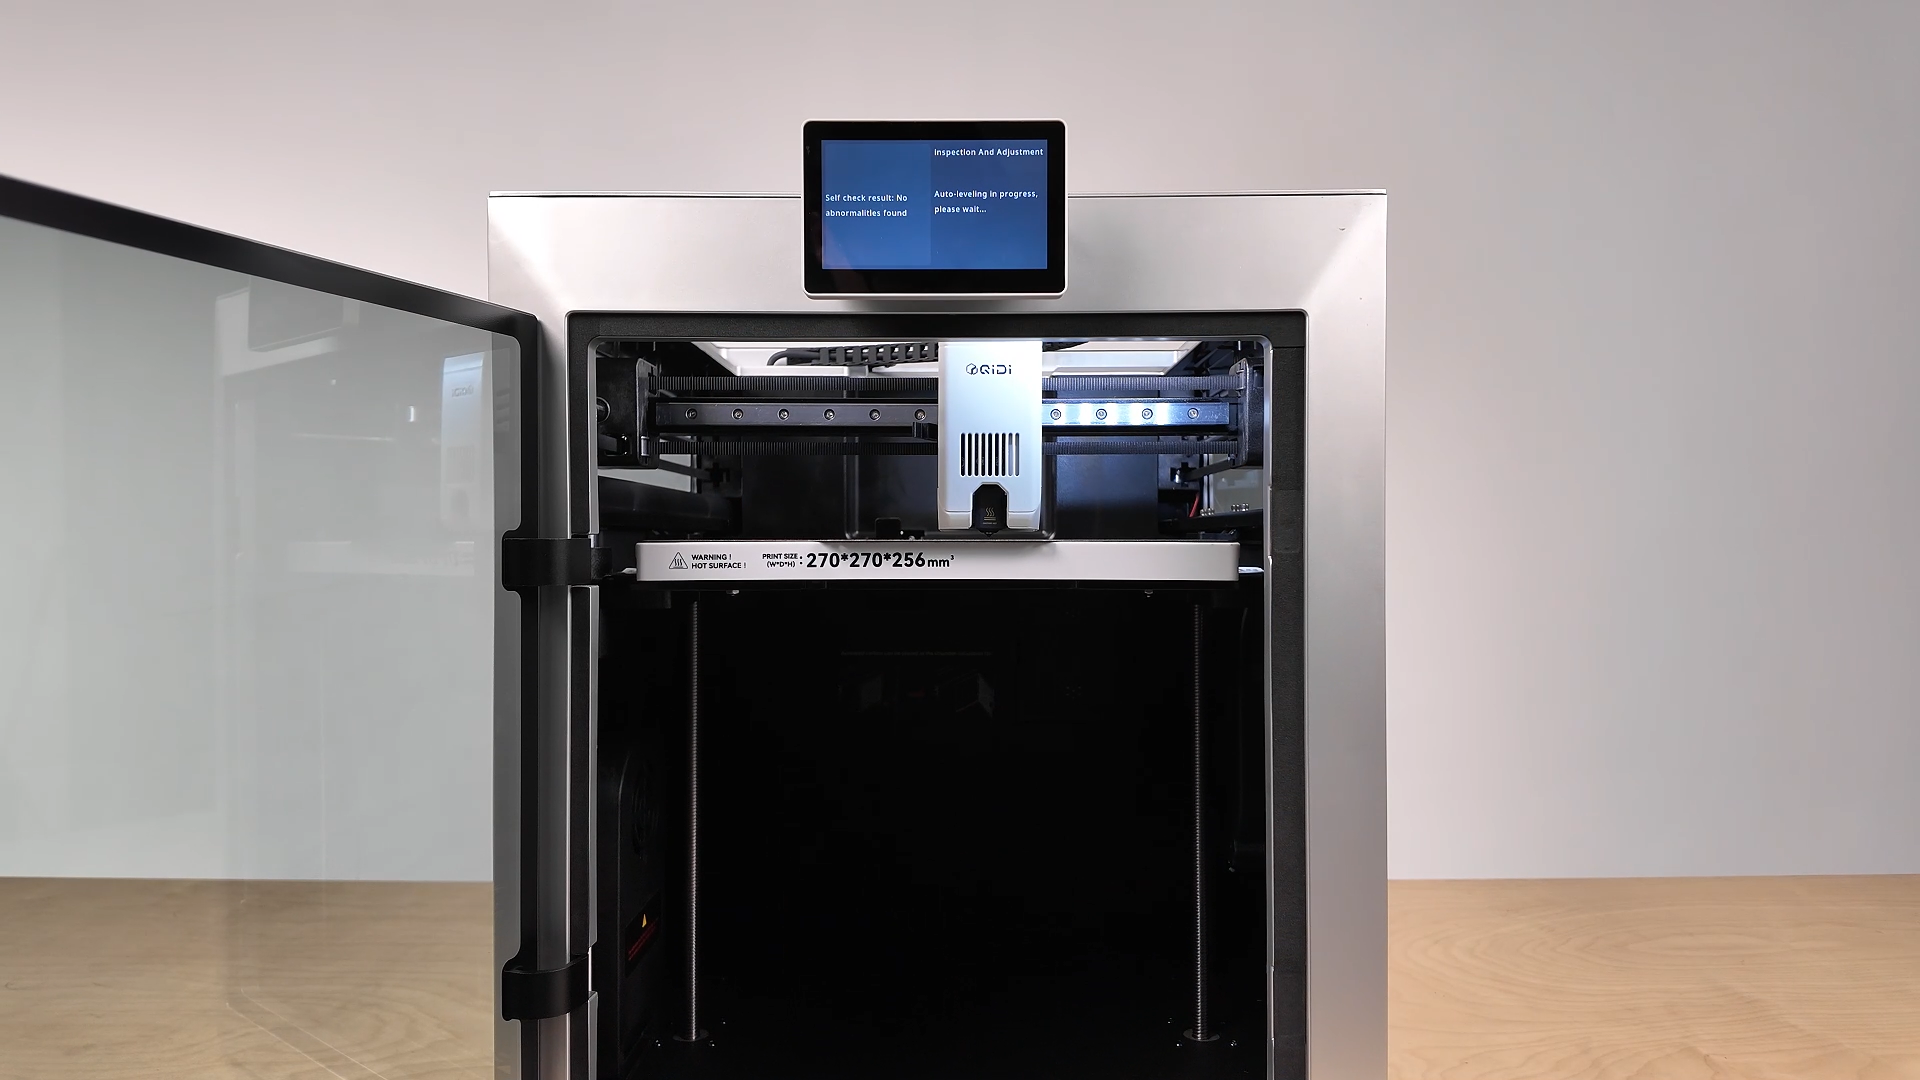
¶ Wait for Power-On Self-Test
¶ Wait for Automatic Bed Leveling
¶ Completion