¶ Wi-Fi / Network Connection Guide for Q2 3D Printers
This guide explains how to connect the Q2 3D printer to a network, common issues you may encounter, and how to resolve them.
¶ Introduction
This article provides step-by-step instructions for connecting the Q2 3D printer to a Wi-Fi network, along with troubleshooting guidance for common connection problems.
¶ When to Use This Guide
Refer to this guide if:
- You are unsure how to connect your Q2 to a Wi-Fi network
- You encounter issues during the network connection process
¶ Applicable Models
- QIDI Q2
¶ Operation Procedure
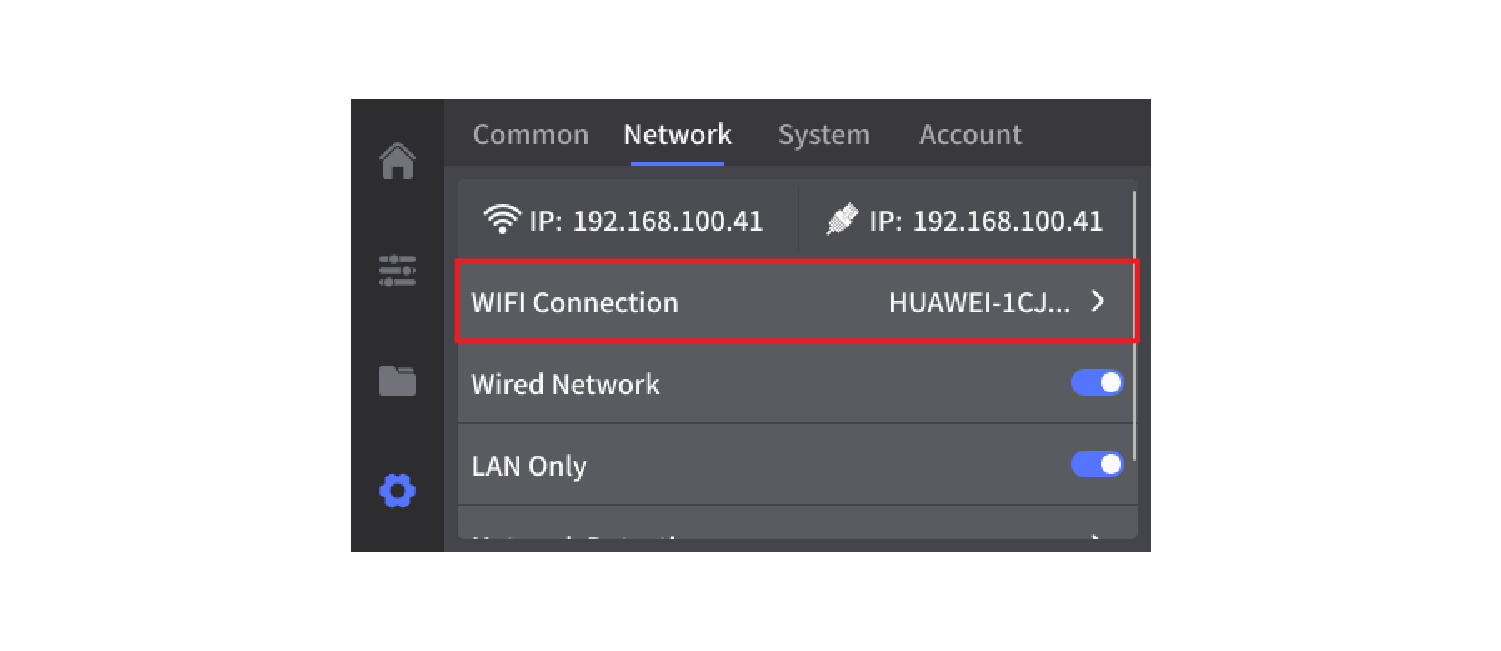
¶ Step 1: Open Network Settings
Go to the Settings page on the touchscreen, tap the Network tab, enable Wi-Fi, then find and select your Wi-Fi router.
¶ Step 2: Connect to Wi-Fi
Select your Wi-Fi network, enter the password, and tap Enter.
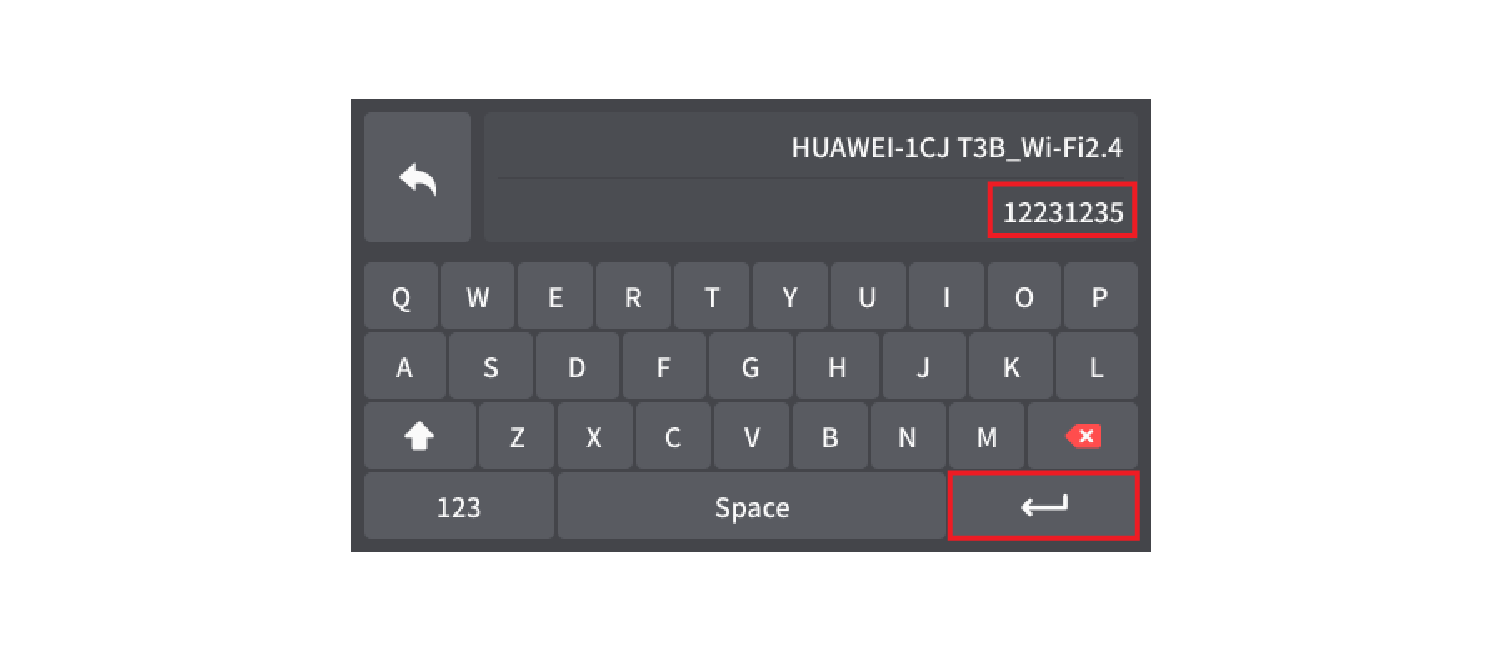
After a few seconds, the printer will connect to the network and display a confirmation message.

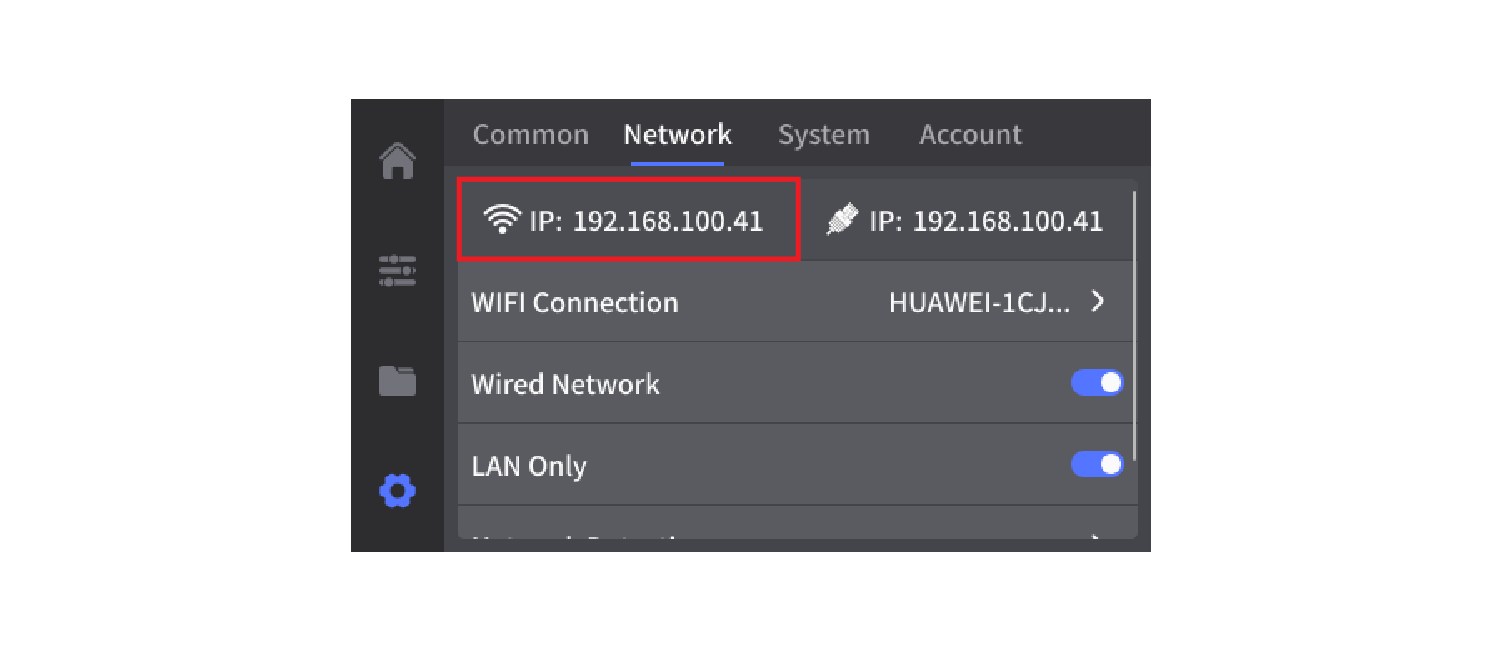
¶ Add Printer to QIDI Studio
- Ensure the printer and computer are connected to the same Wi-Fi network.
- On the printer, go to Settings → General Settings → Network and note the printer’s IP address.
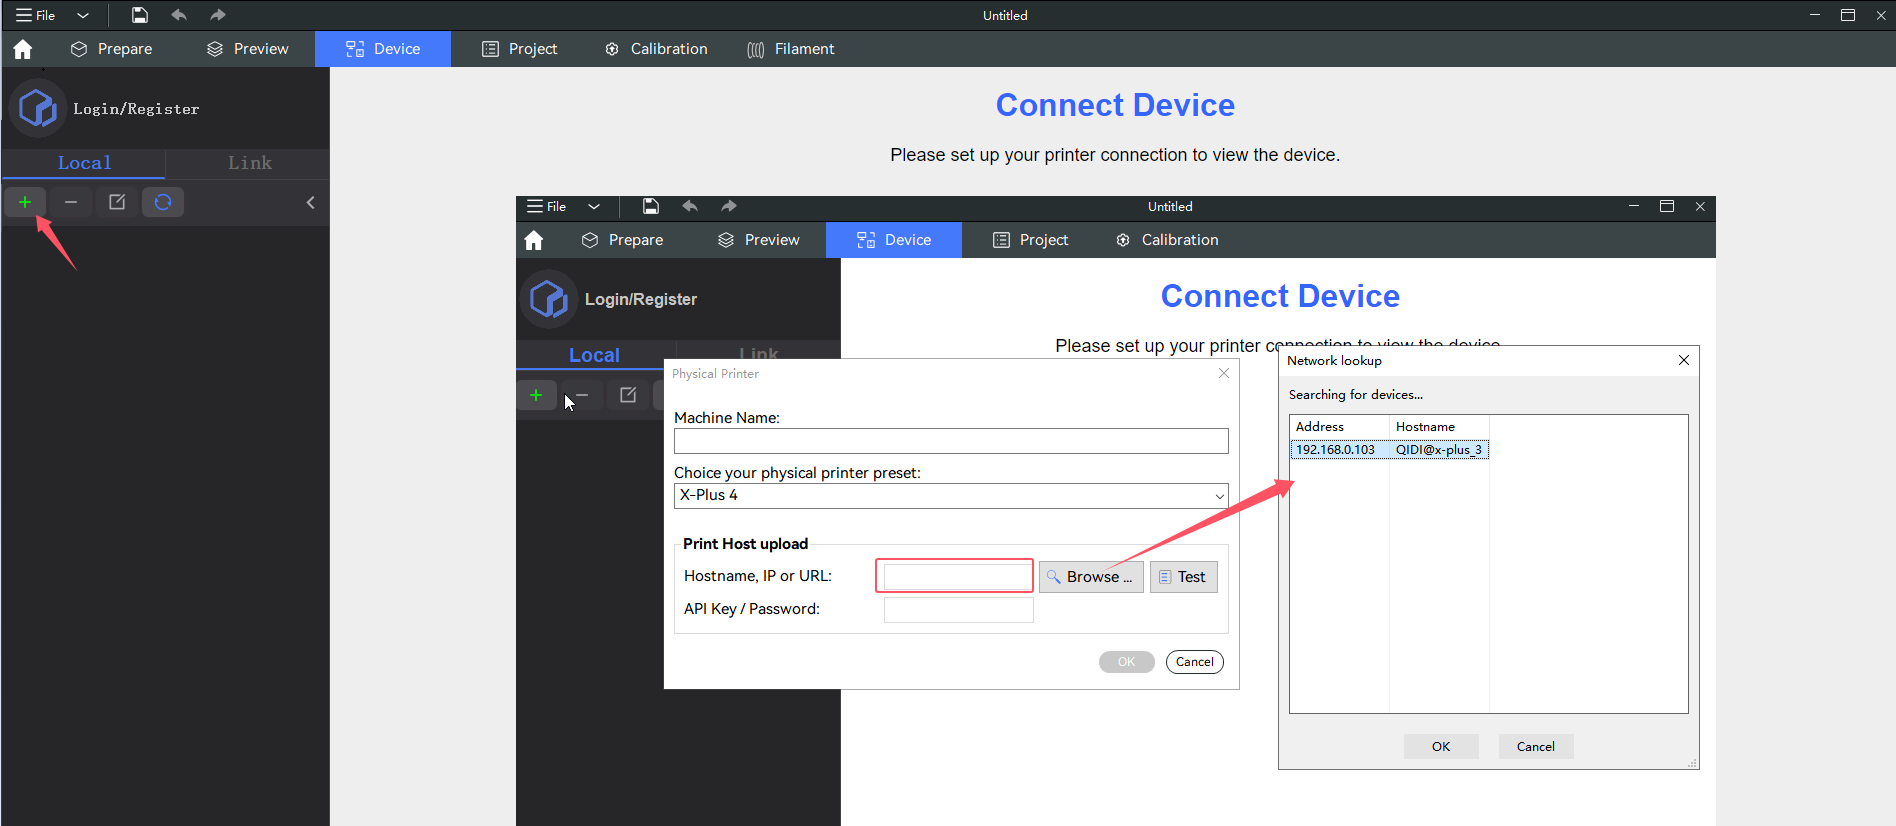
- In QIDI Studio, open the Device tab and click + to add a printer.
- Select the correct printer preset.
- Enter the printer IP address manually or search for the device.
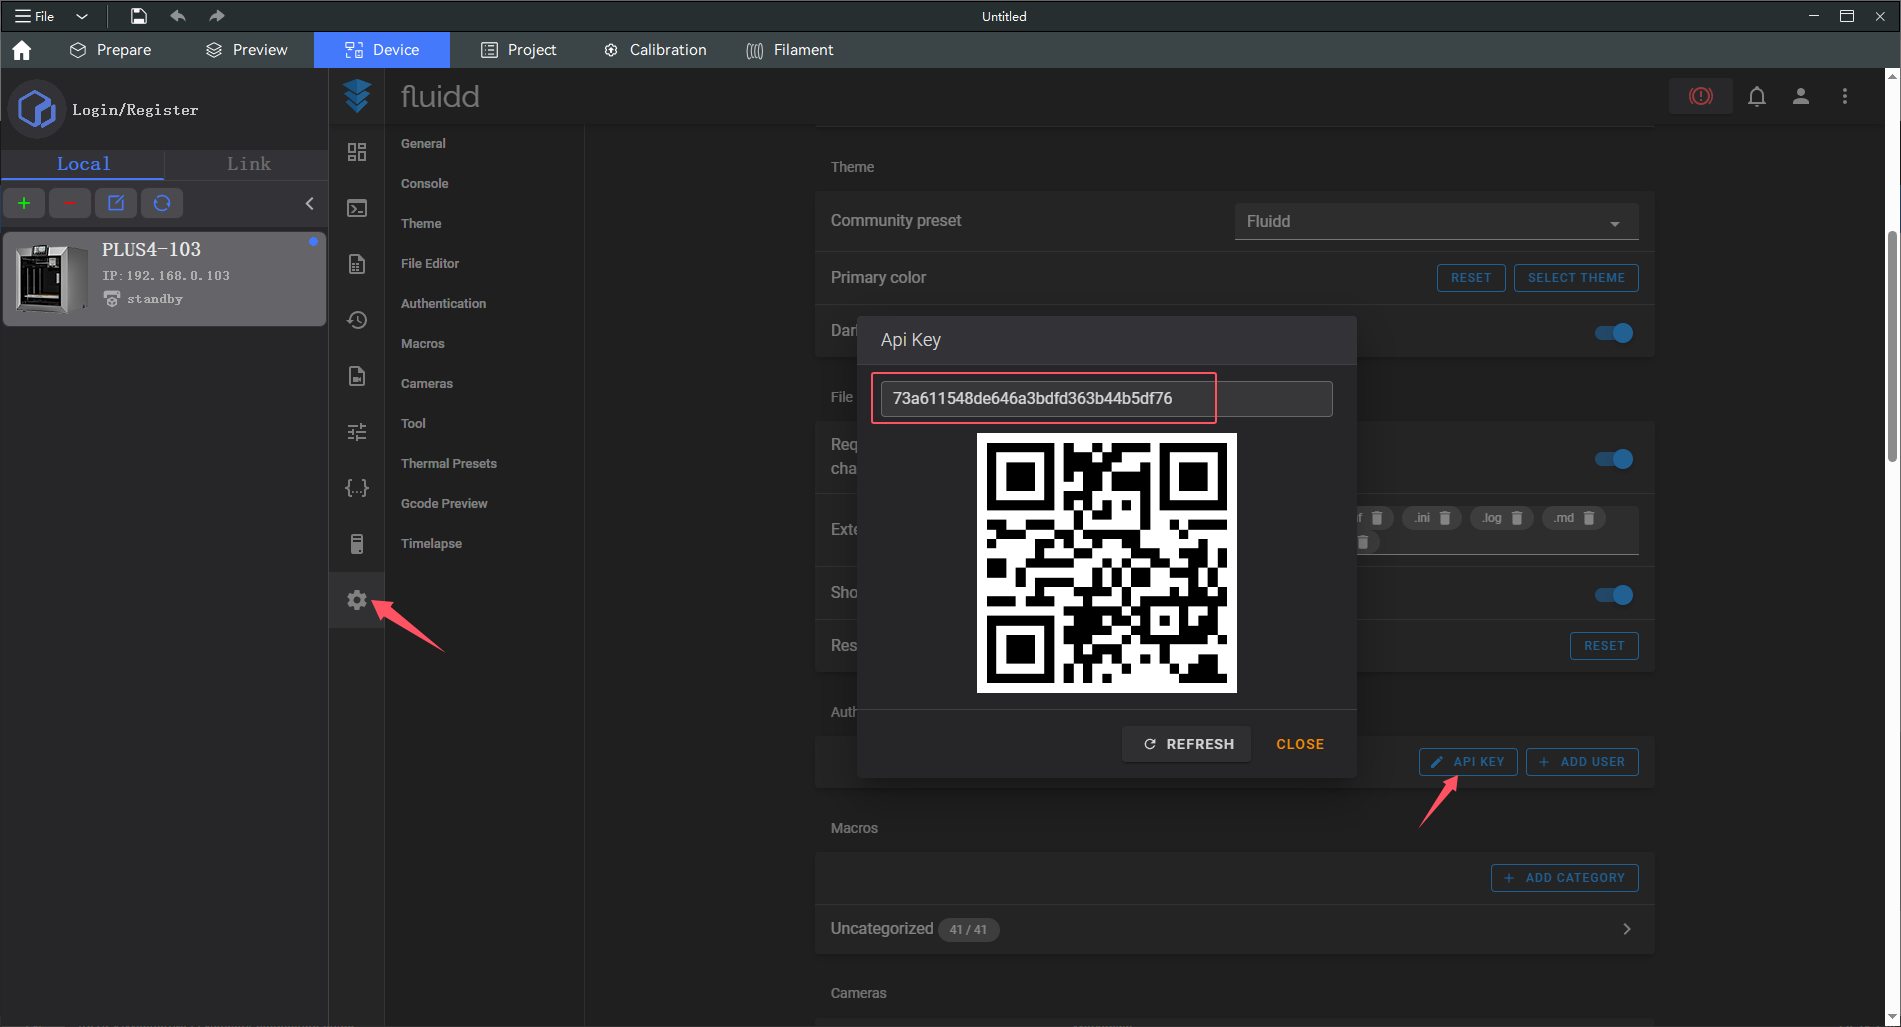
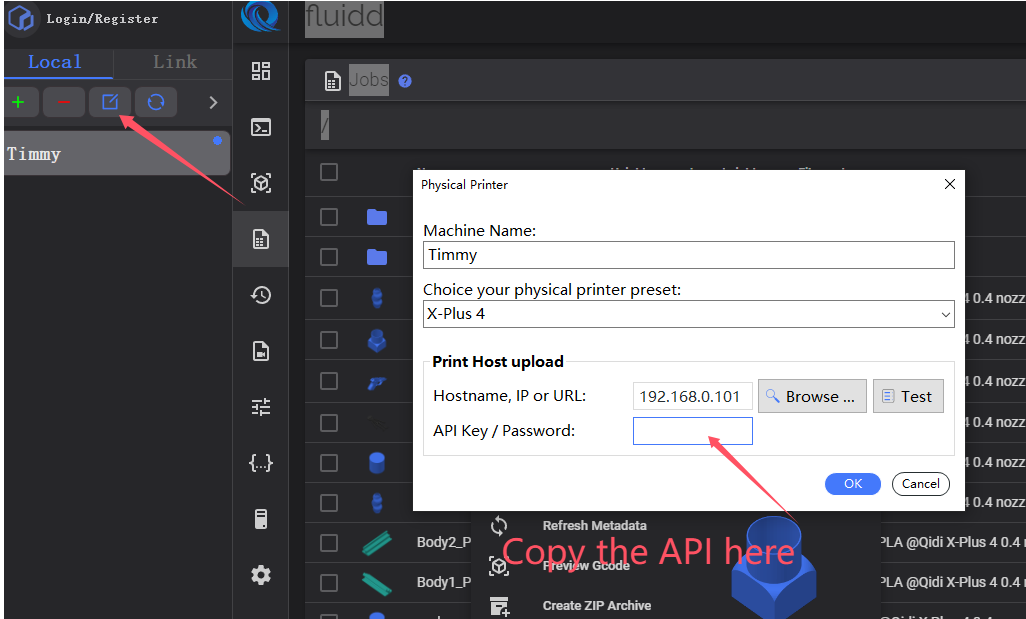
Warning:
If you have added a Fluidd account, you must also enter the API Key.
Otherwise, you will not be able to send print files.
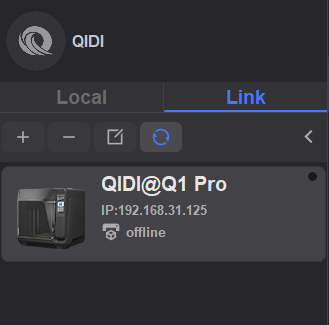
¶ QIDI Link Device Connection
Currently, online devices can only be connected through the QIDI Link App.
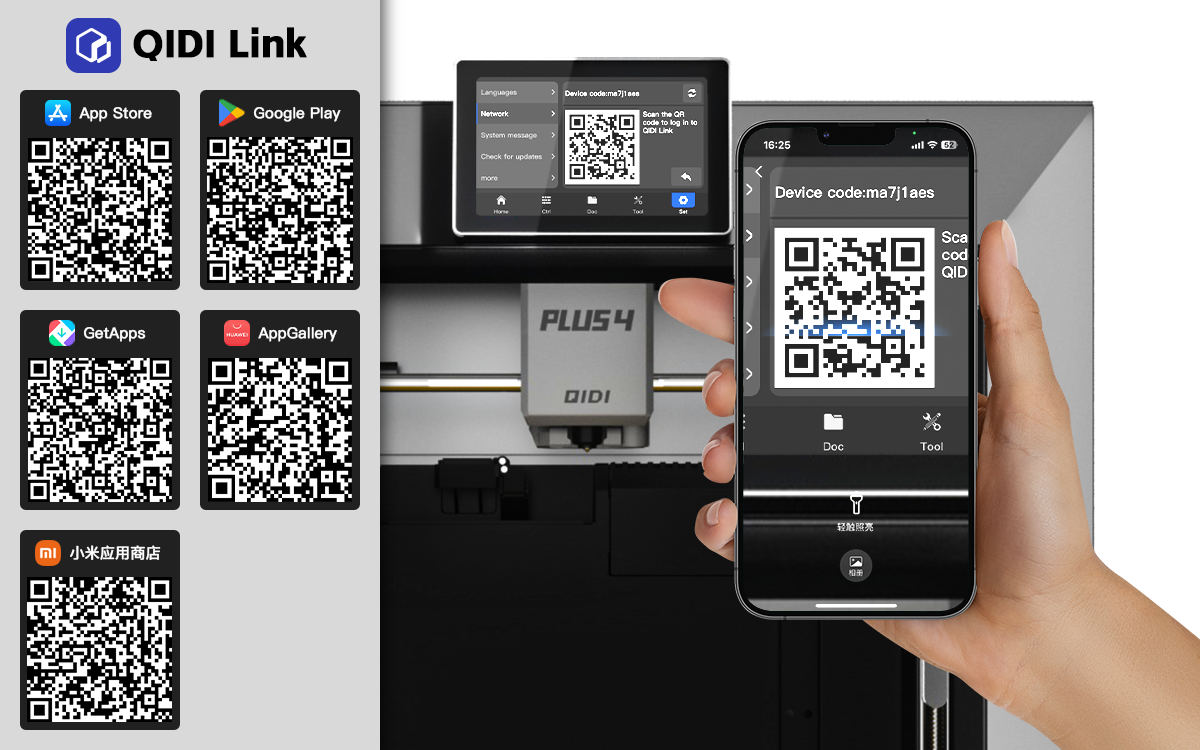
- Download the QIDI Link App from major app stores.
- Register and log in to your account.
- On the printer, go to Settings → General Settings → Network → QIDI Link and scan the QR code.
Note: The printer must already be connected to a network.
- Log in to the same account in QIDI Studio.
The online device will appear in the Link device list.
¶ Fluidd
Fluidd is a web-based interface used to control and monitor the Q2 3D printer.
Through Fluidd, you can:
- Control toolhead movement
- Monitor print progress and printer status in real time
- View and adjust temperature parameters
- Start or stop print jobs
This helps optimize the printing process and improve print quality.

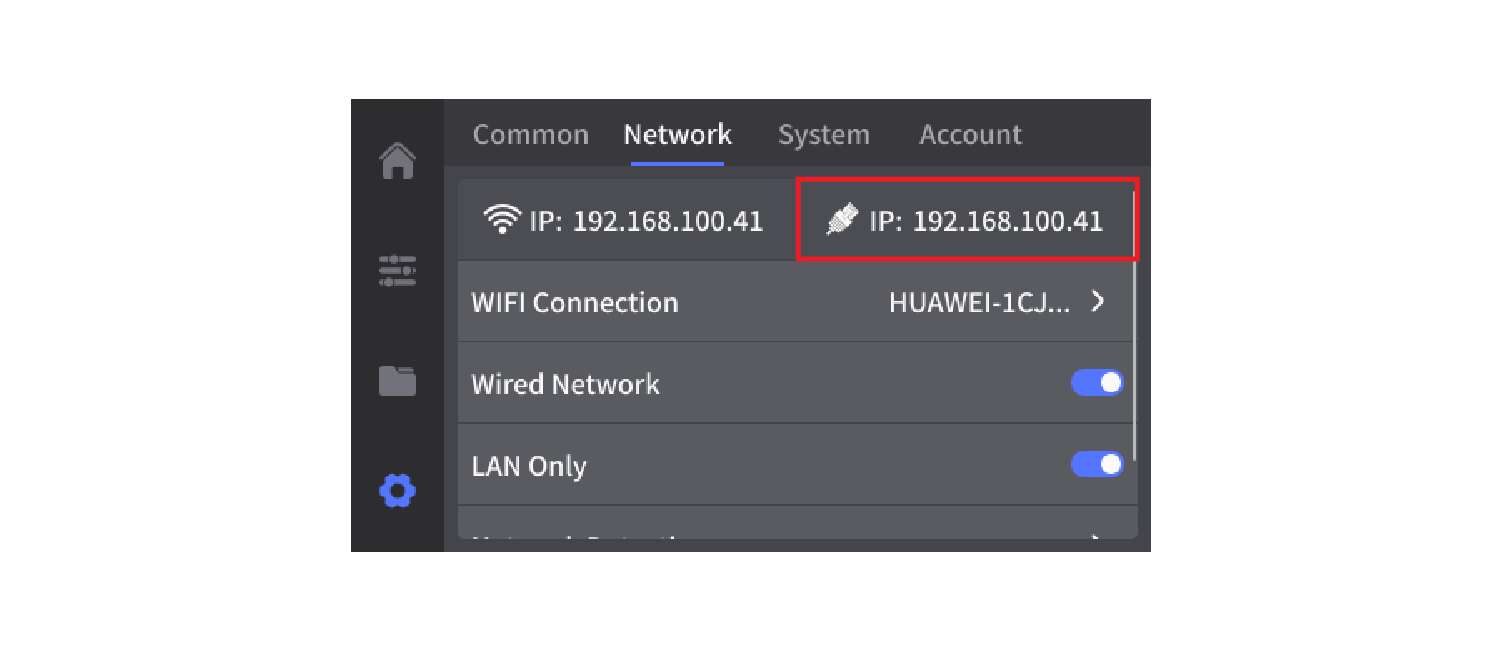
¶ Ethernet Connection Guide for Q2 3D Printers
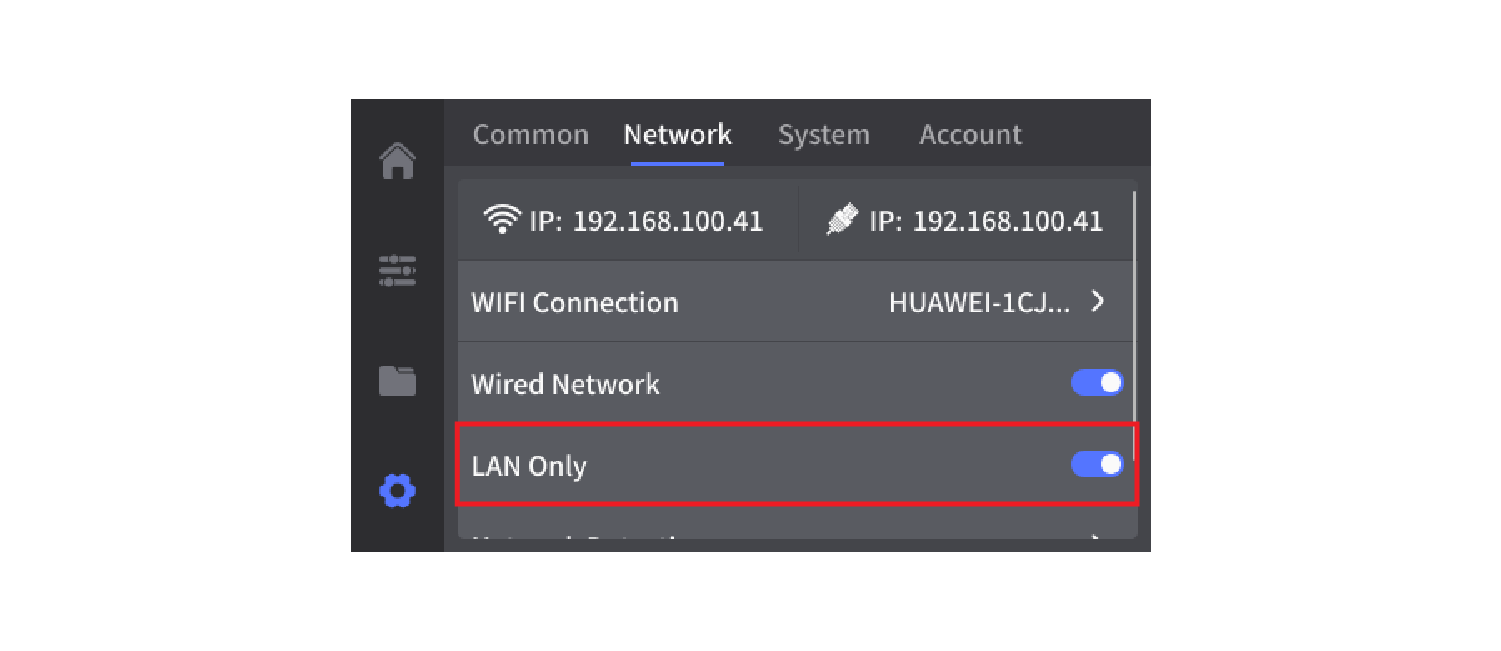
To use a wired network connection, tap the option highlighted in the red box to switch to Ethernet mode.
Printers connected via Ethernet typically display an IP address automatically.
¶ LAN Only Mode for Q2 3D Printers
When LAN Only Mode is enabled, the printer disconnects from the internet and the QIDI Cloud Server, operating only within the local network.