It is very important that the first layer of your print is strongly connected to the printer’s build platform so that the remainder of your part can be built on this foundation.
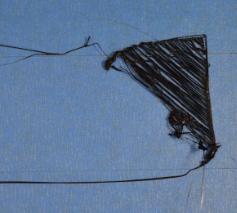
If the first layer is not sticking to the build platform, it will create problems later on. See the photo below, the first layer could not stick on the build plate. The photo below is a very classic common issue that the distance between the nozzle and build plate were way too far, so the filament could not stick to the build plate.

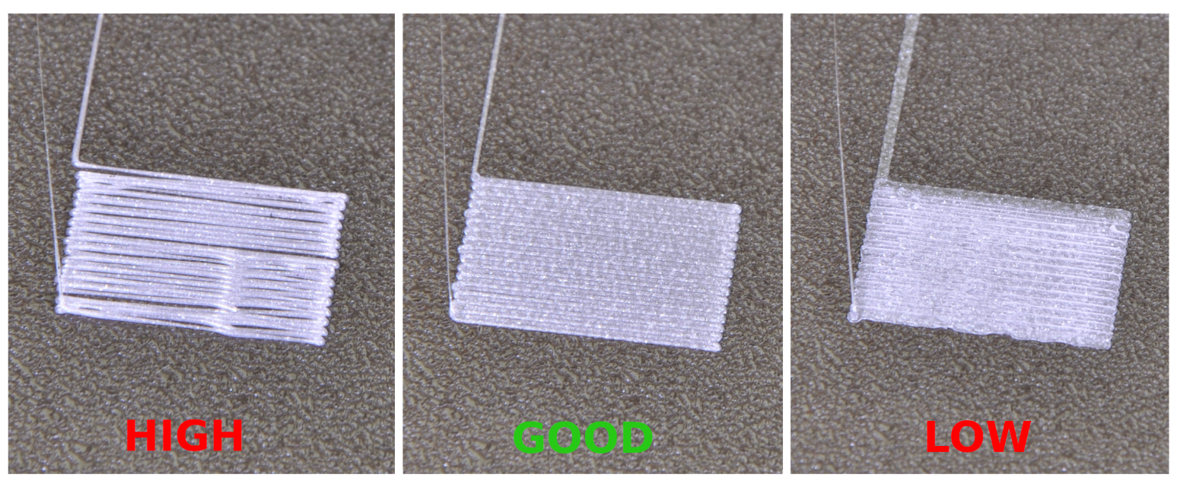
Here is the some example below shows how the correct first layer should looks like. The first one is too far from the bed, the second one is perfect, the third one is too close to the bed.
The correct distance for the first layer should be no gap betweeen the each lines. See the mid one in the photo below.

Most of you might have already used the leveling paper to level the build plate in the bed leveling section. However, everyone feels resistance differently, and using a leveling card is only a preliminary adjustment of the distance, the real precise distance needs to be slightly-tuned by our observation of the first layer printing, therefore we need to slightly adjust the Z-offset during the first layer printing. The Z-offset is the value of distance between the nozzle and build plate.
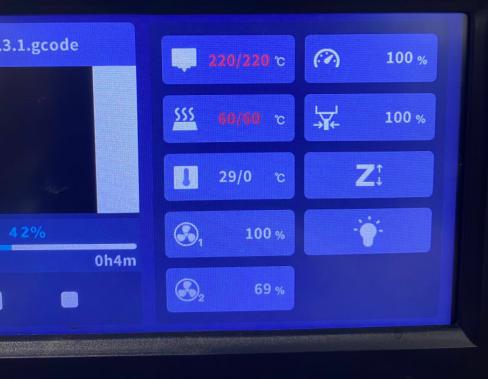
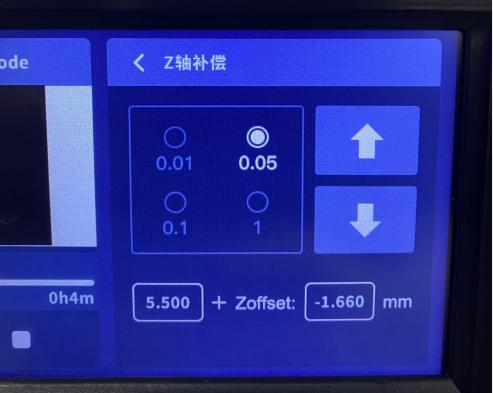
The best way to adjust the Z-offset is during the first layer printing, when the print head start to print the first layer, please click the Z-offset feature on the screen ( see the photo below, click Z icon), after you up the build plate or lower the build plate, it will have one second delay, so don't click to fast. You can start with the 0.05 value first, and see the change , and then use 0.01 mm value to slight adjust the distance. The value will be saved after you adjust.
For more detail operation, you can contact tech support.


Edited by Timmy