¶ Replace Nozzle — X-Plus 4
Follow the steps below to safely replace the nozzle.
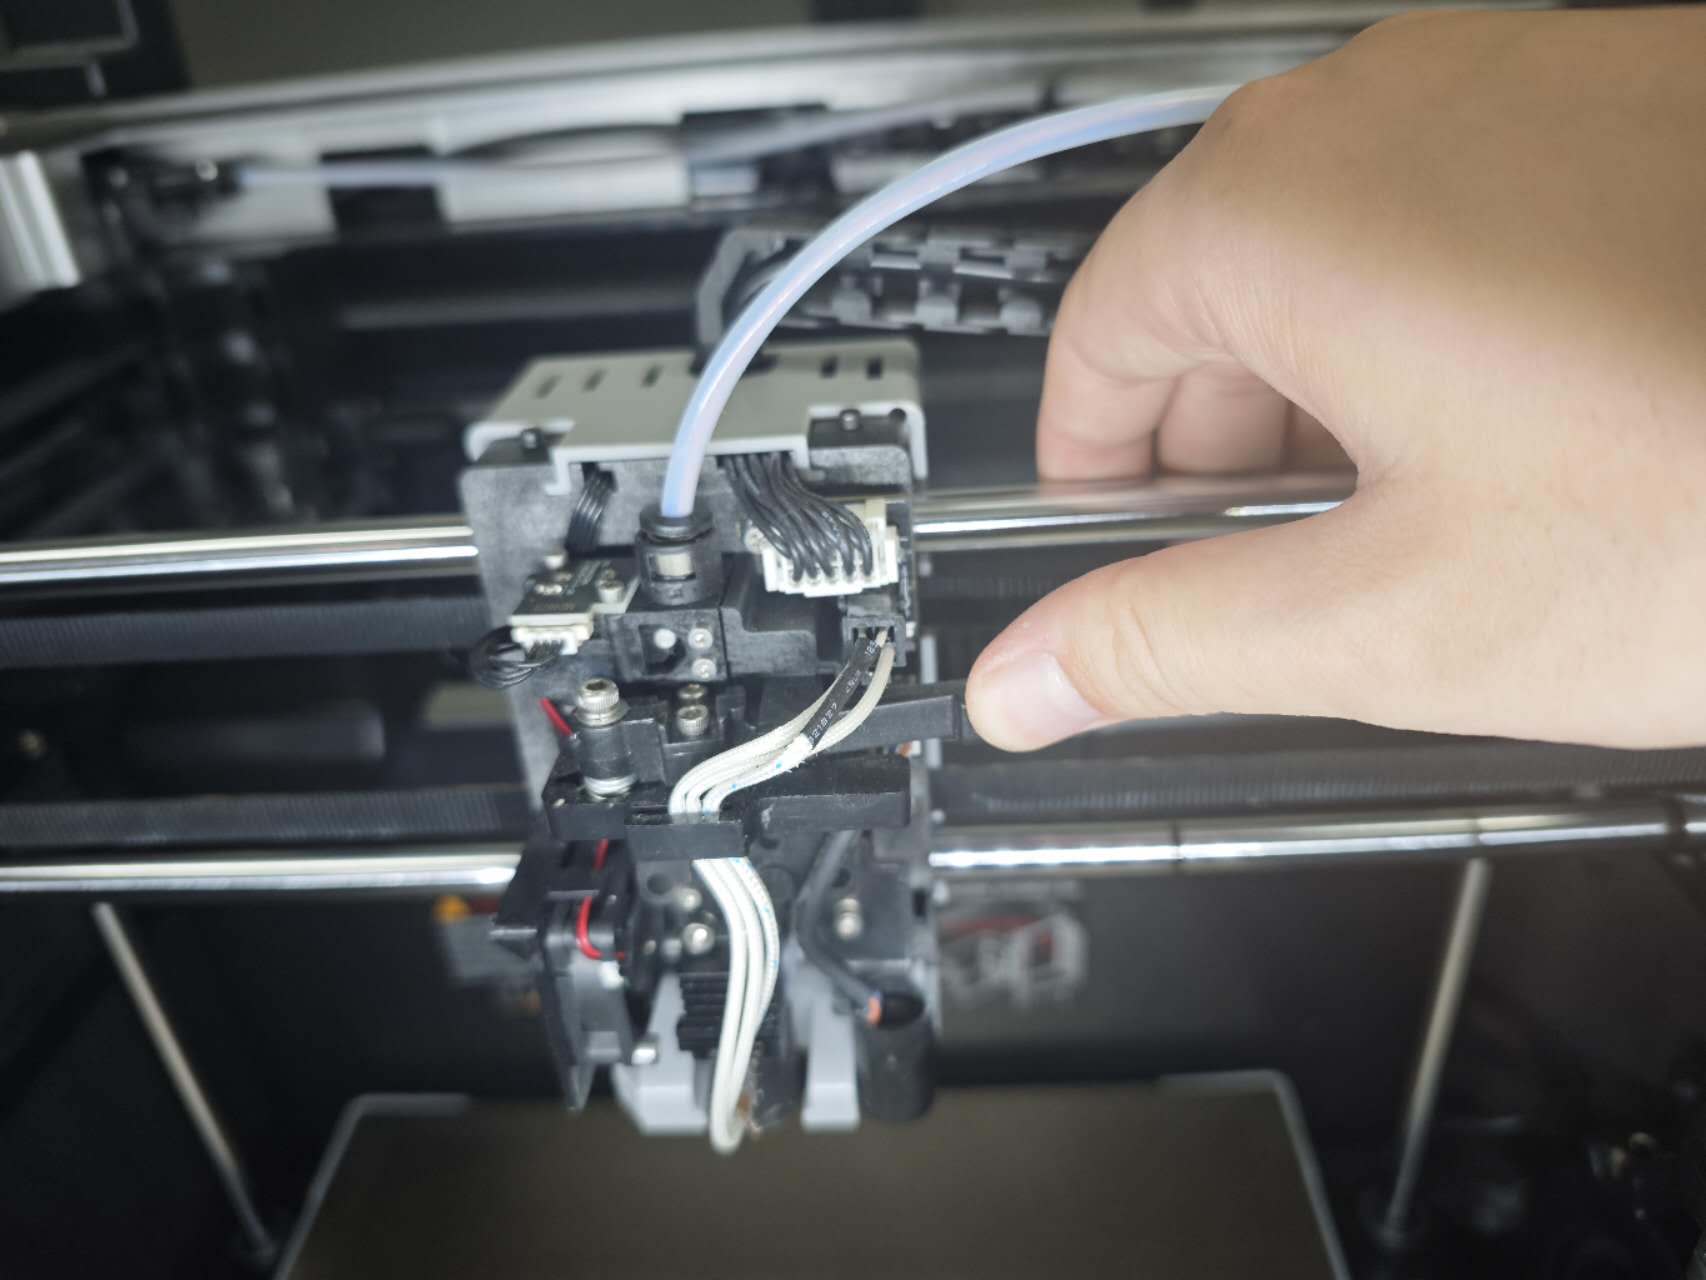
¶ Step 1 — Cut the filament
Use a filament cutter to cut the filament above the extruder.
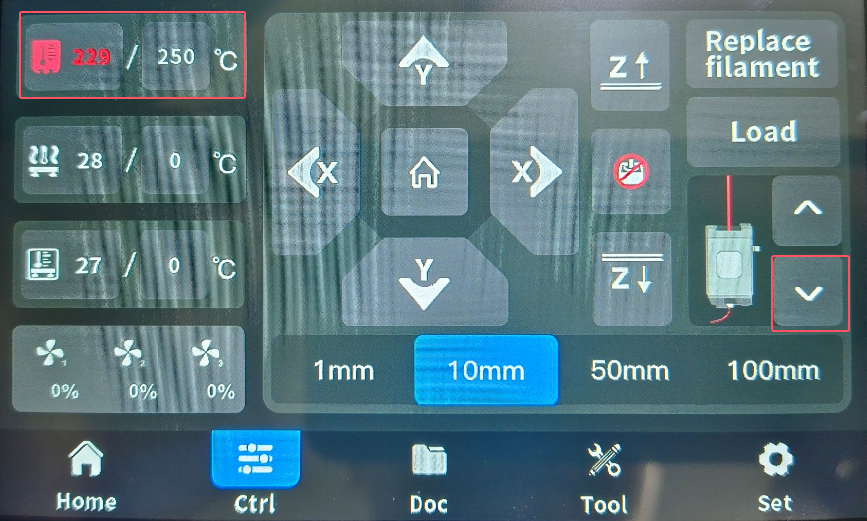
¶ Step 2 — Heat and unload filament
Heat the nozzle and extrude the remaining filament from the hotend.
¶ Step 3 — Remove the silicone sock
Carefully remove the silicone sock from the hotend.
If it is difficult to remove, heat the nozzle to 220 °C and use needle-nose pliers to detach it.
Warning: Do not touch heated components with bare hands.
Risk of burns.
¶ Step 4 — Loosen the nozzle
Keep the nozzle heated to 220 °C.
Use a socket wrench to loosen and remove the nozzle.

¶ Step 5 — Install the new nozzle
Install the new nozzle and tighten it using a socket wrench.
Tighten while the nozzle is heated to ensure proper sealing.
¶ Step 6 — Reinstall the silicone sock
Turn off nozzle heating.
After the nozzle has cooled, reinstall the silicone sock.