¶ Introduction
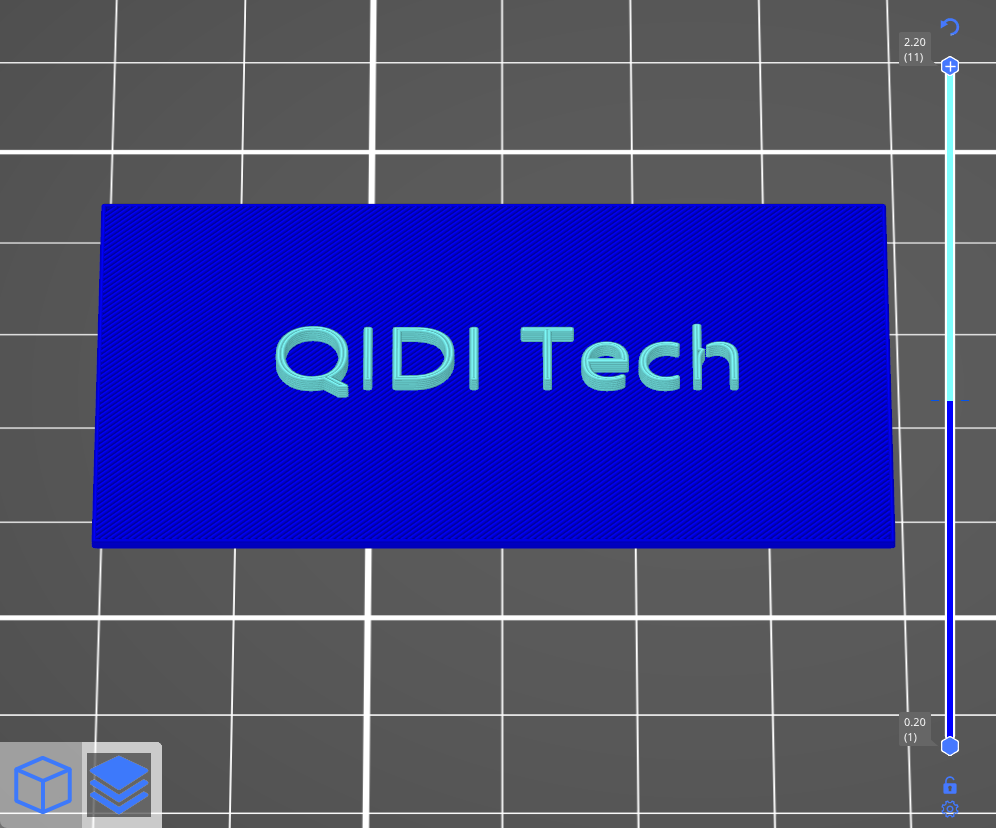
To achieve multi-color printing, you can pause the print at a specific layer and resume after replacing the filament. QIDISlicer offers this functionality to enhance your printing experience.
¶ Operation
To implement the color change feature, follow these steps:
-
Slice the Model: Begin by slicing your model and navigating to the Preview page.
-
Select the Target Layer: Use the layer slider on the right to choose the layer where you want to change colors.
-
Add Color Change:
1. Quick Add: Left-click on the blue plus icon to quickly add a color change (note: this will use a random preview color).
2. Custom Color: Right-click on the blue plus icon and select "Add color change". A color picker window will pop up, allowing you to select the exact color for a more accurate preview. -
Repeat: Add as many color changes as desired by repeating the previous step.
To remove a color change, simply move the slider to the target layer and left-click on the grey cross icon.
To edit the preview color of a color change:
-
Right-click anywhere on the colored bar for subsequent colors.
-
For the first color, click on the colored rectangle next to the filament profile name in the top right corner.
Please note that the preview colors are solely for visualization purposes and do not affect the generated G-code.
A real-time preview is available to show you exactly how your model will look with color changes.
Always use compatible filaments (e.g., PLA with PLA, PETG with PETG) to avoid print failures due to poor adhesion.
The color change feature does not work in conjunction with sequential printing.

¶ Color change time estimates
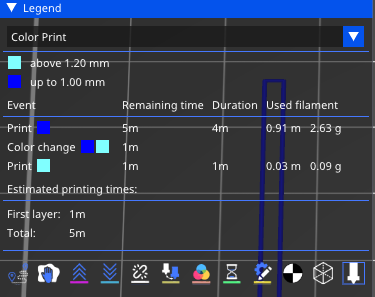
Once you add one or more color changes, the Platter legend will switch to "Color Print" mode and display time estimates for each change.
