¶ Introduction
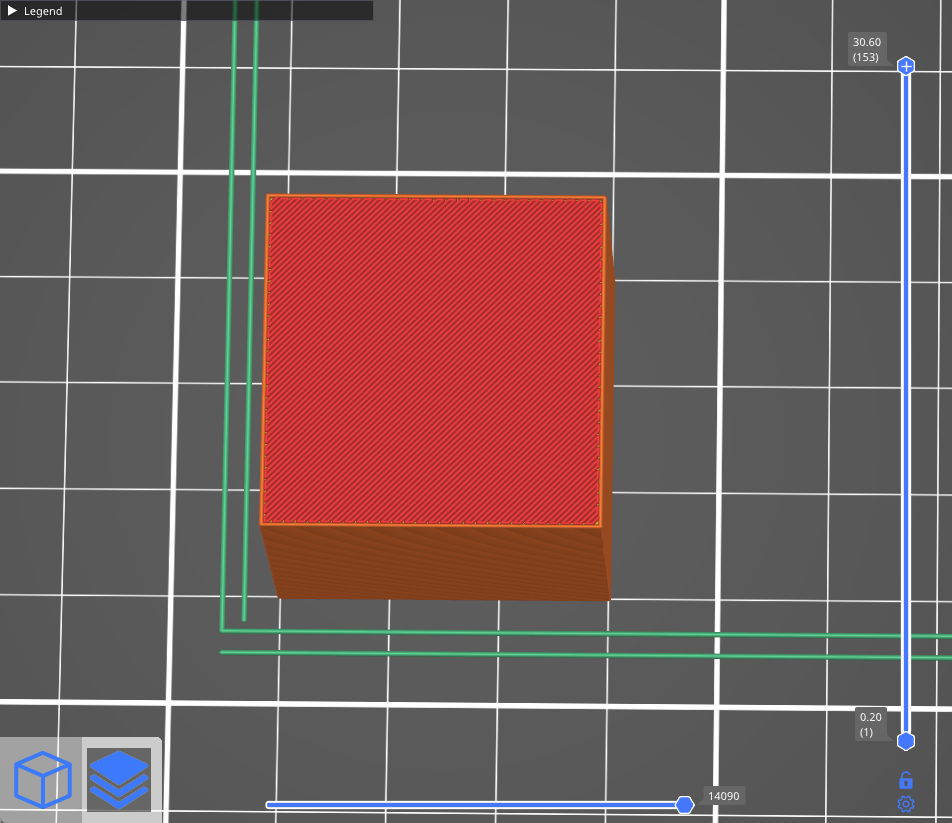
As we all know, limited by the forming principle of FDM 3D printing, we can see that the top surface of the printed model is composed of many lines, as shown in the following figure.
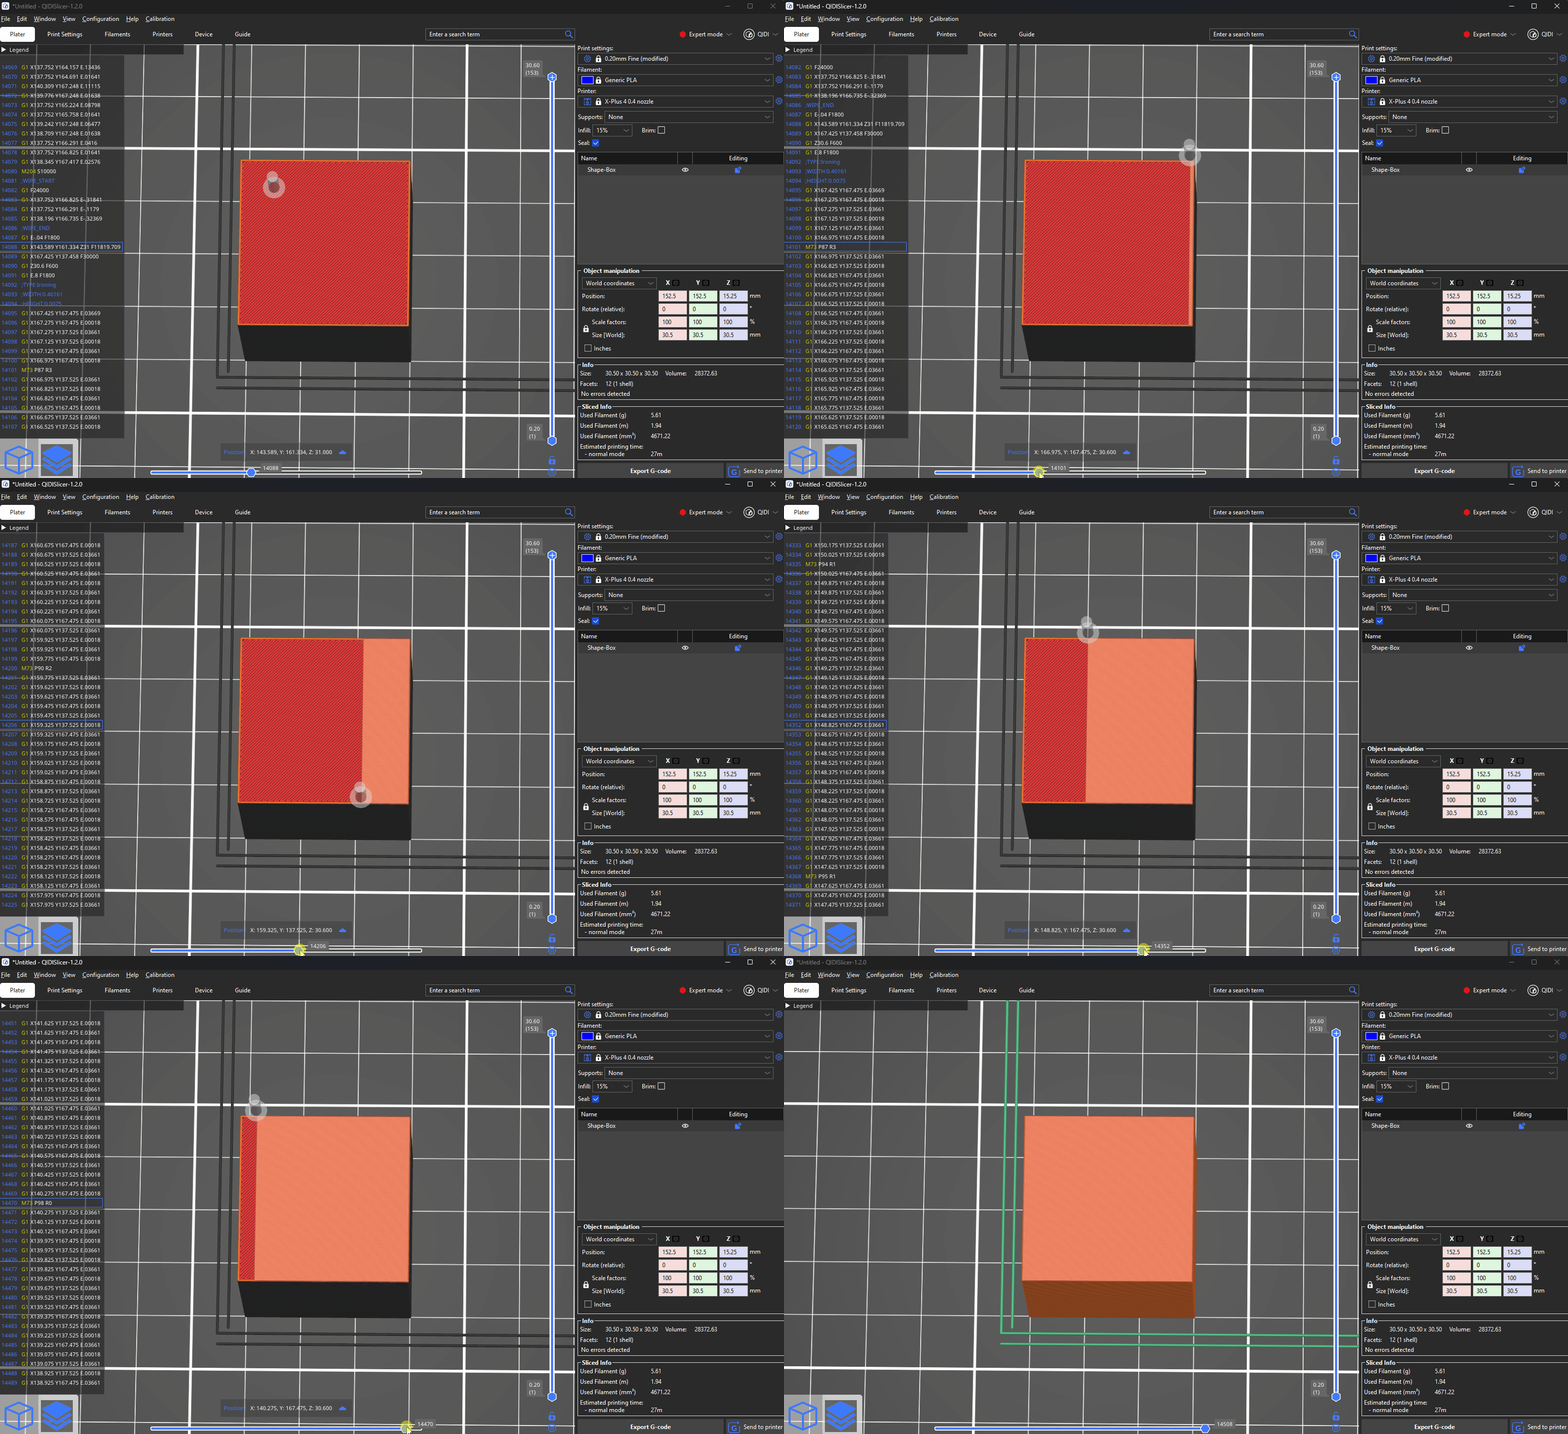
The ironing function, as the name suggests, is like ironing out wrinkles on clothing, eliminating lines on the top of the model and making the top look smoother. The working principle is that after printing the top surface of the model, the nozzle continues to print on the surface of the model with a small flow rate at the same height, allowing a small amount of extruded material to penetrate between the lines and fill the gaps. During the ironing process, because the Z height of the nozzle is not raised (the nozzle remains at the height when printing the top layer), the heat of the nozzle across the top layer will soften the top lines, and the small amount of extruding material can easily fill and smooth the top layer. The ironing process is shown below.
¶ Matters needing attention
Ironing can make the top layer of the model smoother, but there are some points you need to consider in advance:
-
The ironing layer requires additional printing time to complete, and the ironing speed is usually slower, and if you print the model with a large top surface area, it may add quite a bit of printing time.
-
Because the ironing process uses only a small amount of extrusion flow and a slow printing speed, there is a certain probability of thermal creep, which can lead to hot end blockage, especially for materials with low softening temperatures such as PLA, PETG and TPU.
-
When ironing, the nozzle will rub over the top layer of the model, so the model will be subjected to greater force from the nozzle compared to normal printing. If the model is not firmly bonded to the build plate, it is likely to fall off the build plate and cause printing failure.
-
Choose the right ironing Settings to get a smooth surface, otherwise the effect may be worse, such as over extrusion, surface smoothness is inconsistent, etc.
-
Ironing is only effective when the top surface is flat. On the curved top surface, ironing will not be able to smooth out the lines between layers, so it may not necessarily achieve better results than not ironing, but rather increase printing time.
¶ Operation
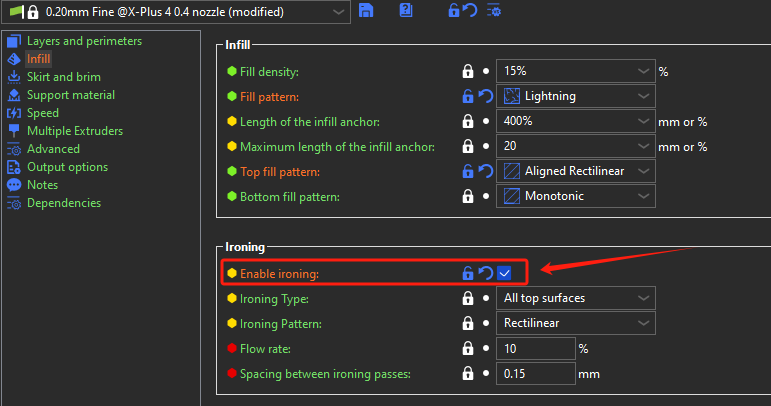
Ironing is not available in the Simple mode, so switch to the Advanced or Expert mode.
Then select Print settings - Infill - Ironing - Enable Ironing.
¶ Turn Ironing on just for the selected model
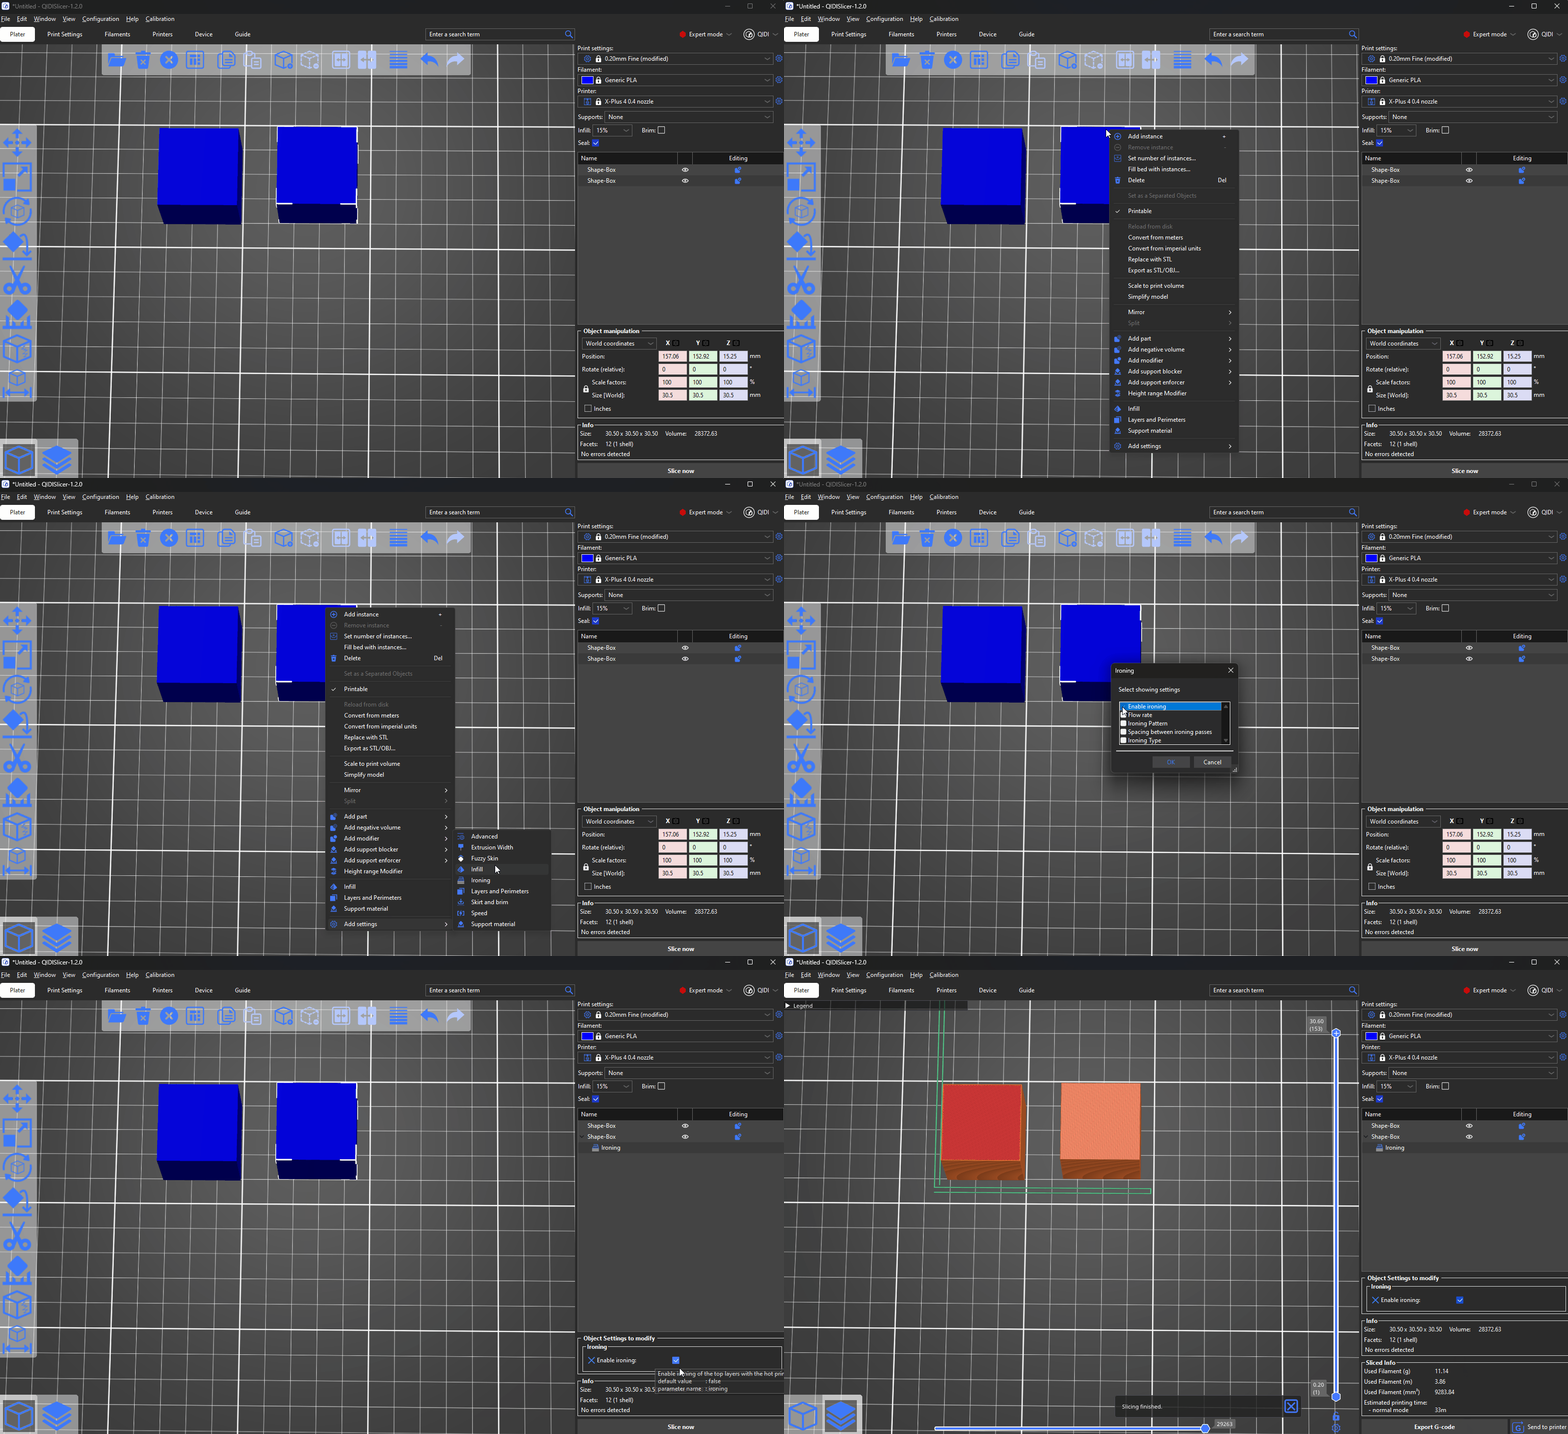
First, switch to the Expert mode, ironing for individual models is only enabled in this mode. Right-click on a model and select Add settings - Ironing from the context menu. Tick Enable ironing, optionally you can also select the rest of the ironing settings in order to customize them on a model-per-model basis. You can now change the ironing settings for this model using the right panel.
¶ Ironing type
¶ All top surfaces
The nozzle will iron the top layer of each surface (the last layer of each flat area).
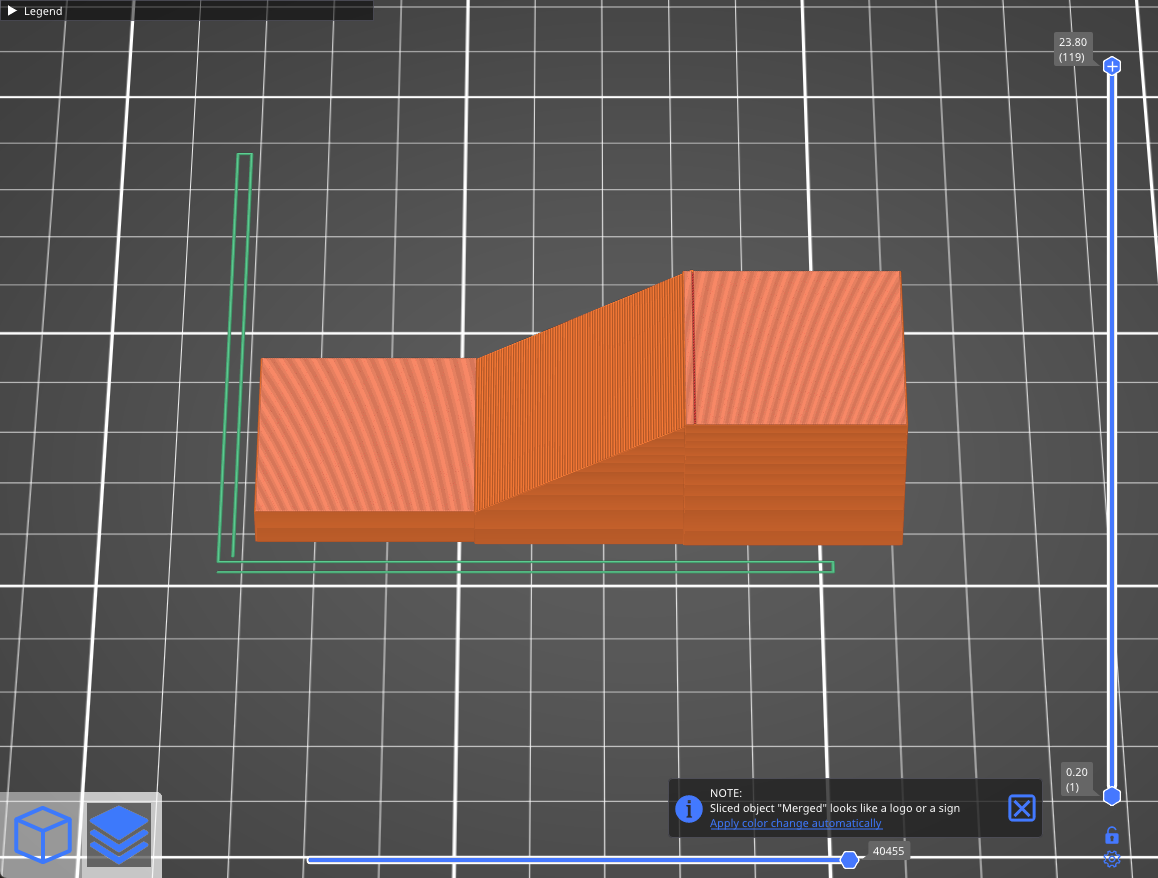
¶ Topmost surface only
Only the very last layer of the object will be ironed. This means that in the case of an embossed text (oriented parallel to the print bed), only the top of the letters will be ironed, but not the space between the letters.
¶ Flow rate
Percent of flow rate relative to the object's normal layer height.
¶ Spacing between ironing passes
Distance between individual ironing lines. This value should be smaller than your nozzle diameter. Because of this, the nozzle will pass over the same spot several times.
¶ Speed
This option is not grouped with the other Ironing settings. Instead, you'll find it in Print settings - Speed - Ironing. Feel free to experiment with this value, but generally, slower speeds work the best.