¶ Introduction
The scarf seam alters the stitching pattern at the seam area, creating an overlapping path similar to a scarf. It improves seam blending by segmented flow control, wipe speed control, and optimized material deposition.
In most cases, it reduces the visibility of seams and minimizes protrusions at the start of printed layers. Compared to standard seams on smooth surfaces, scarf seams result in a flatter finish.
As shown below, precise control of nozzle height and extrusion volume at the seam's start/end points ensures tighter integration between these positions:
¶ Configuration
Users can enable scarf seams via Print Settings → Layers and perimeters → Advanced:

Visualize scarf seams in the slicing preview using the Volumetric flow rate (mm³/s) or Actual volume flow rate (mm³/s) overlay.
¶ Parameter Guide
¶ Scarf Seam Placement
Scarf seams are formed by overlapping extrusion at the start and end of loops. This parameter controls whether scarf seams are enabled and their placement:
-
Nowhere
Disables scarf seams. -
Contours
Applies scarf seams only to object contours. -
Everywhere
Applies scarf seams to all object seams.
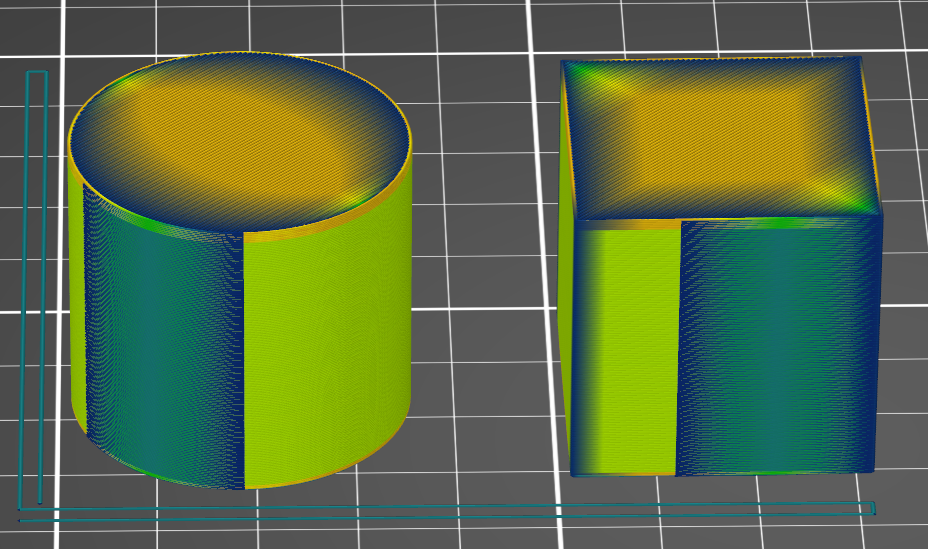
¶ Scarf Seam Only on Smooth Perimeters
When enabled, scarf seams are excluded from non-smooth surfaces. Examples below show a cube and cylinder:
| Enabled | Disabled |
 |
 |
¶ Scarf Start Height
Sets the vertical height of the scarf seam as a percentage of the current layer height.
¶ Scarf Over Entire Perimeter
Extends the scarf seam across the entire perimeter.
¶ Scarf Length
Adjusts the length of the scarf seam.
¶ Scarf Seam on Internal Perimeters
By default, scarf seams are applied only to external perimeters. Enable this to add scarf seams to internal perimeters.