¶ Introduction
When printing (except in Spiral Vase mode), each perimeter loop must start and end, creating a vertical seam or layer seam on the side of the object. These seams can be particularly noticeable on cylindrical shapes without sharp corners.
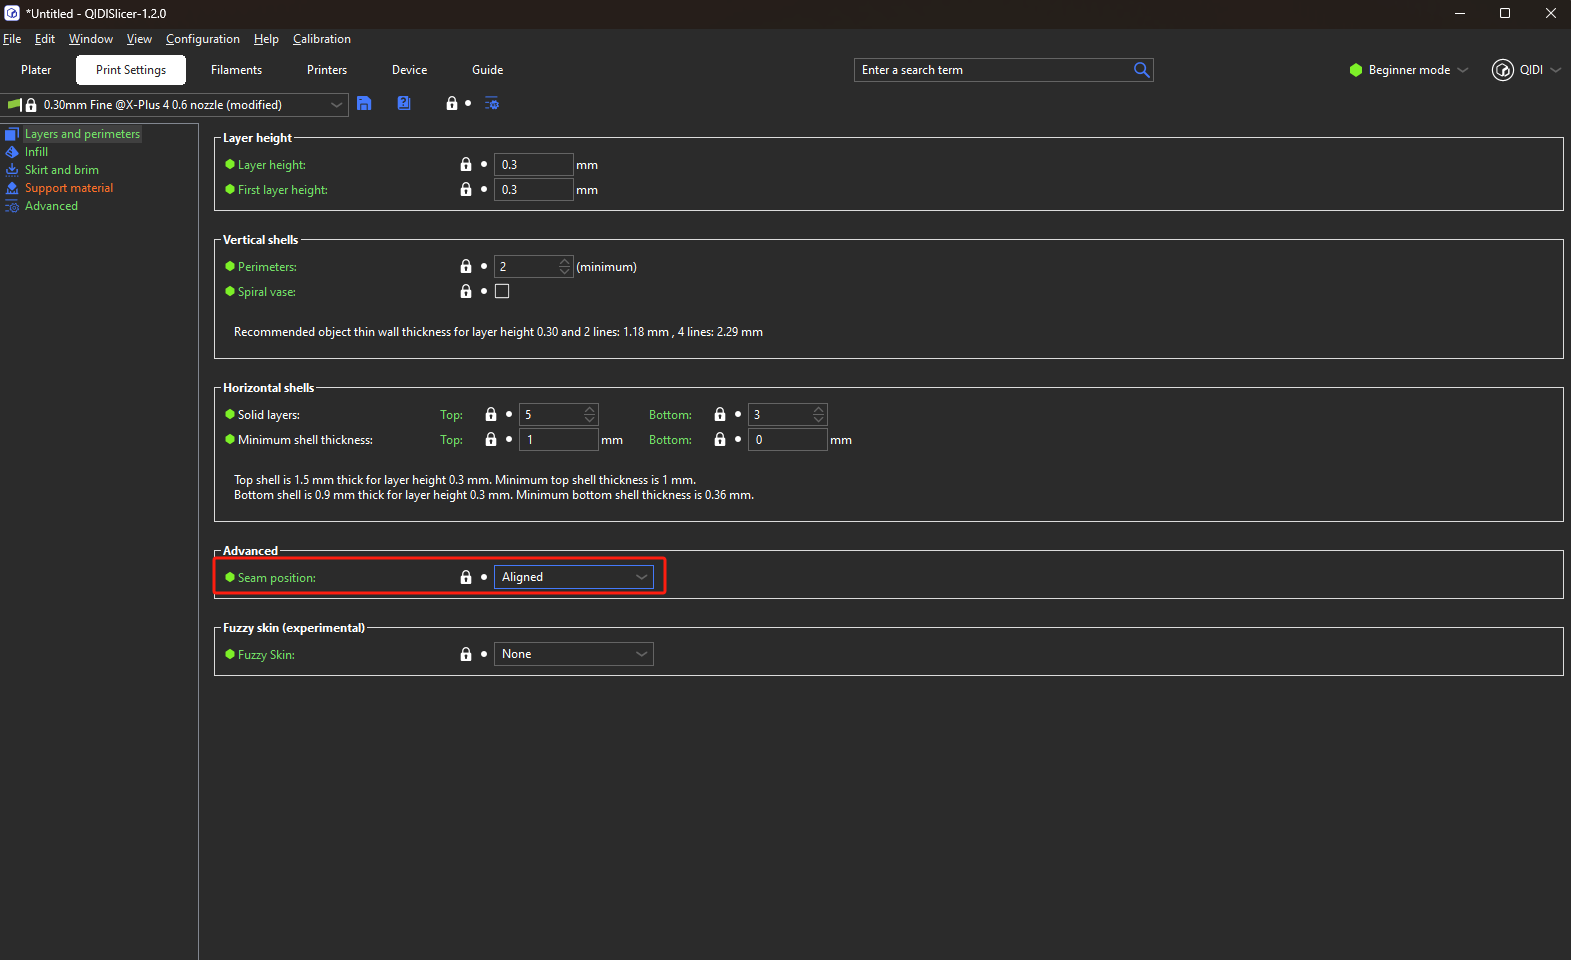
To minimize the visibility of these seams, QIDISlicer provides several seam placement options under Print Settings - Layers and Perimeters - Seam Position.
¶ Nearest
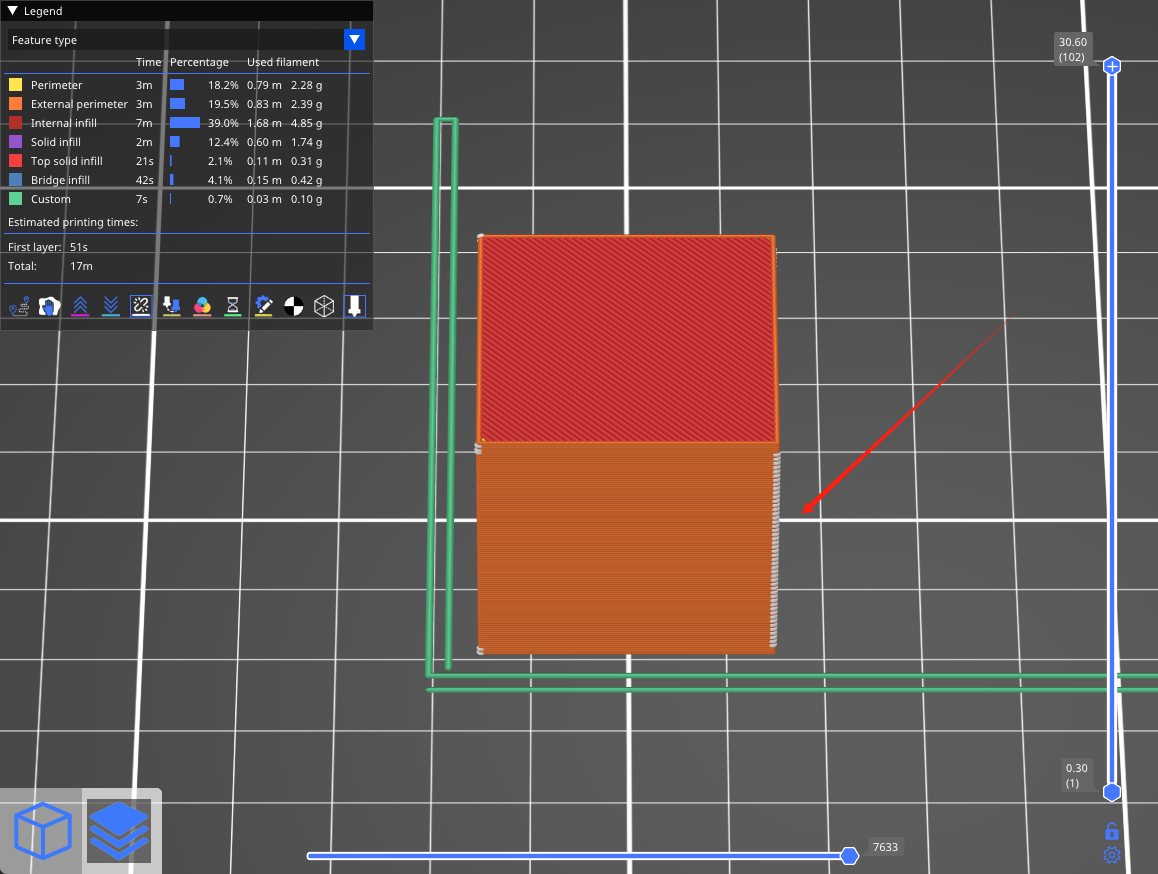
This option places the seam on the nearest edge of the current layer, effectively hiding it if the model has sharp corners.
The algorithm prioritizes:
Concave non-overhang vertices to hide the seam inside a concave angle.
If unavailable, it selects convex non-overhang vertices.
If none are available, it chooses a non-overhang vertex.
The choice among candidates minimizes travel distance, optimizing for short extruder movements.
¶ Aligned
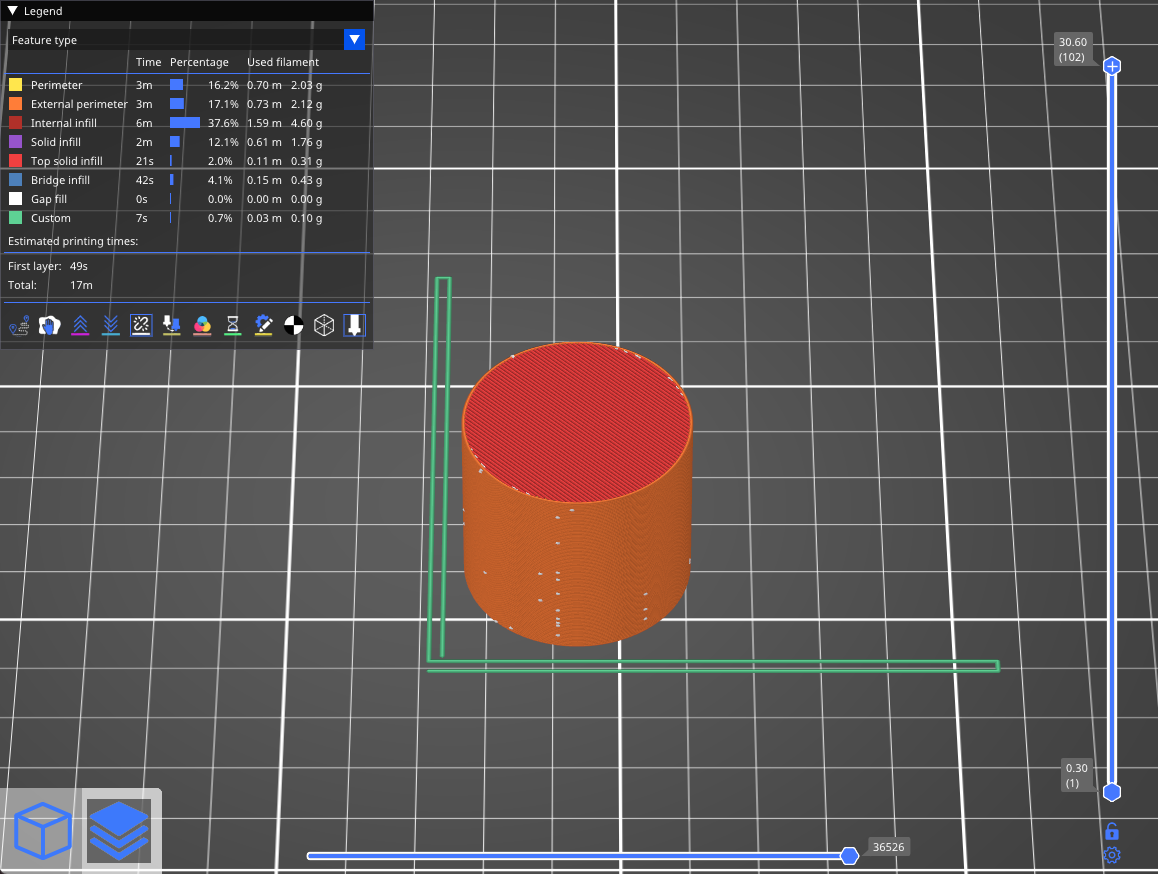
Aligned seam placement follows the same logic as Nearest for identifying candidates but selects the point nearest to the start of the previous layer. This ensures the seam aligns vertically throughout the object.
¶ Random
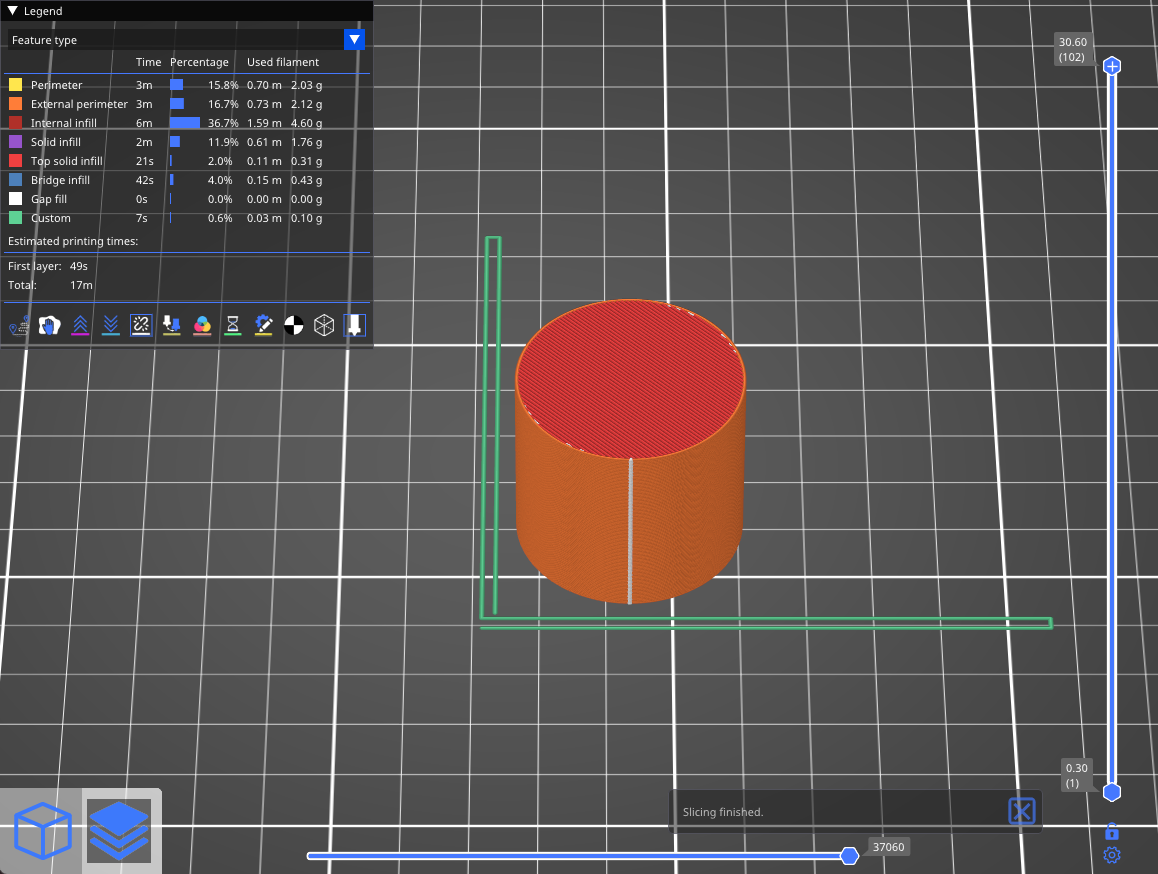
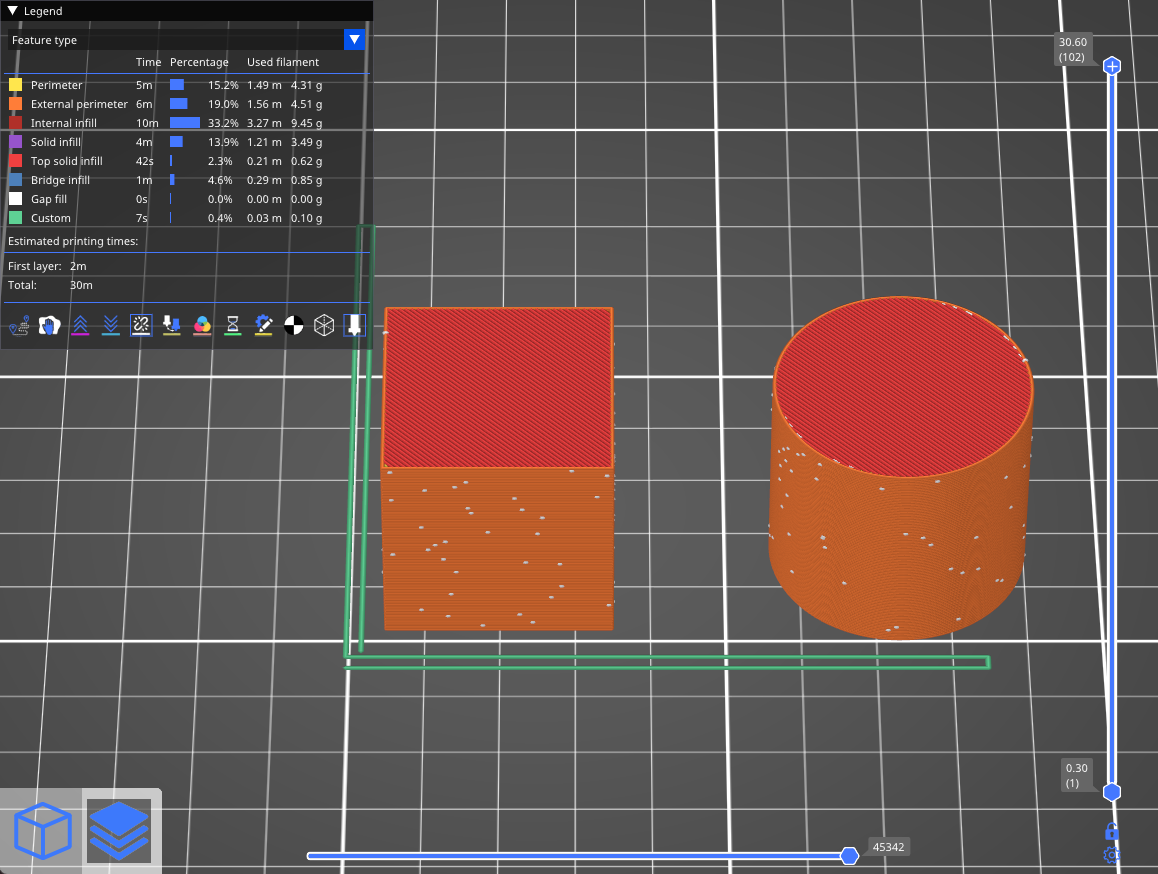
The Random option varies the seam position for each layer, scattering small zits across the surface. While this makes seams less noticeable overall, it can result in a less smooth surface.
Recommendations:
-
For models with sharp corners, Nearest or Aligned is preferable.
-
For cylindrical shapes or objects without edges, Random can be effective。
¶ Rear
This option works similarly to Aligned, but it aims to position the seam near the rear of the print bed (close to max Y). It also avoids overhangs and seeks to place seams at corners whenever possible.