QIDI Studio can connect to and access the printer’s Fluidd page via LAN or the internet.
By specifying the IP or URL, you can monitor the printer’s status and printing progress in real-time.
¶ Device
QIDI Studio provides a Device page where you can connect to physical printers and monitor them remotely in real-time.
The Device page is mainly divided into two areas: the Device List area and the Fluidd Display area. The Device List area is further divided into "Local" and "Link".
- Local Devices: Devices connected via LAN, typically accessed directly through an IP address. - - Online Devices: Devices added through the QIDI Link APP, accessed via a URL.
¶ Connect a local device
¶ Add
-
Connect the printer and computer to the same Wi-Fi network.
-
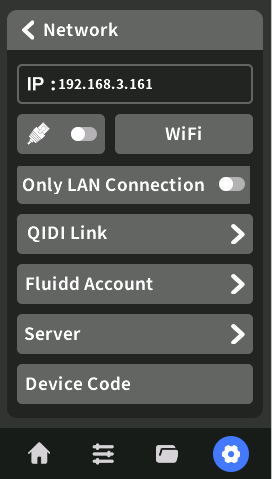
Go to the printer’s settings -> General Settings -> Network, and check the printer’s IP address.
-
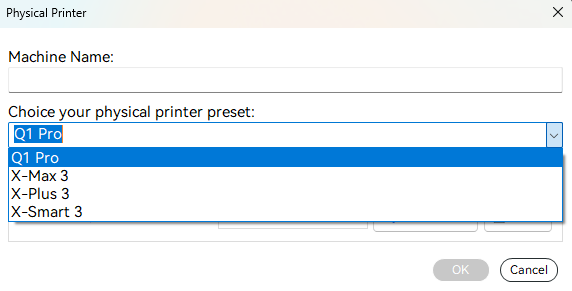
Switch to the "Local" list, click the Add button, and in the pop-up window, enter the device name, device preset, and IP address. If your device has added a fluidd account, please input the APIKEY. Otherwise, you won't be able to get the printer's body, and you won't be able to upload the print job via IP.
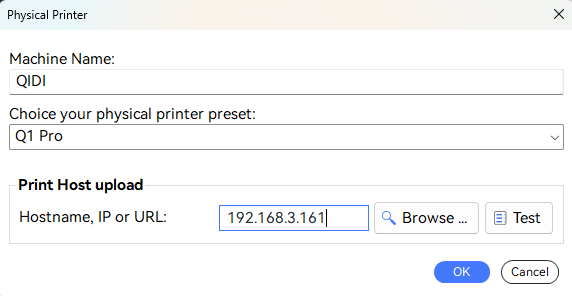
Tips: In the pop-up window, you can quickly search for the device IPs on the same network using the ‘Browse’ button. You can also click the ‘Test’ button to check if the IP address is valid and if the corresponding device is online.
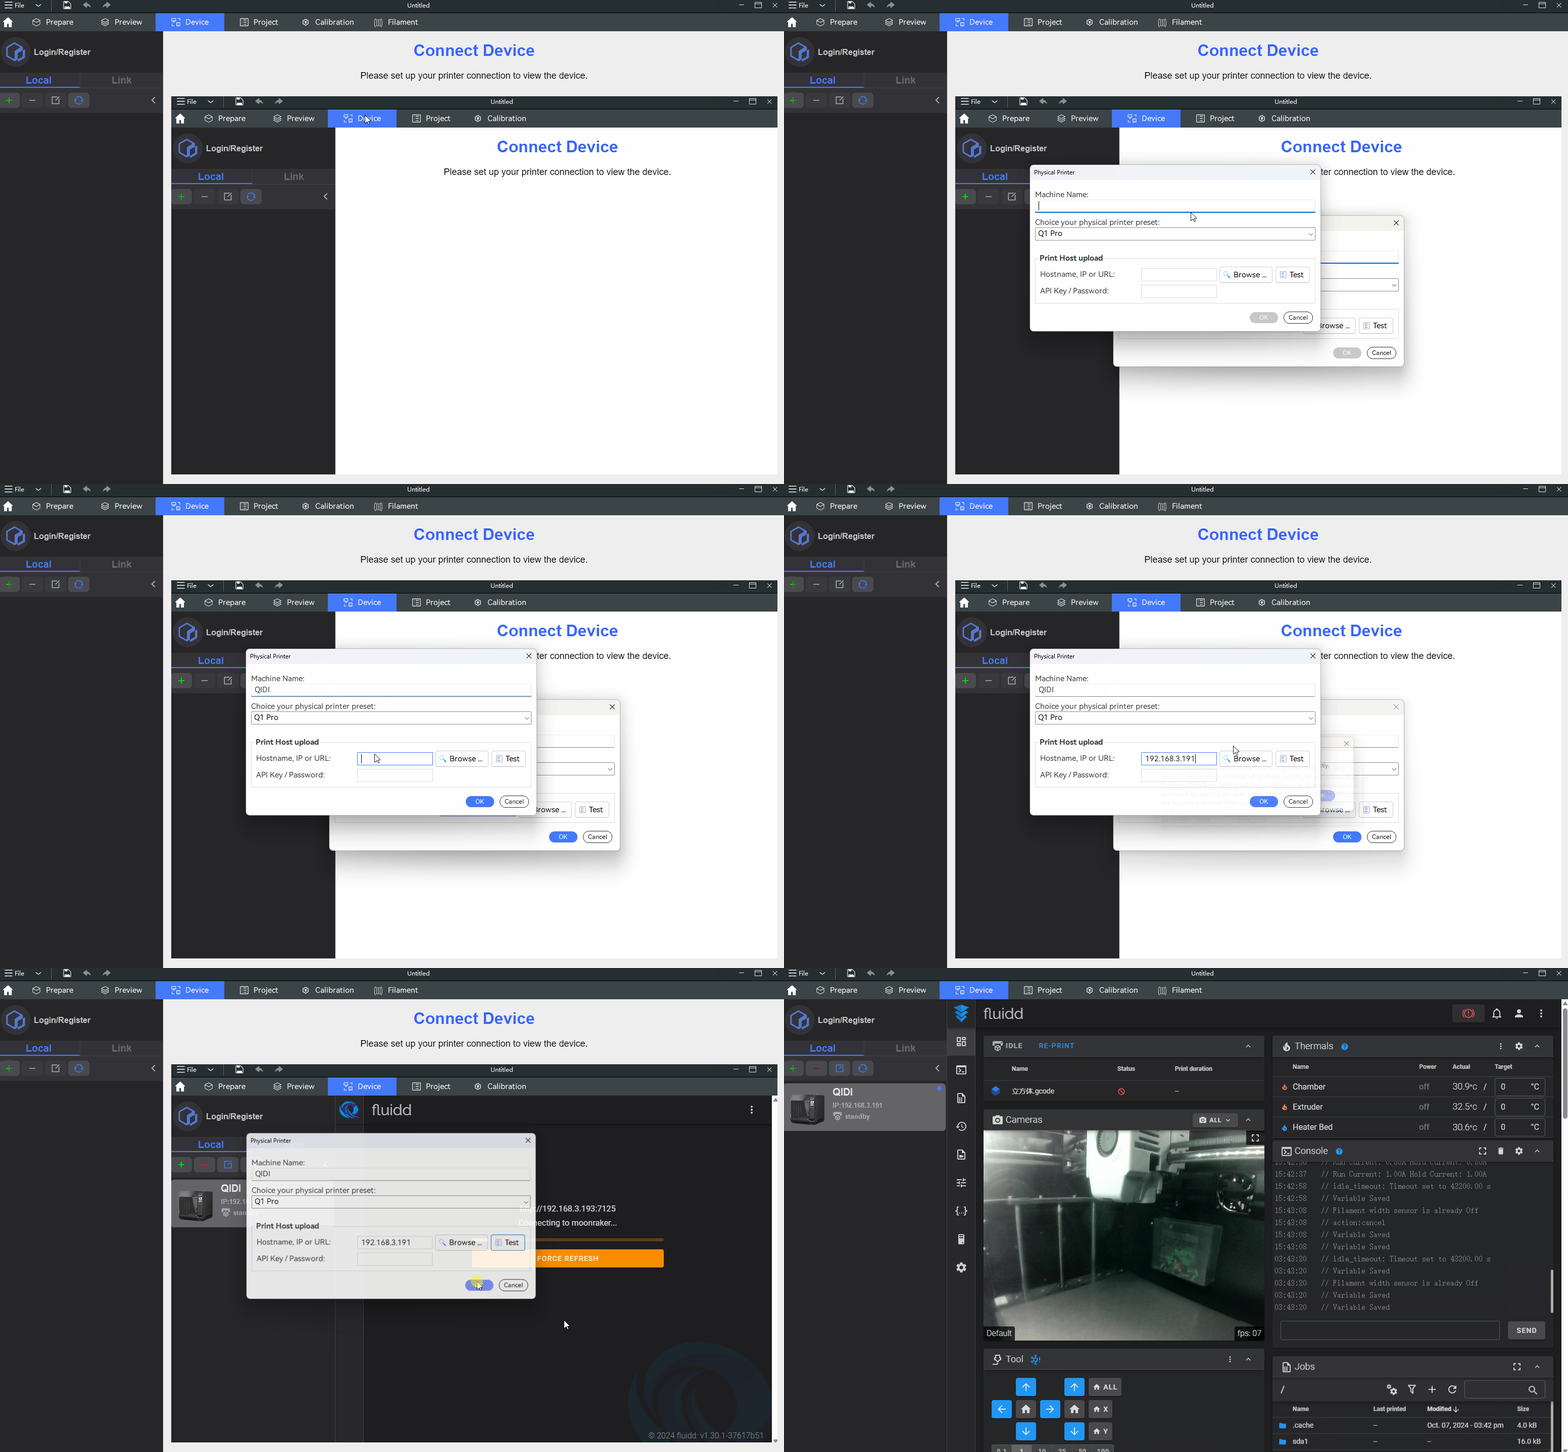
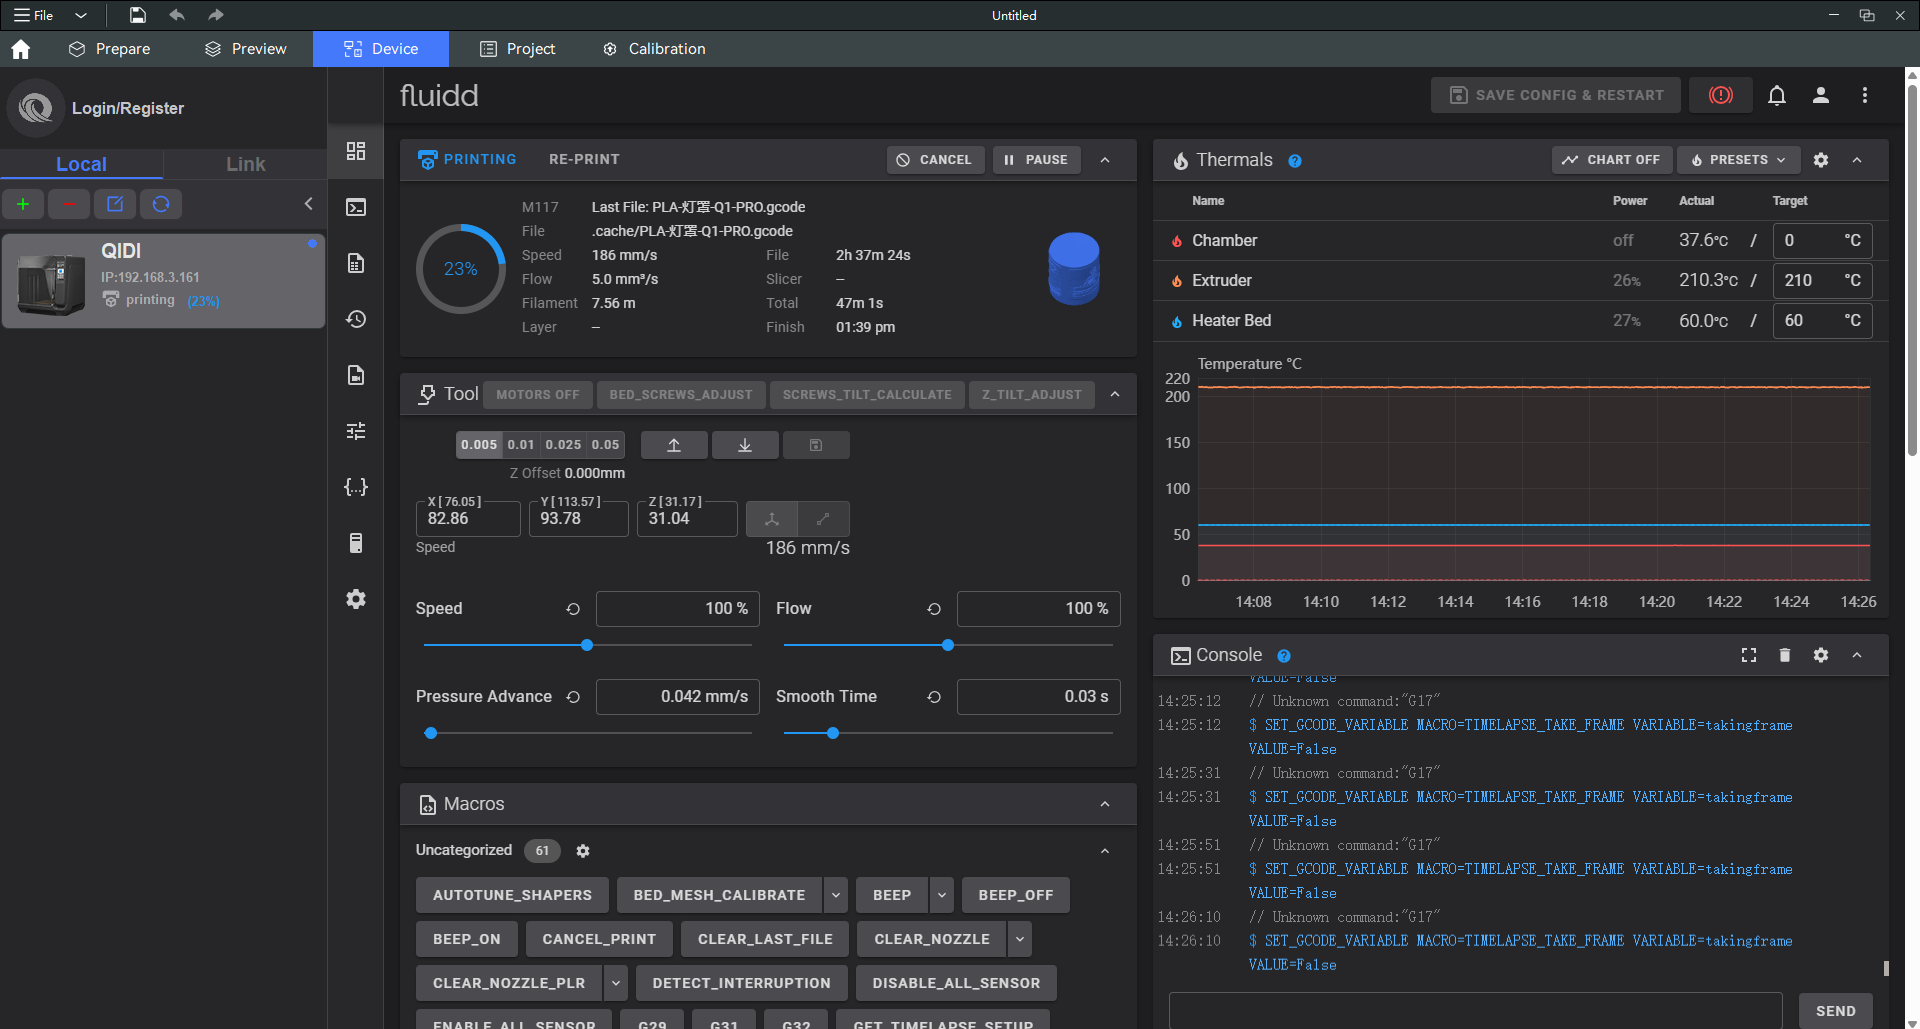
After the software is connected to the device, the user can view the printing status and progress of the device through the Fluidd page. GCode code can also be uploaded to the printer through software.
¶ Constraint condition
¶ Device Name
- The value cannot be empty.
- Special characters are not allowed: "<>[]:/|?*"
- Cannot start or end with a space.
- Do not use the same name as an existing device.
- If the device name does not meet the standard, the OK button cannot be clicked.
¶ Preset
The default configuration is currently only available for QIDI series printers: Q1 Pro, X-Max 3, X-Plus 3, X-Smart 3.
¶ IP/URL
- The value cannot be empty.
- The IP address cannot be the same as an existing IP address.
¶ Link device connection
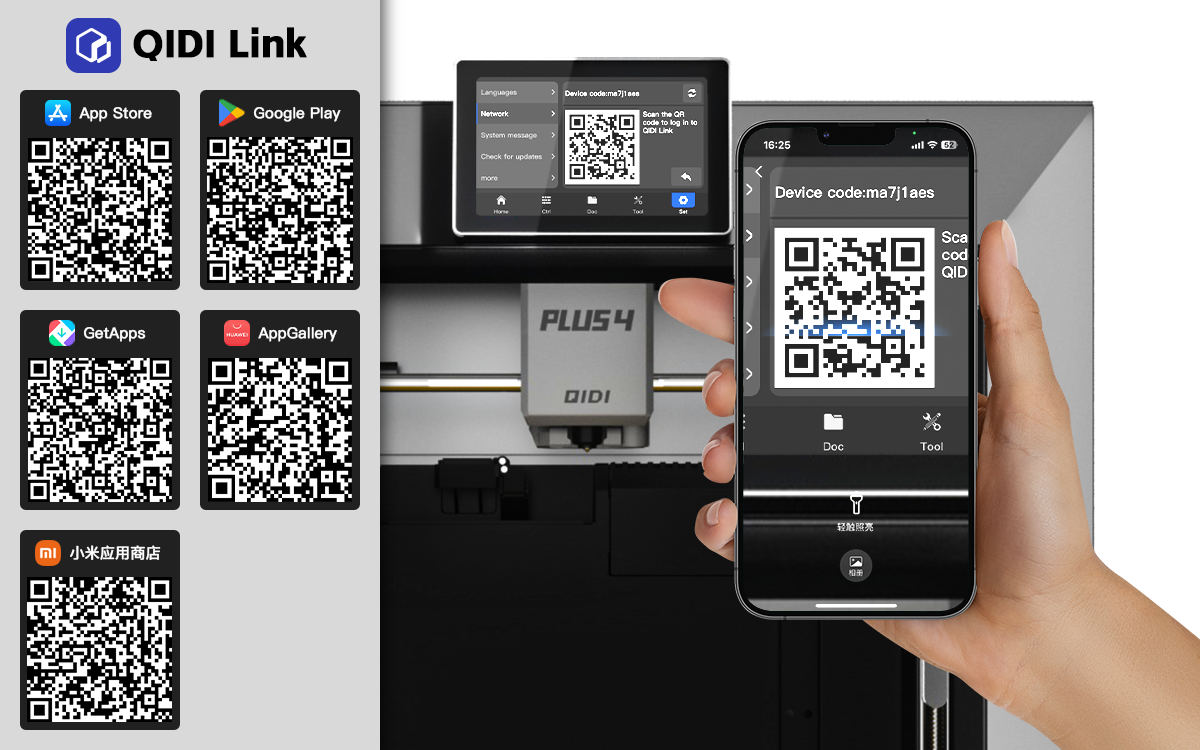
Currently, online devices can only be connected through the QIDI Link APP.
-
Download the QIDI Link APP from major app stores.
-
Register and log in to an account.
-
Scan the QR code on the printer's Settings -> General Settings -> Network ->QIDI Link page. (Note: The printer must be networked first)
-
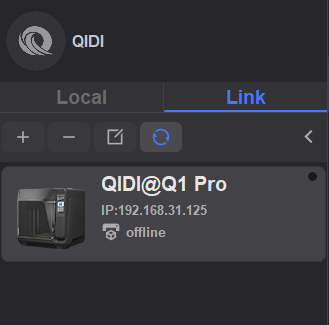
Log in to the account in Studio, and the online device will be different to the "Link" device list.
¶ Fluidd
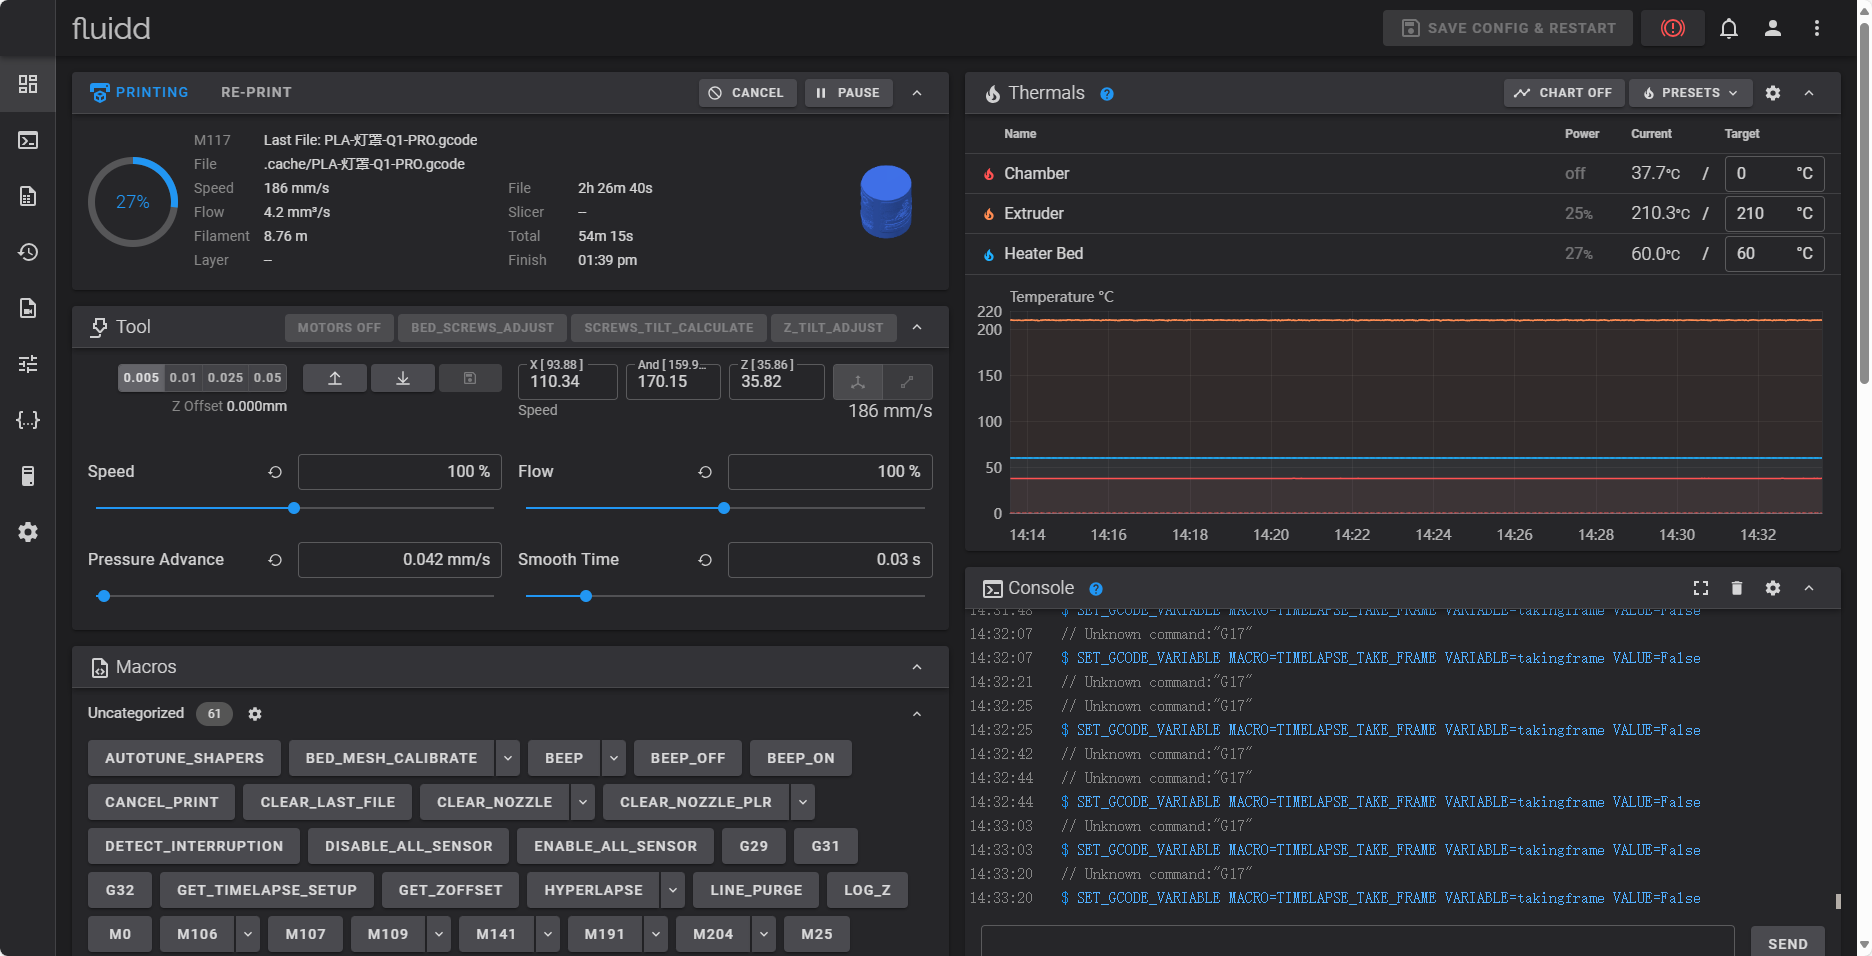
Fluidd is a powerful operating system that can control and monitor the operation of 3D printers.
Through its Web-based user interface, users can control the printer's print head movement, monitor the real-time status of the printer, print progress, temperature parameters, and more. Set print parameters to start or stop the current print. This helps to easily manage and optimize the printing process, thereby improving production efficiency and print quality.
¶ Home
¶ Ready
In the Ready module, you can view information such as status, print time, and so on for several recently printed models.
You can print the model again by operating the mouse.

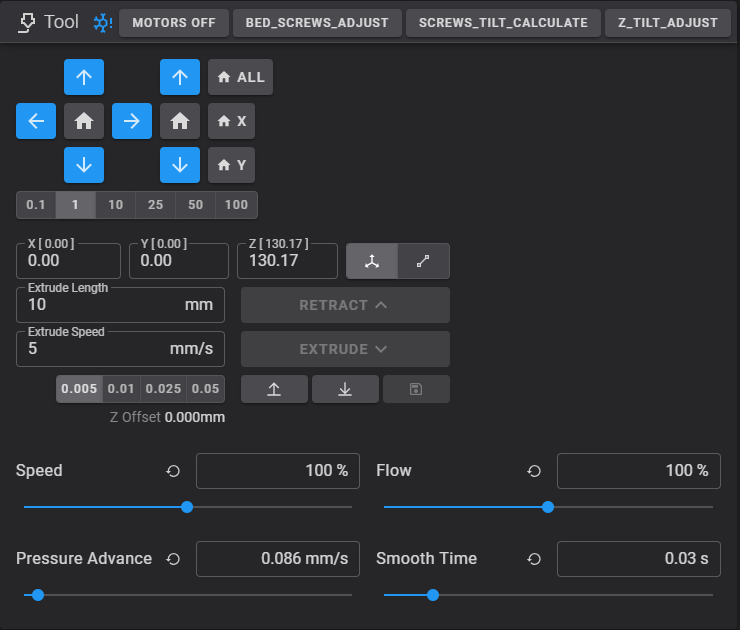
¶ Tool
You can move and set the printer nozzle through this module.
The printer nozzle can be moved by mouse command, or the moving speed and extrusion amount of the nozzle can be set. The printer can also be levelled with the built-in button.
¶ Temperature
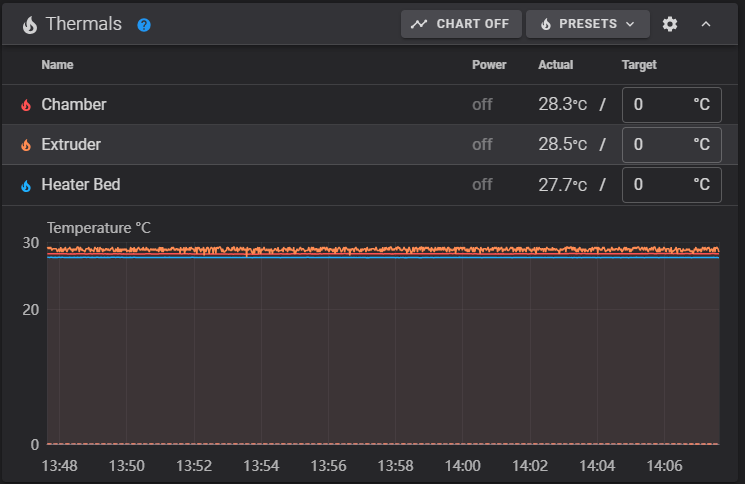
You can check the temperature of the printer in real time by viewing the module, including: extruder (nozzle), chamber, printing board, etc.
You can edit the target temperature value of each module, and you can also clearly understand the temperature change of each component during the printing process by viewing the chart.
¶ Jobs
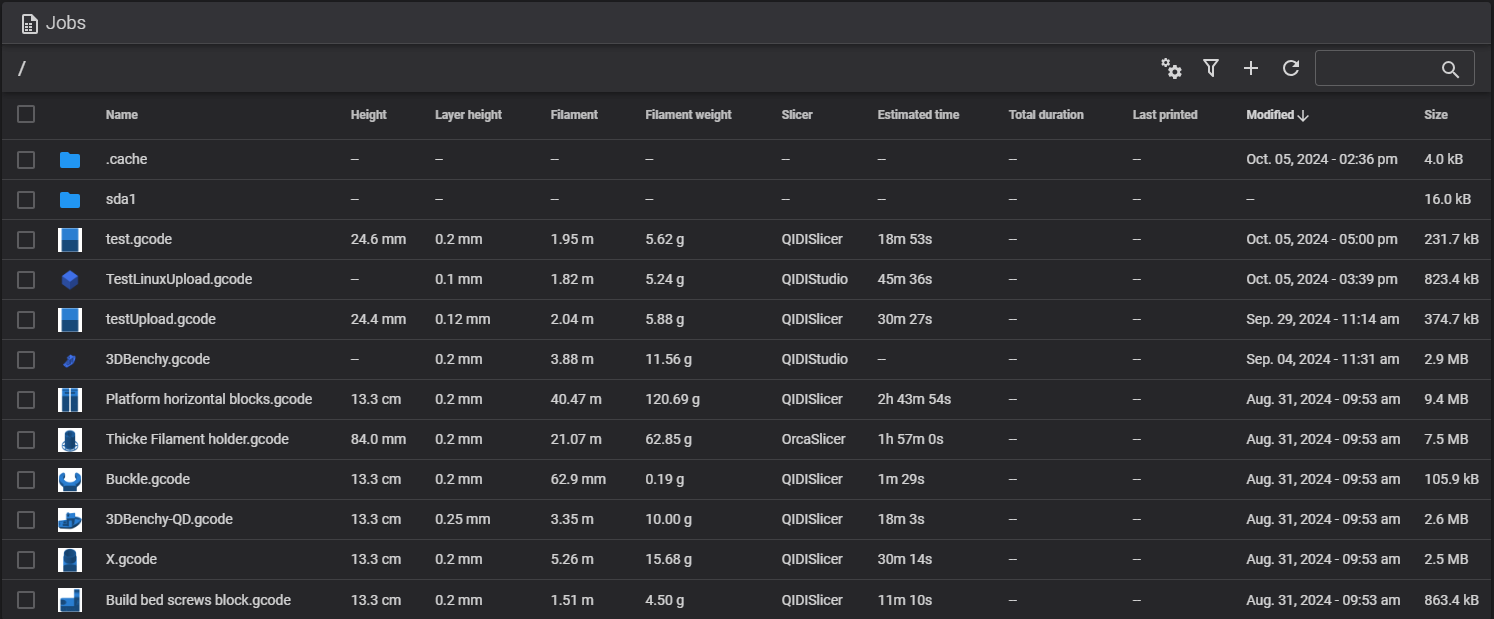
The jobs list shows all the model files saved locally on the device. The user can view the details of the task through the task list: the height, the amount of consumables expected to be used, the slicing software, and so on.
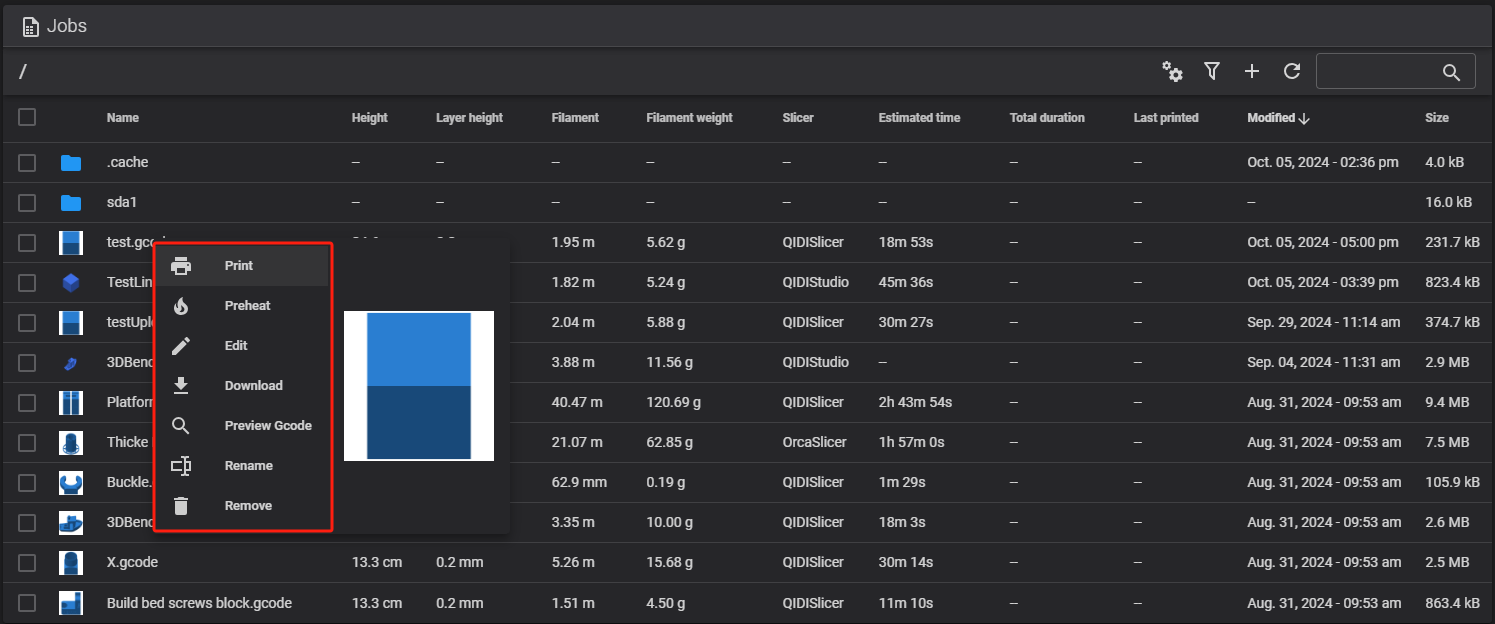
Use the mouse to click the file in the list of people, you can print, preheat, edit, download, preview Gcode, rename, delete the file.
¶ Gcode Preview
-
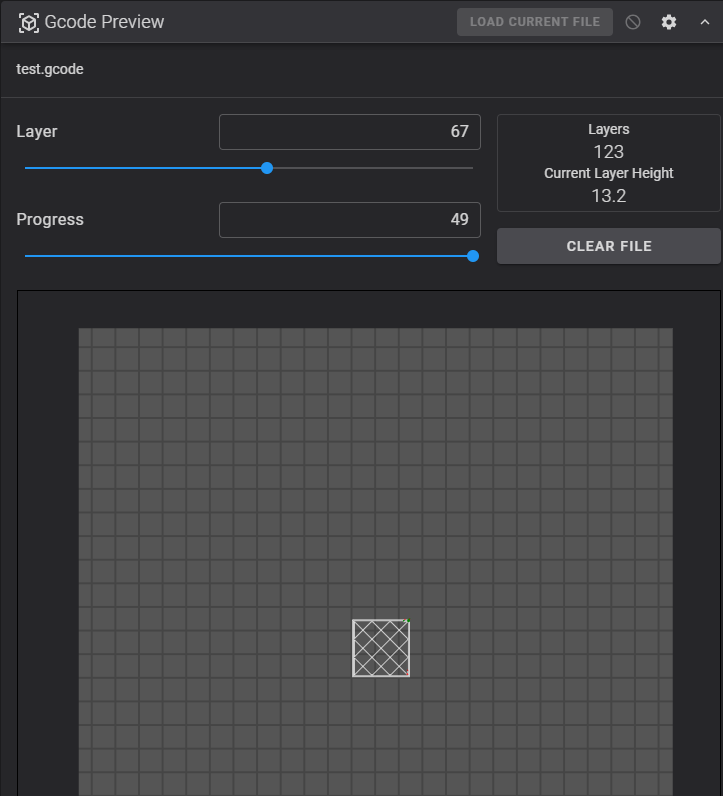
Use your mouse to click on any model in the list of characters and select "Preview Gcode"
-
The Gcode code corresponding to the model will be read into the Gcode preview module, where you can preview the Gcode file layer by layer or line by line.
-
When printing multiple models on a single plate, if one of the models fails to print, you can cancel the failed model separately without affecting the printing process of other models. For more information:Exclude Objects
For more information about Fluidd, please refer to Fluidd Official Documentation.
** Note: If you have already started printing models, do not use fluidd to set up the printer. Otherwise, the printing effect of the model will be affected, and even the printing will fail. **