¶ Introduction
A brim is a single-layer flat area around the base of your model. Its purpose is to keep the edges of your print down and make the contact area between your print and the build plate bigger.
- The bigger surface area allows your print to stick better on the build plate. This is pretty useful for tall and thin objects.
- Brim can also help improve the bonding of the edges on the bottom of the model. Some materials tend to shrink easily when cooled down (such as ABS) and tend to warp easily. Having a brim of sufficient width will keep the model edges in place, preventing this warping.
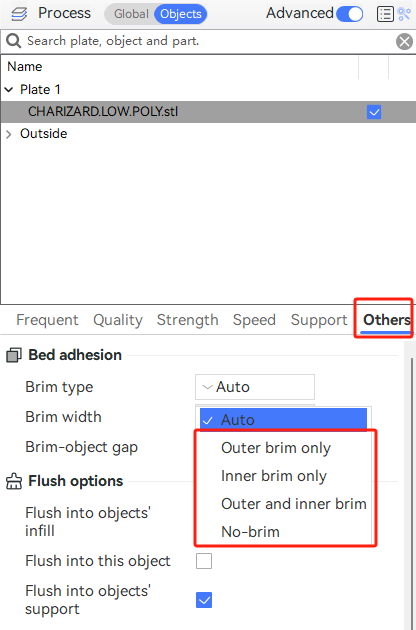
The brim parameters are in the Other group on the left sidebar. They are all per-object parameters, so you can set different values for each object.
¶ Generation of Brim
¶ Auto (default)
In automatic mode, QIDI Studio automatically analyzes each object and generates an appropriate width Brim for it. The auto-generated Brim is mainly affected by the following parameters.
- The shape and orientation of parts
- Type of brim
- Brim Width
- Brim-object Gap
¶ The shape and orientation of parts
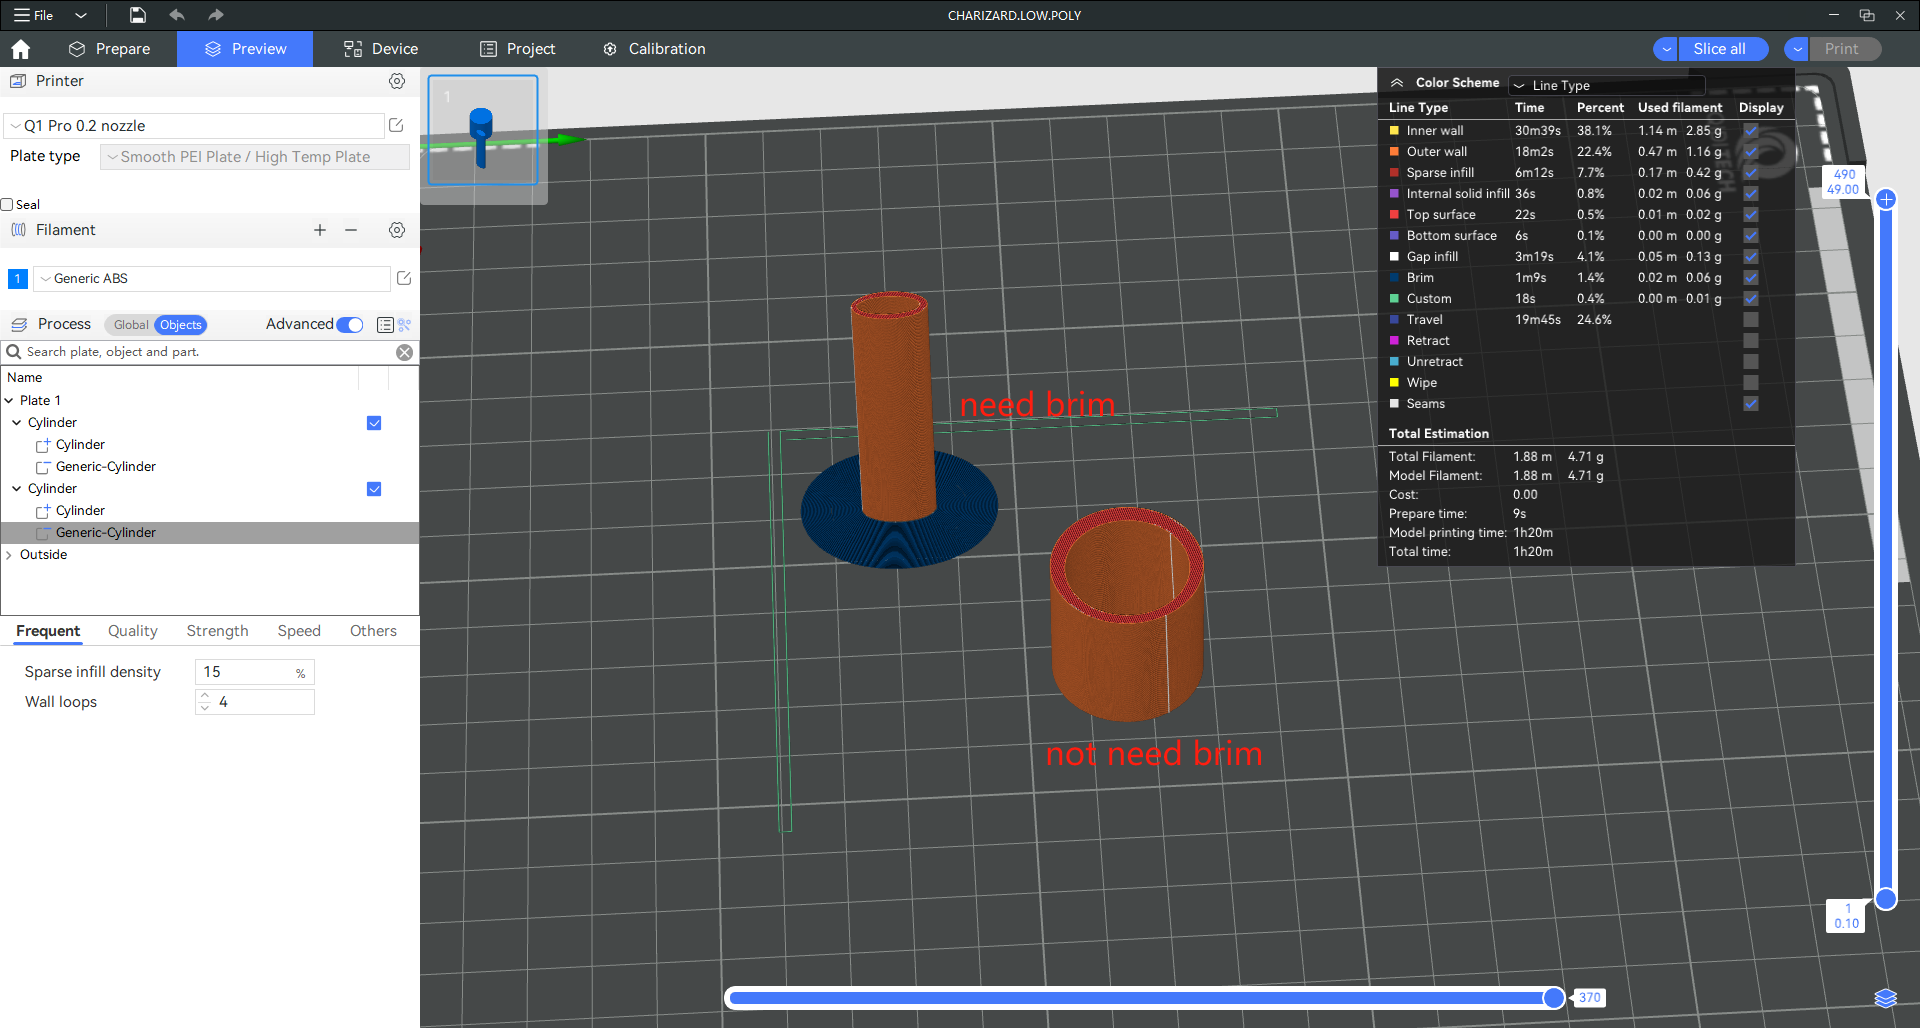
A taller part with a smaller footprint usually needs a wider brim to prevent itself from being toppled by the printer's nozzle during printing. A taller part with a smaller footprint is easily detached from the heat bed as the part is cooling down and therefore needs a wider brim.
¶ Type of brim
| Outer brim only | Generate Brim only around the outside of the object. |
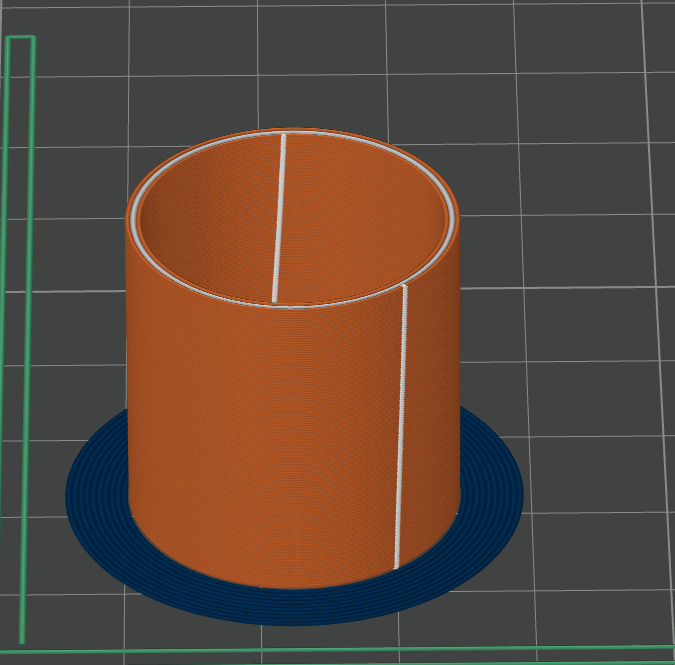
|
| Iner brim only | If the inside of the object is hollow, Brim is generated only around the inside of the object. |
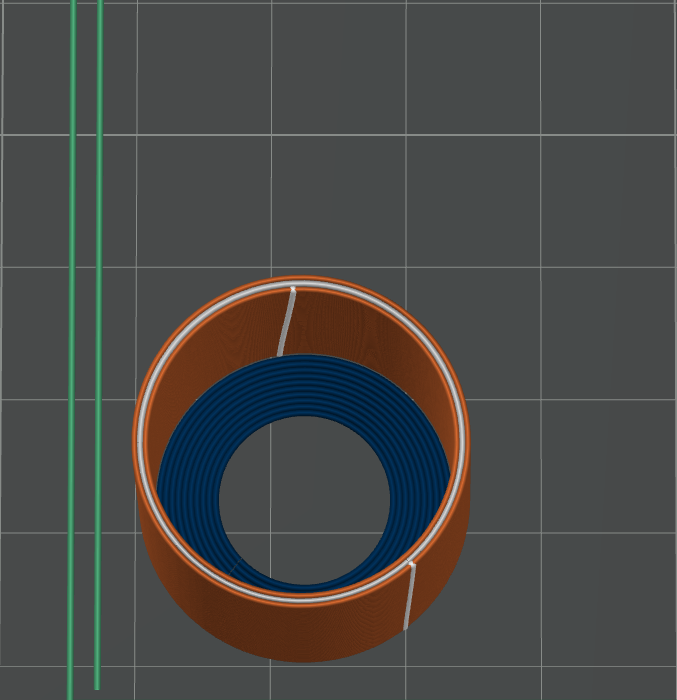
|
| Outer and inner brim | Brim will be generated around both the inside and outside of the object. |
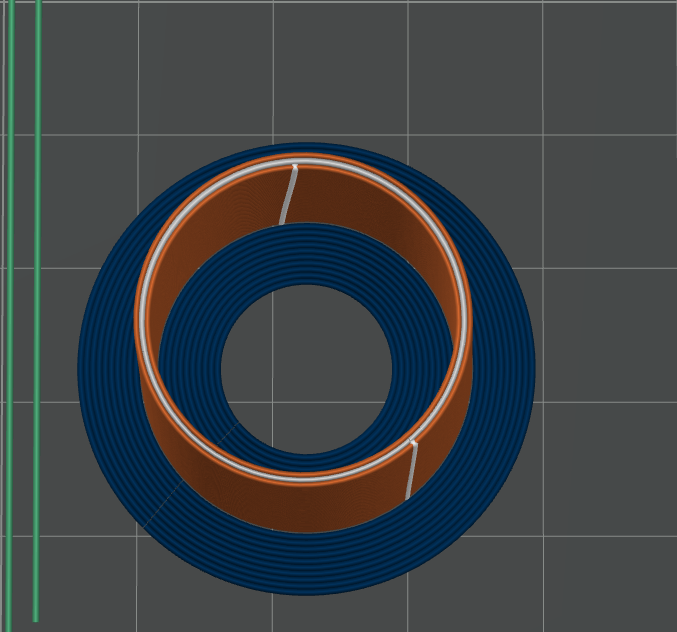
|
| No-brim | No brim will be genrated. |
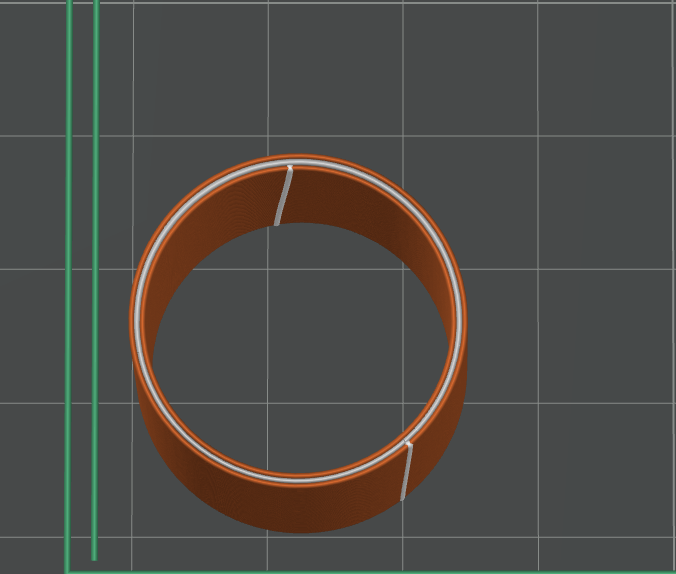
|
¶ Brim Width
If the Brim Type is not "auto", you can manually edit the Brim width yourself.
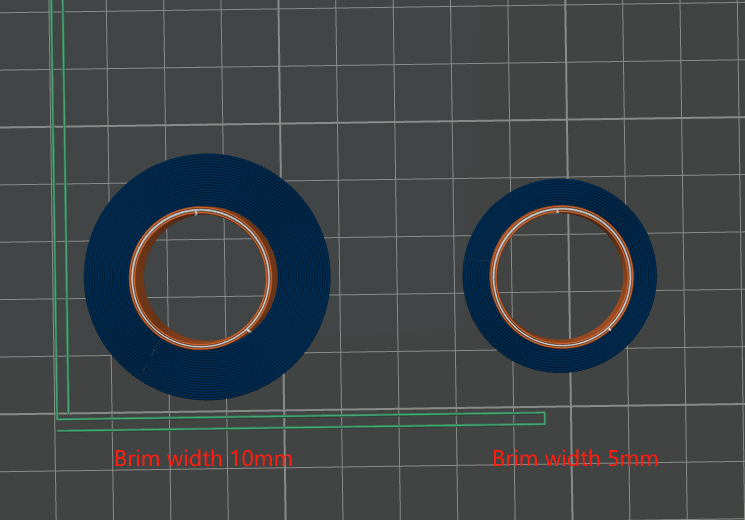
¶ Brim-object Gap
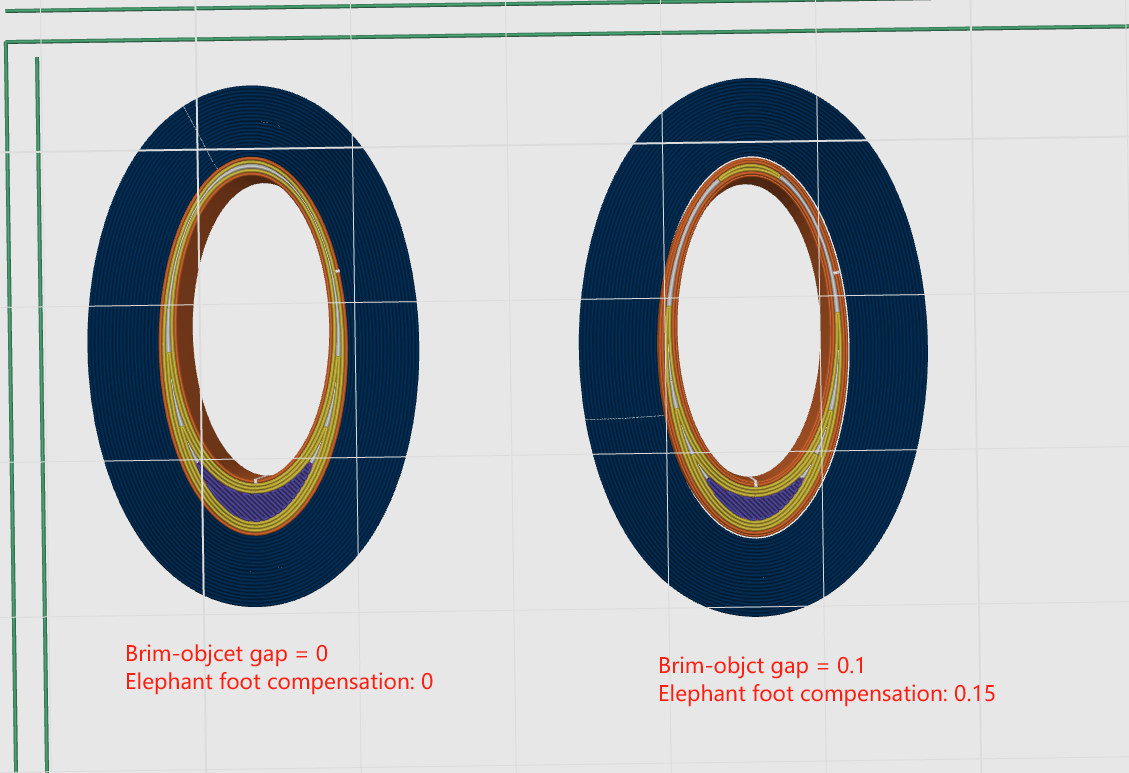
The desired gap between the object and its brim in both "Auto" and "Manual" modes. A smaller gap can improve the connection strength while a larger gap will make disassembling easier. If you set the gap to 0 and find that there is still a gap between Brim and the model, it is usually caused by turning on the "Elephant foot compensation" function. You can disable “Elephant foot compensation” to make Brim fully attached the model. The comparison is shown in the following figures
