After slicing your model in QIDI Studio, you can view the detailed information of different layers, such as line type, filament, print speed, and printing path. Also, you can add custom operations for any layer, such as a custom G-code, pause, and changing filament.
¶ Introduction
¶ Line type
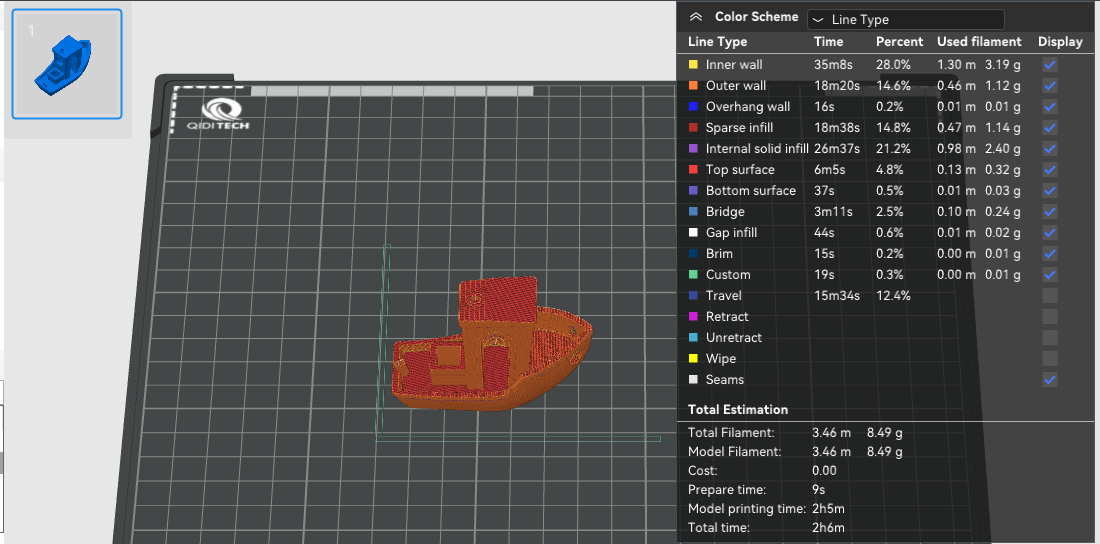
Use different colors to represent different paths and provide detailed information for each section, including print time, percentage of total print time, filament usage in terms of length and weight. You can view the sections you are interested in.
¶ Filament
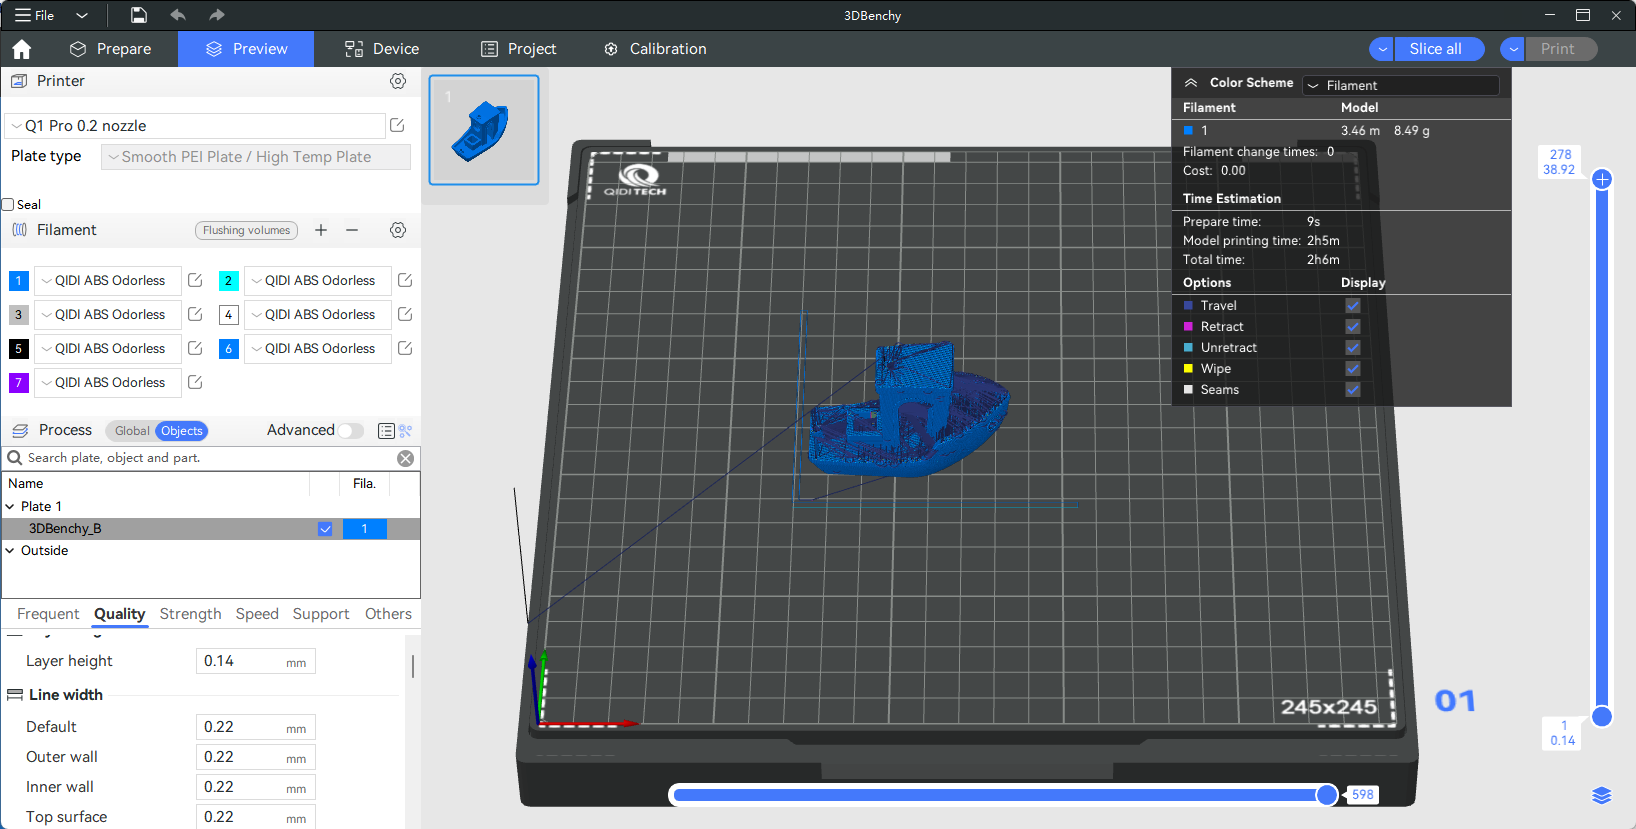
Display filament colors and consumption amounts.
¶ Speed
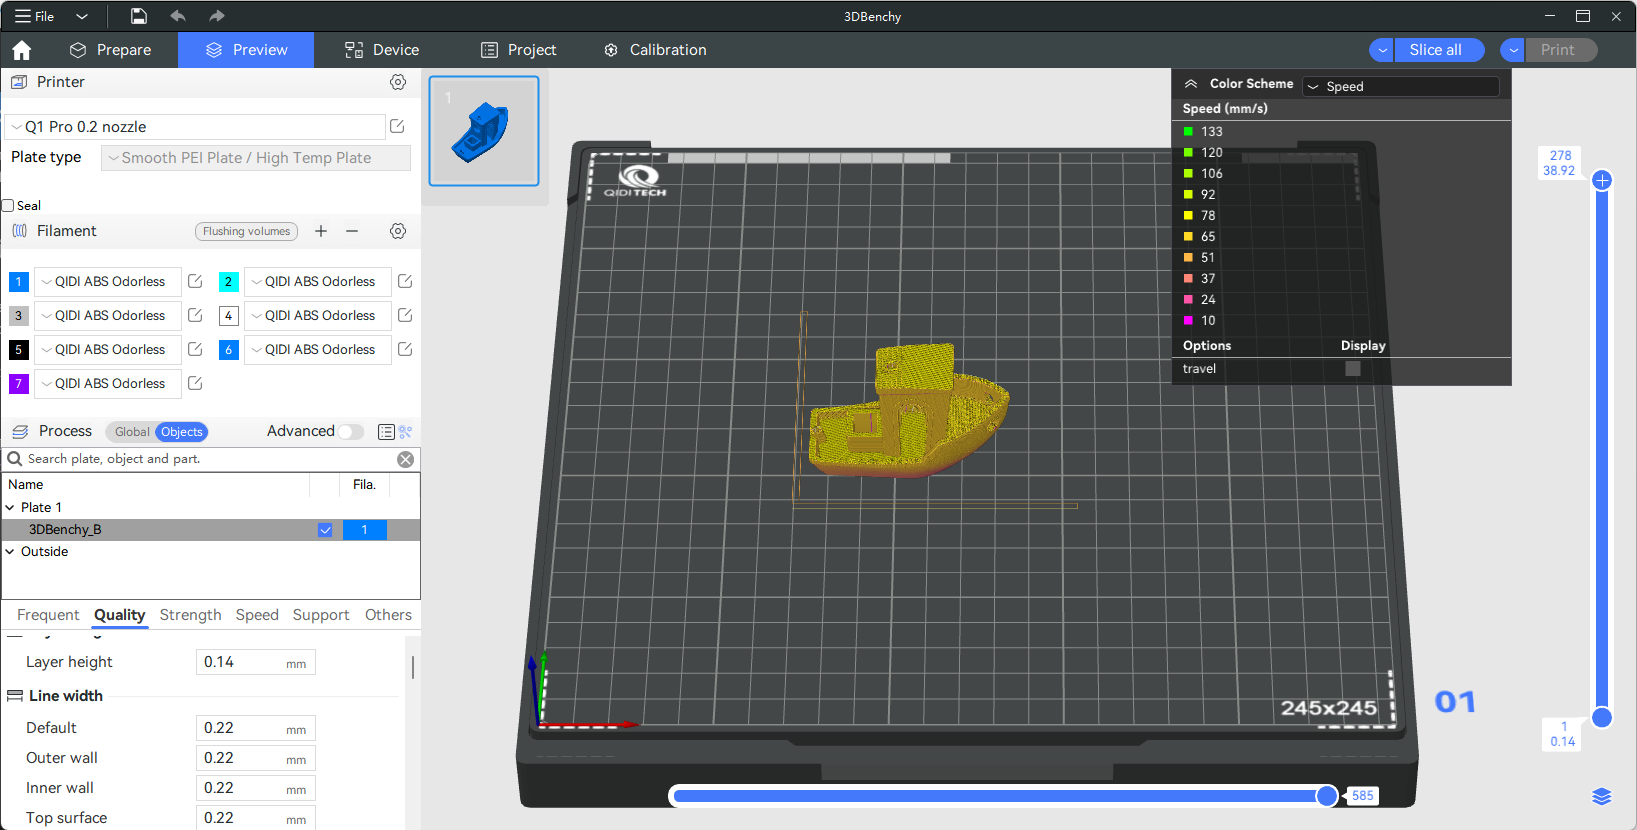
Different sections' printing speeds. Each section has a different color corresponding to its printing speed. Larger values indicate faster printing speeds.
¶ Layer height
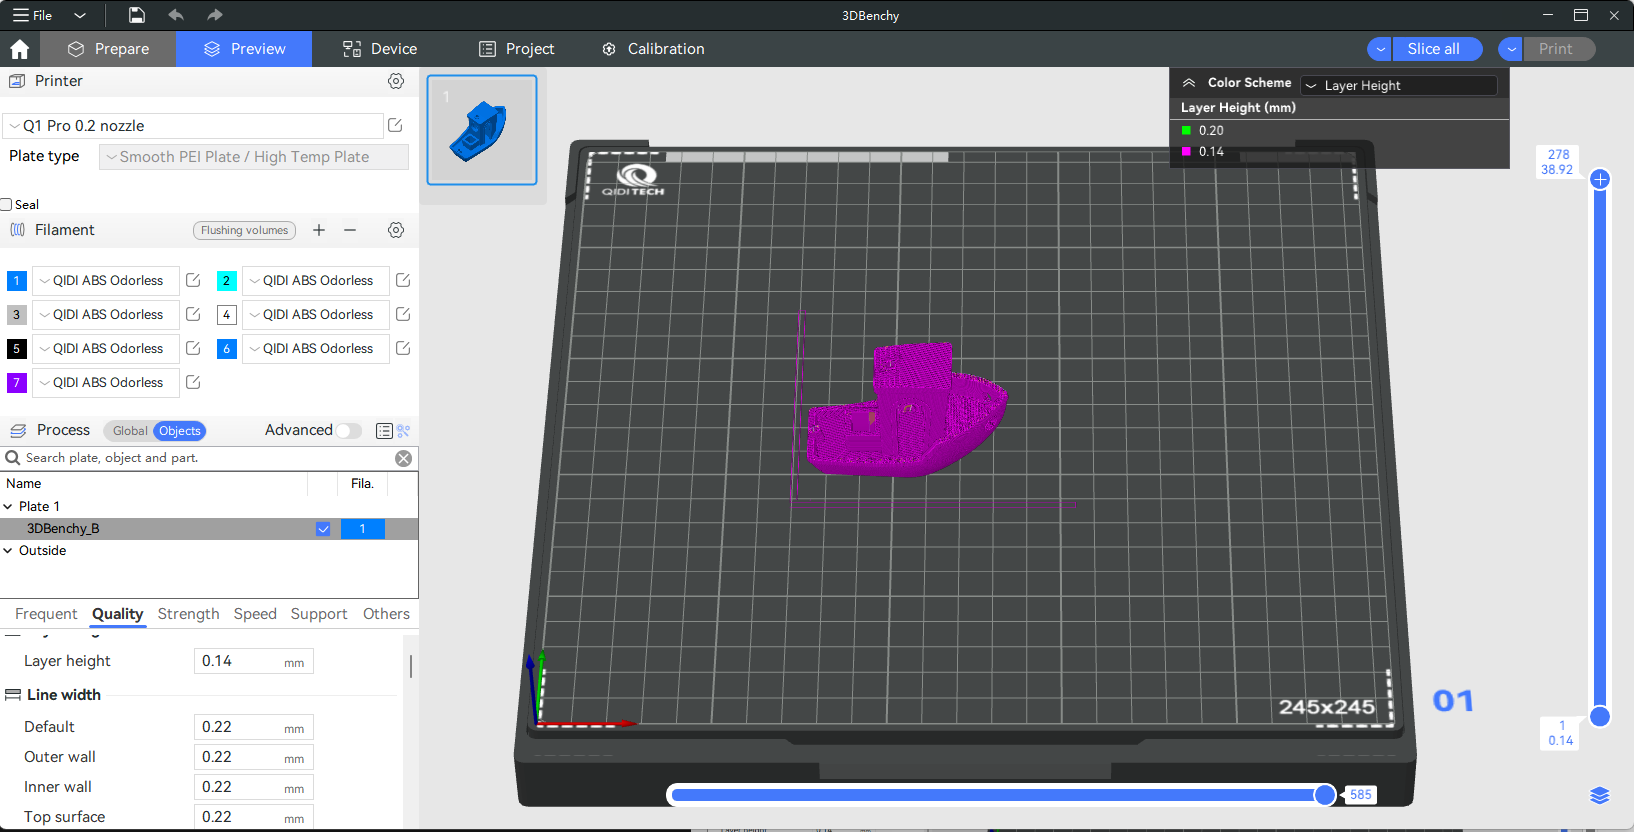
During the printing process, the model is built layer by layer. Layer height is typically considered as the model's vertical resolution, where smaller layer heights result in higher model detail.
Different layer height are displayed in different colors, with lighter colors indicating smaller layer heights.
¶ Line width
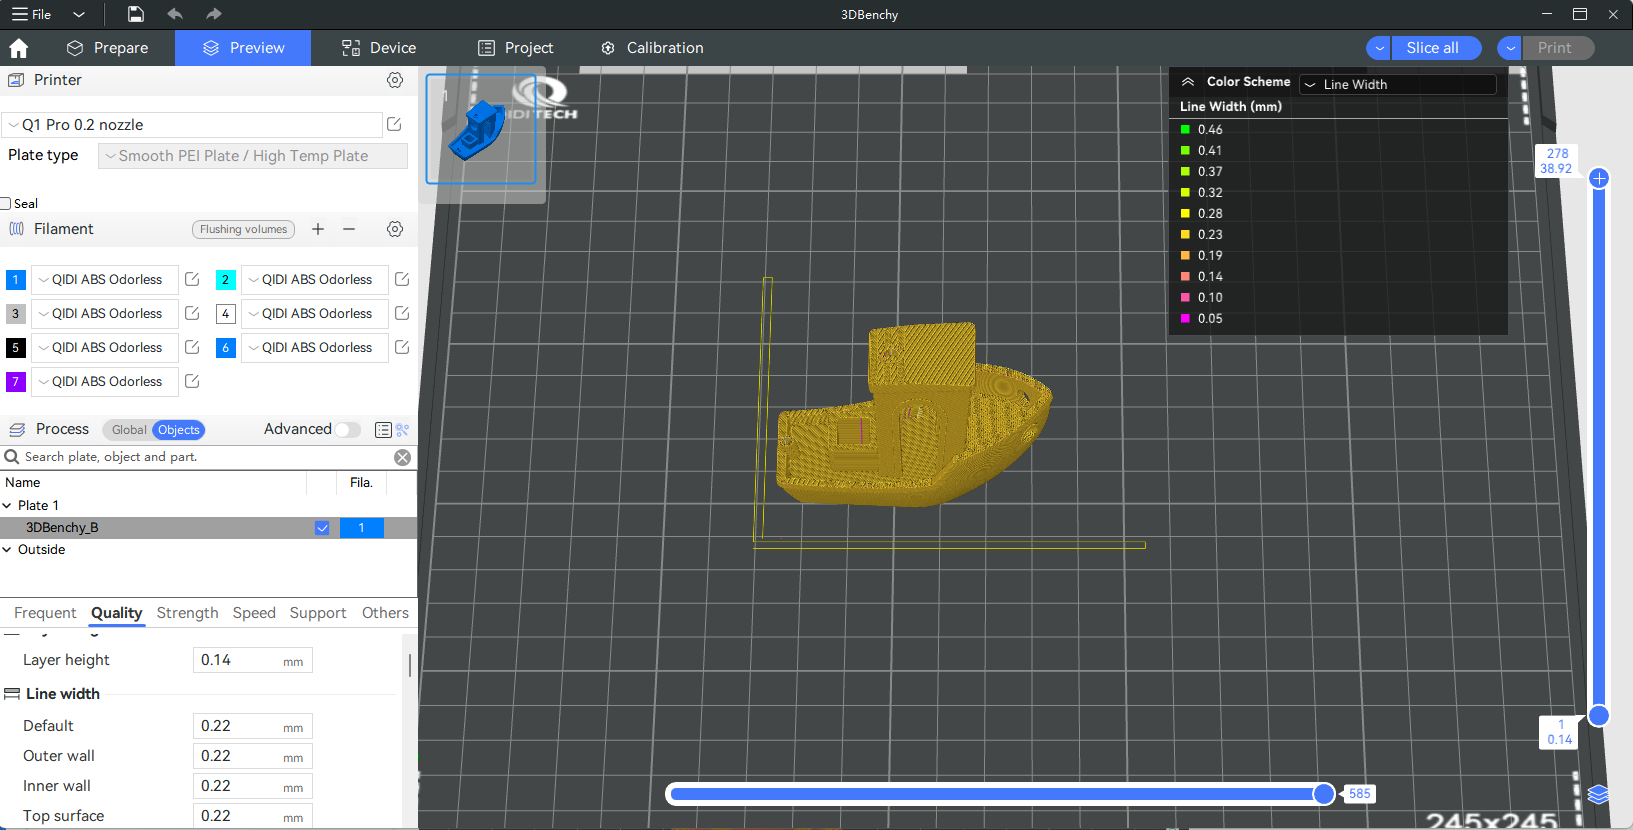
Line width refers to the width of the single strand of filament extruded by the nozzle during the printing process. Typically, the width of the extruded material closely matches the width of the nozzle.
Different line width can affect printing quality, speed, strength, and detail.
¶ Flow
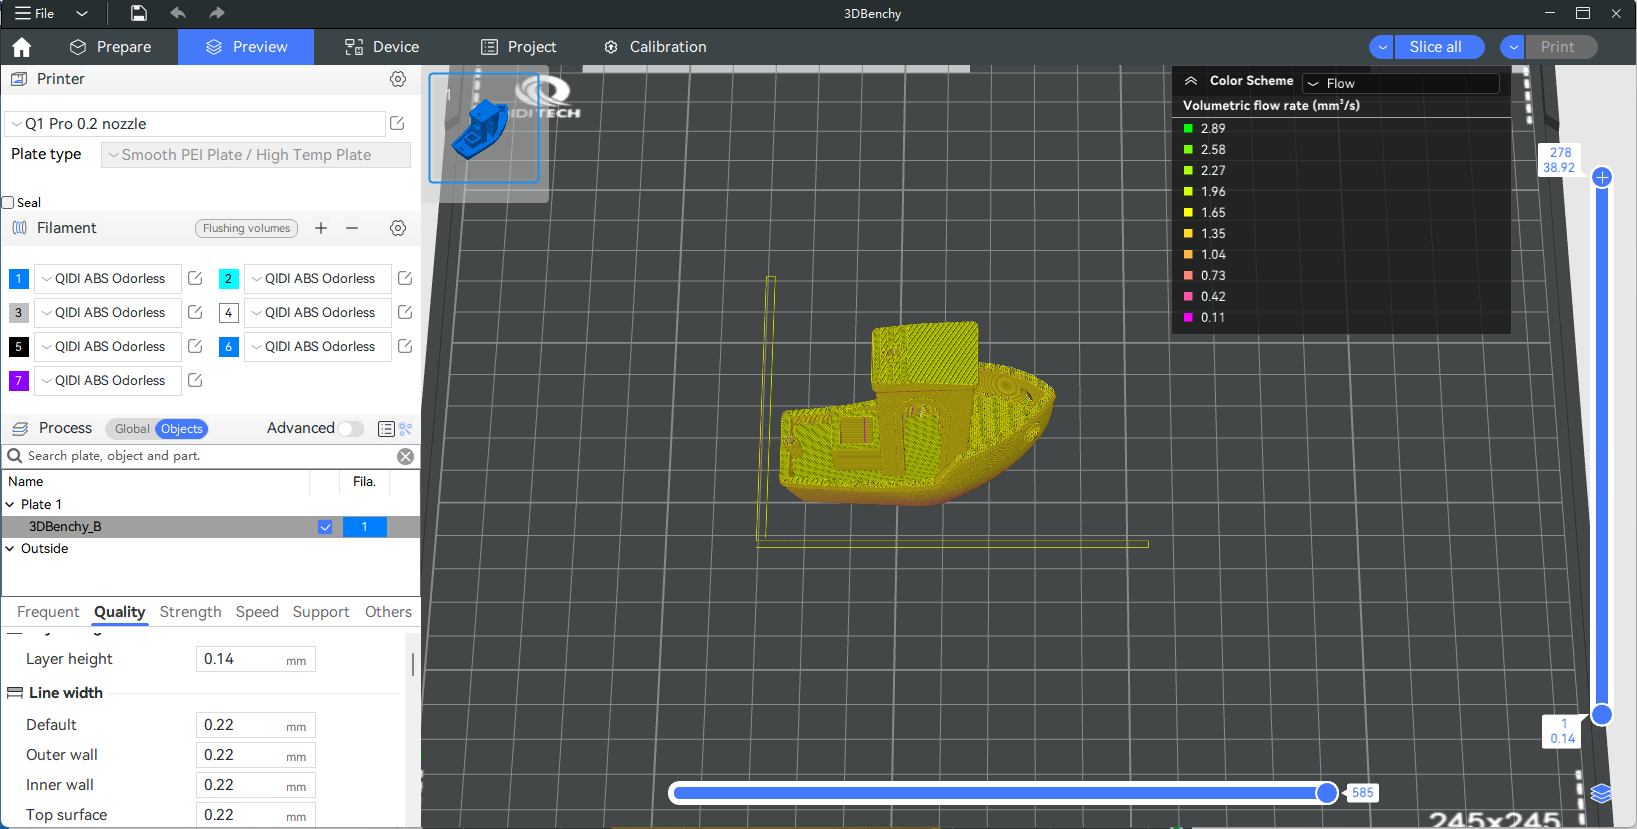
Display the filament flow rate (volumetric speed) at different locations.
¶ Layer time
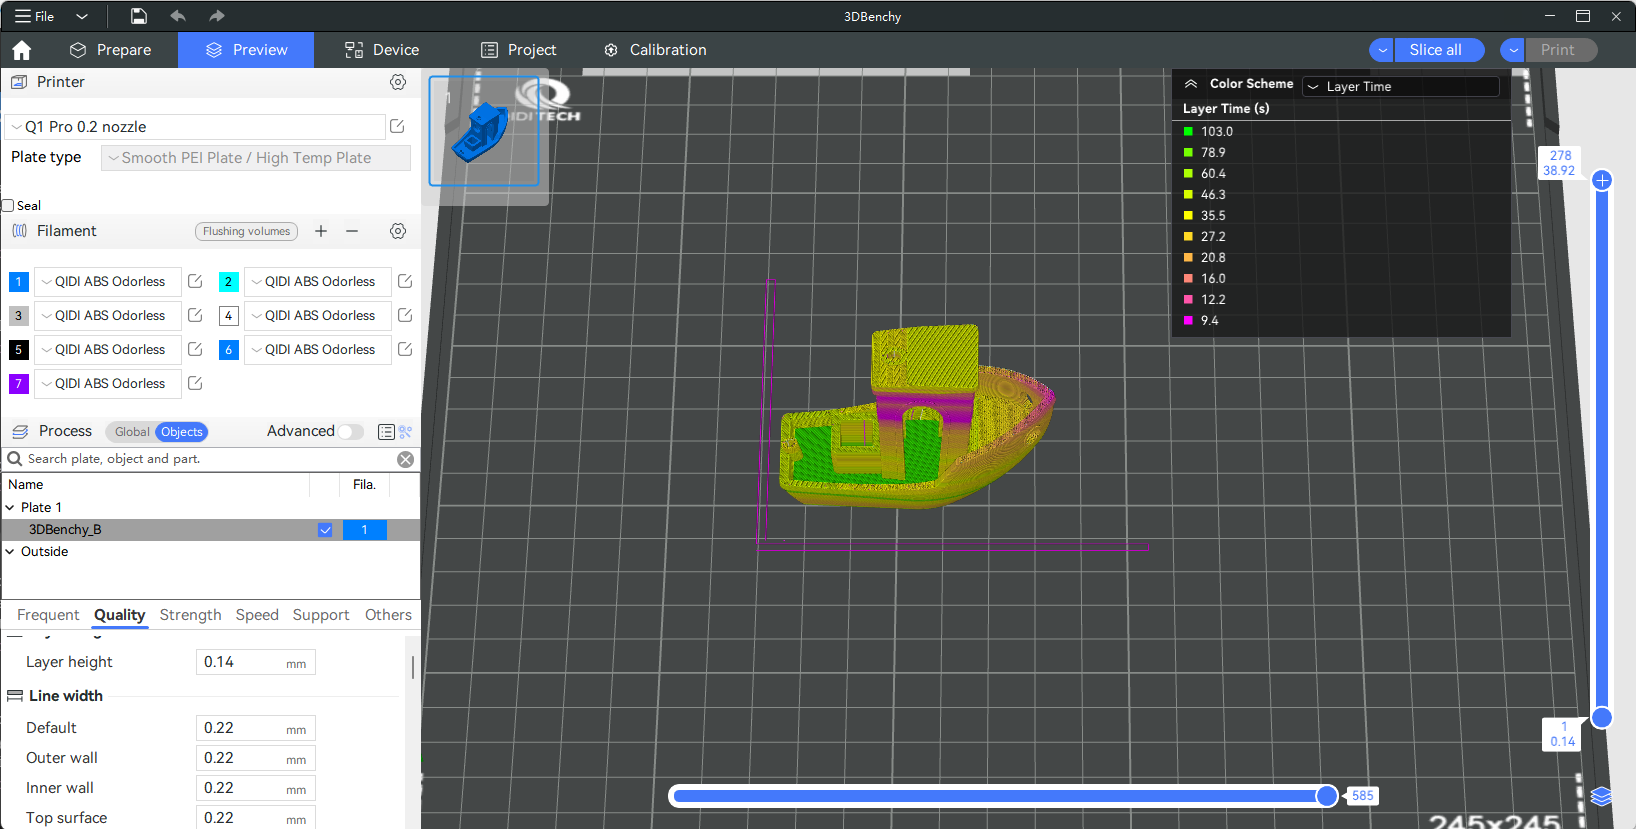
Display the printing time for different layers.
In general larger layers require more printing time.
¶ Fan speed
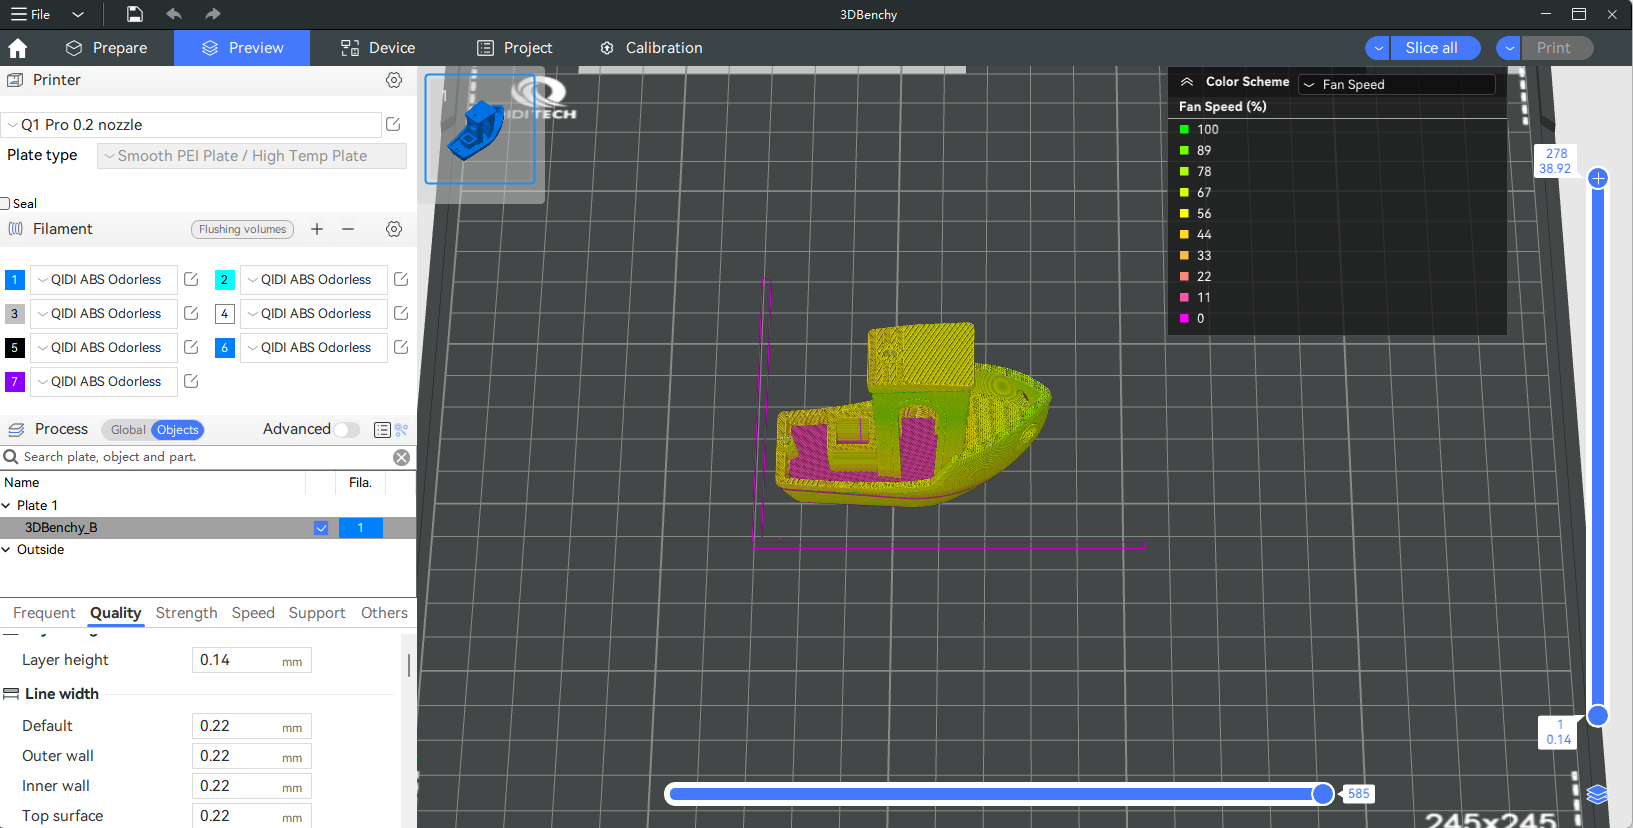
Display the cooling fan speed for different layers. Faster fan speeds result in quicker filament cooling.
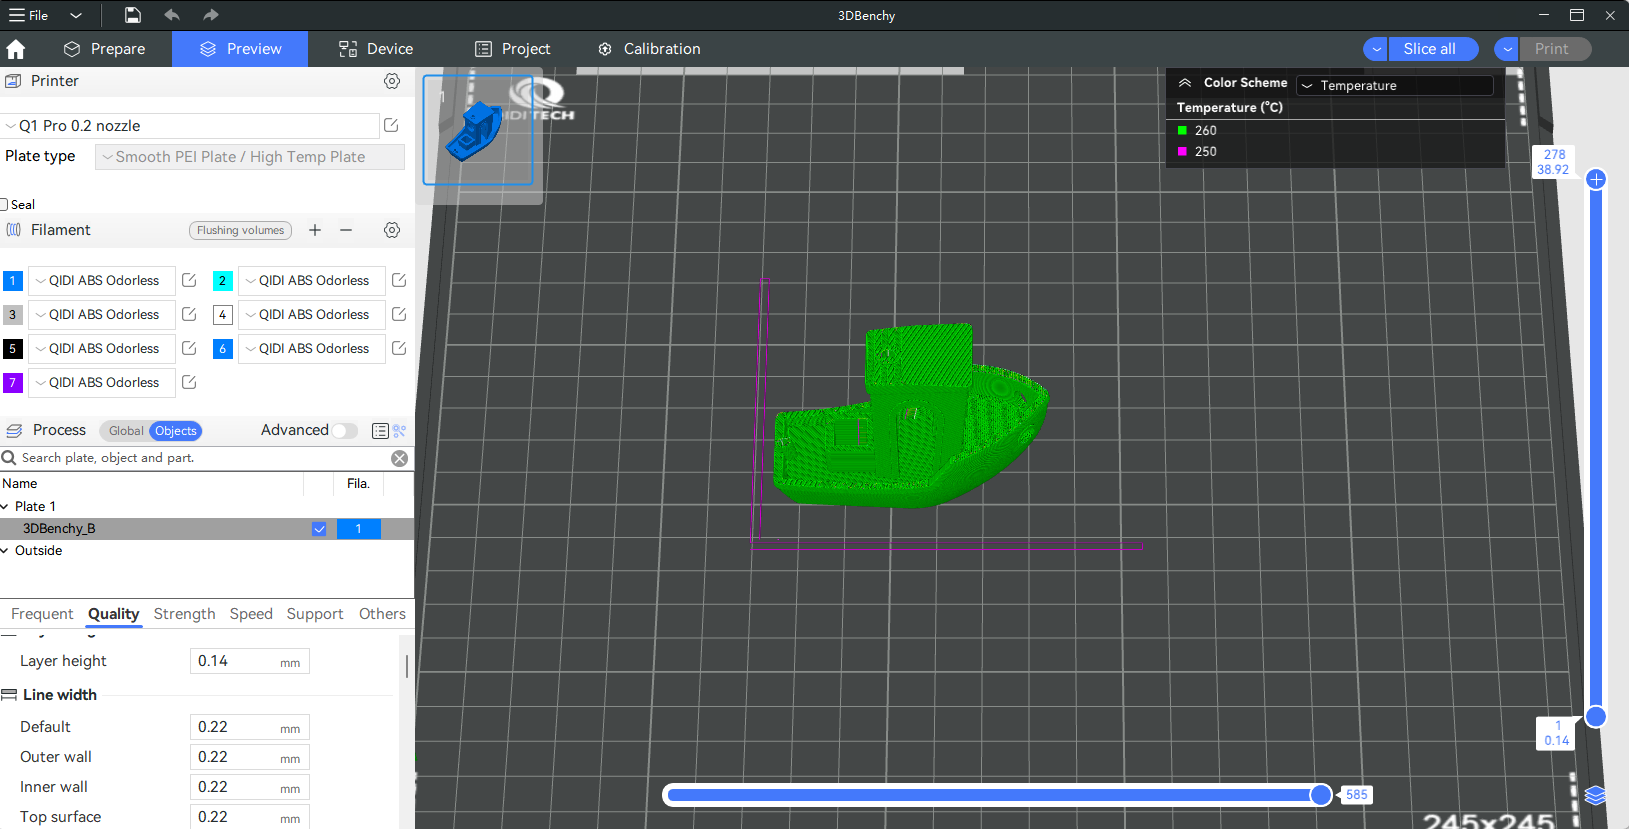
¶ Temperature
Display the nozzle temperature for different layers.
¶ How to use?
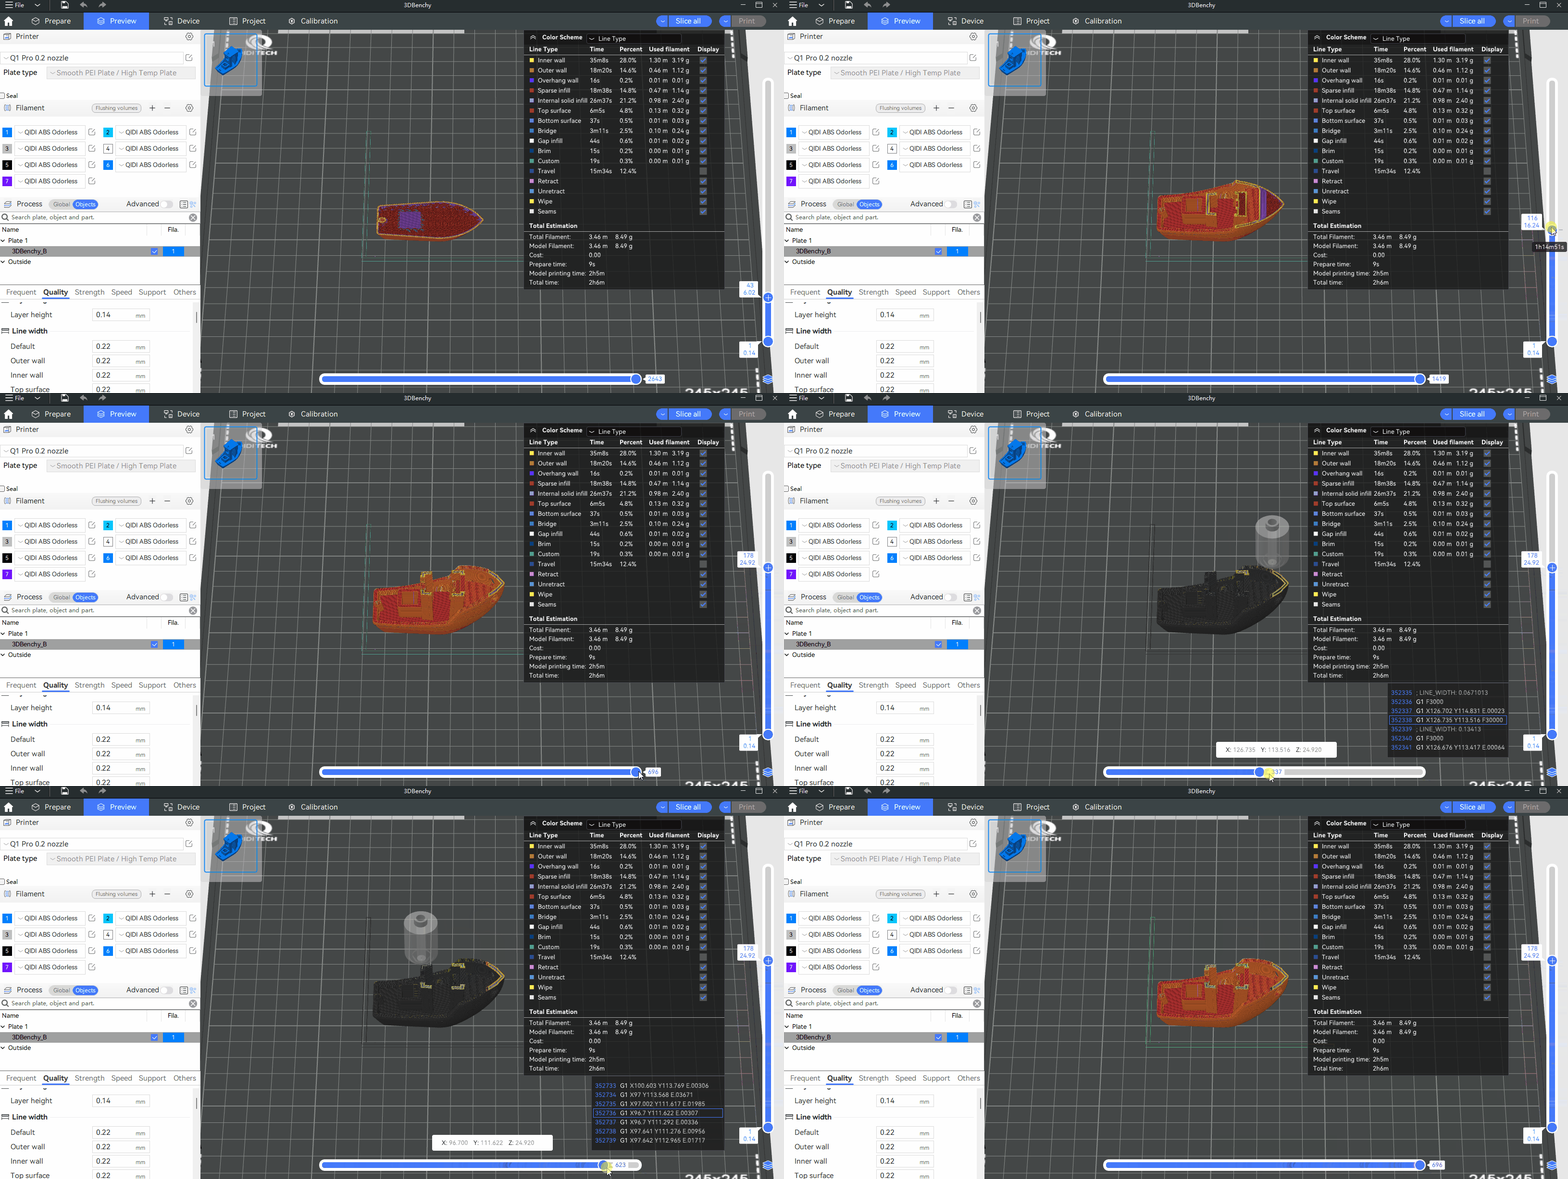
You can drag the progress bars on the left and bottom of the interface to view information about different layers and the printing path. You can also use the corresponding arrow keys.
The progress bar on the right shows the model's layers, layer height, and printing time.
The bottom progress bar displays the movement path of the nozzle for the current layer.
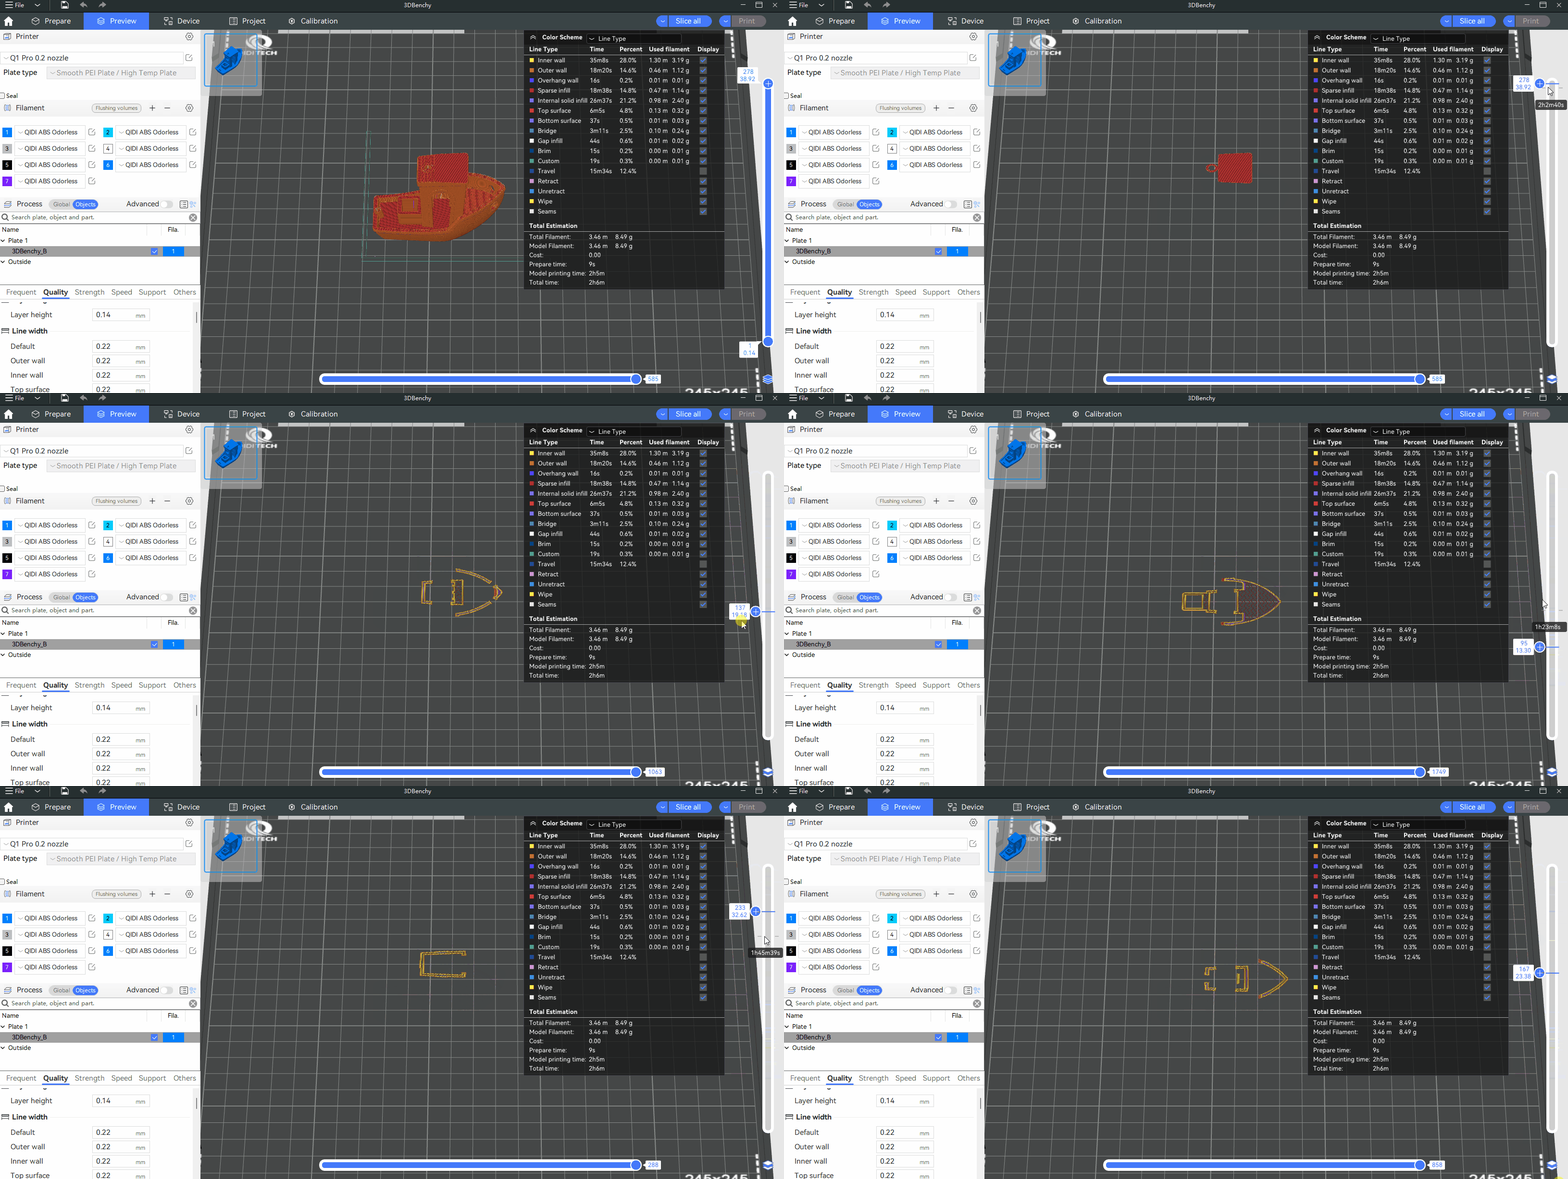
You can also click on the icon in the bottom right corner to view a single layer. After clicking the icon, you can drag the progress bar on the right side to view individual layers one at a time.
Right-click on the "+" symbol:
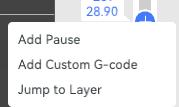
- Add Pause: If a pause is added to a layer, the printer will stop before printing that layer. You need to manually resume printing.
- Add Custom G-code: Custom G-code can be added to a layer to achieve various personalized settings.
- Jump to Layer:A pop-up window appears, enter the layer you want to jump to.
¶ Applications
This function is useful for you to adjust the printing parameters better and improve the print quality.
- Inspect print path: By inspecting the print path layer by layer, you are able to check if the G-code is generated by QIDI Studio as expected. This allows you to discover and rectify potentials issues in advance.
- Meet personalized needs: Pausing during printing allows to you embed objects, such as a magnet, into the model. These objects can be securely locked inside after the print is complete.
- Optimize support structure: Checking the support structure on different layer makes it possible to optimize the generation methods and positions. Make sure areas are getting enough support and remove unnecessary support. Also, ensure the contact points between the model and support are reasonable to reduce the impact on the surface quality of the model.
- Adjust infill patter: Check the infill pattern (such as grid, triangles and honeycomb) to optimize the infill pattern. The infill density can be both appropriate for the model strength and reduce filament waste. Additionally, the infill direction should be reasonable to improve the structural strength of the model.
- Evaluate layer height settings: Evaluate the effect of the current layer height settings on the details and surface quality of the model. Consistent layer heights across the model can avoid print qualities such as ripples on the surface. If smaller layer heights are configured, see if they are appropriate for the positions that need more details.
- Speed up printing: Make necessary optimizations to shorten the print time of areas that need longer to print.
- Analyze for potential issues: Check through the layers to discover and solve potential problems in advance. For example, identify overhangs and ensure adequate support or adjust the print parameters to reduce overhangs; check the print paths in transition areas to ensure smooth transitions and avoid poor inter-layer adhesion.