¶ First print
¶ Step 1. Configuration Wizard
-
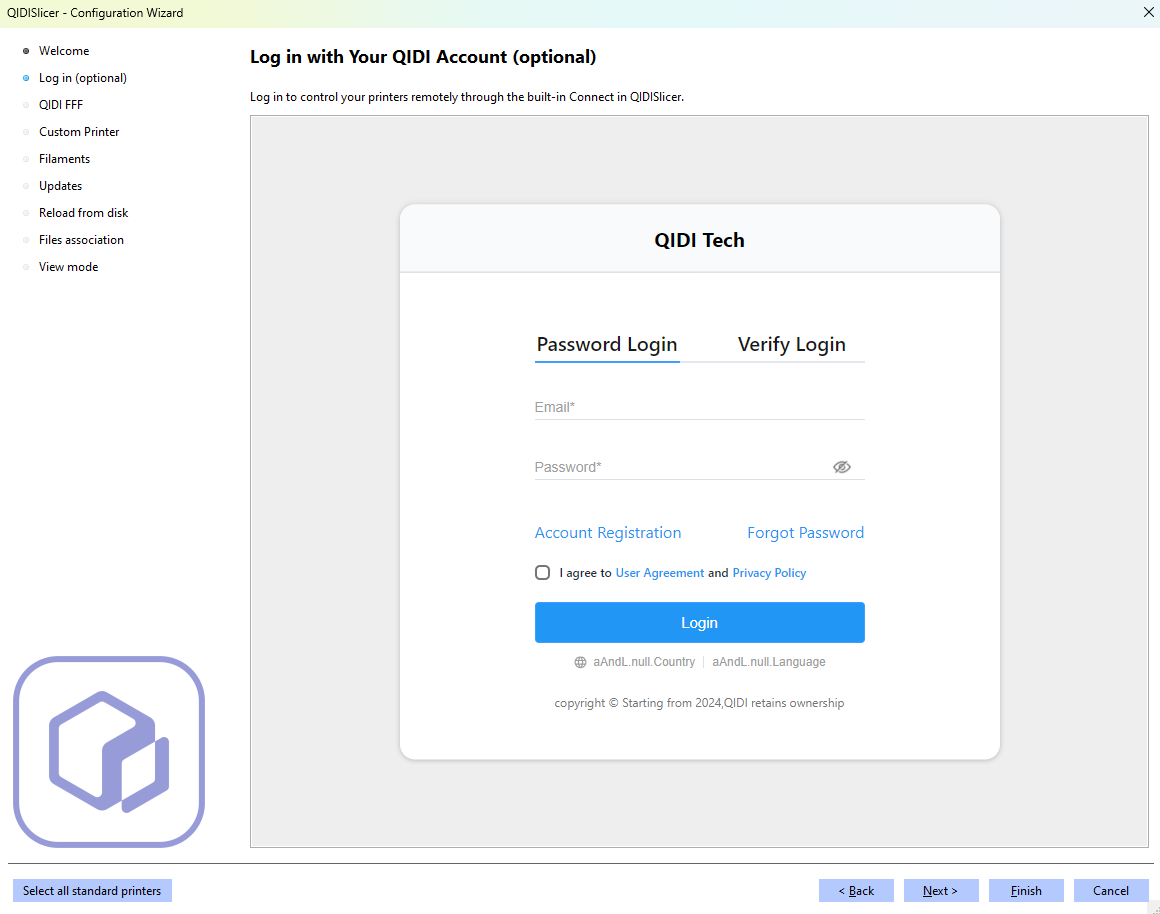
Log in Page
You can log in to your QIDI Link account on this page, and the QIDISlicer can synchronize your online devices after successful login.
-
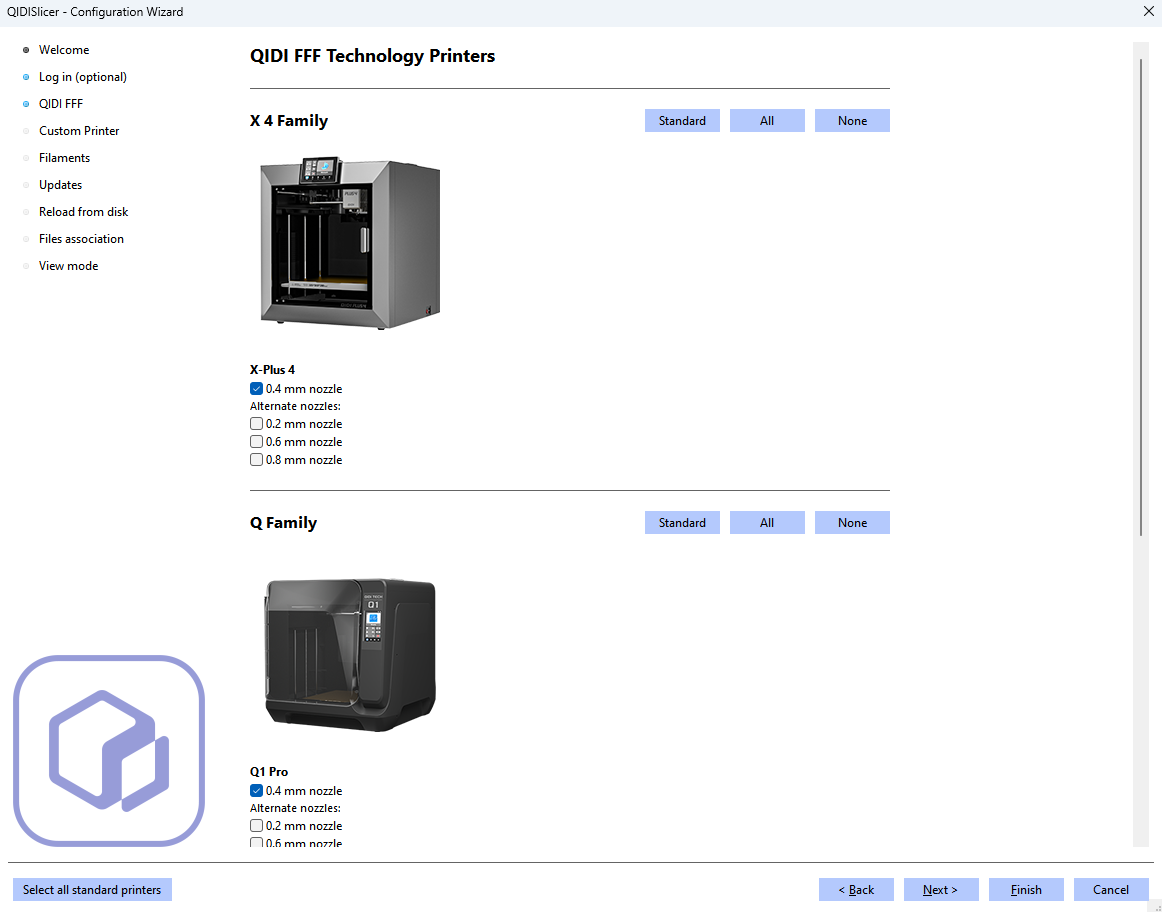
QIDI FFF
On this page, you can select one or more printers to add to your printer list. Don't worry if you're currently hesitant, you can always modify these choices through the printer menu.
-
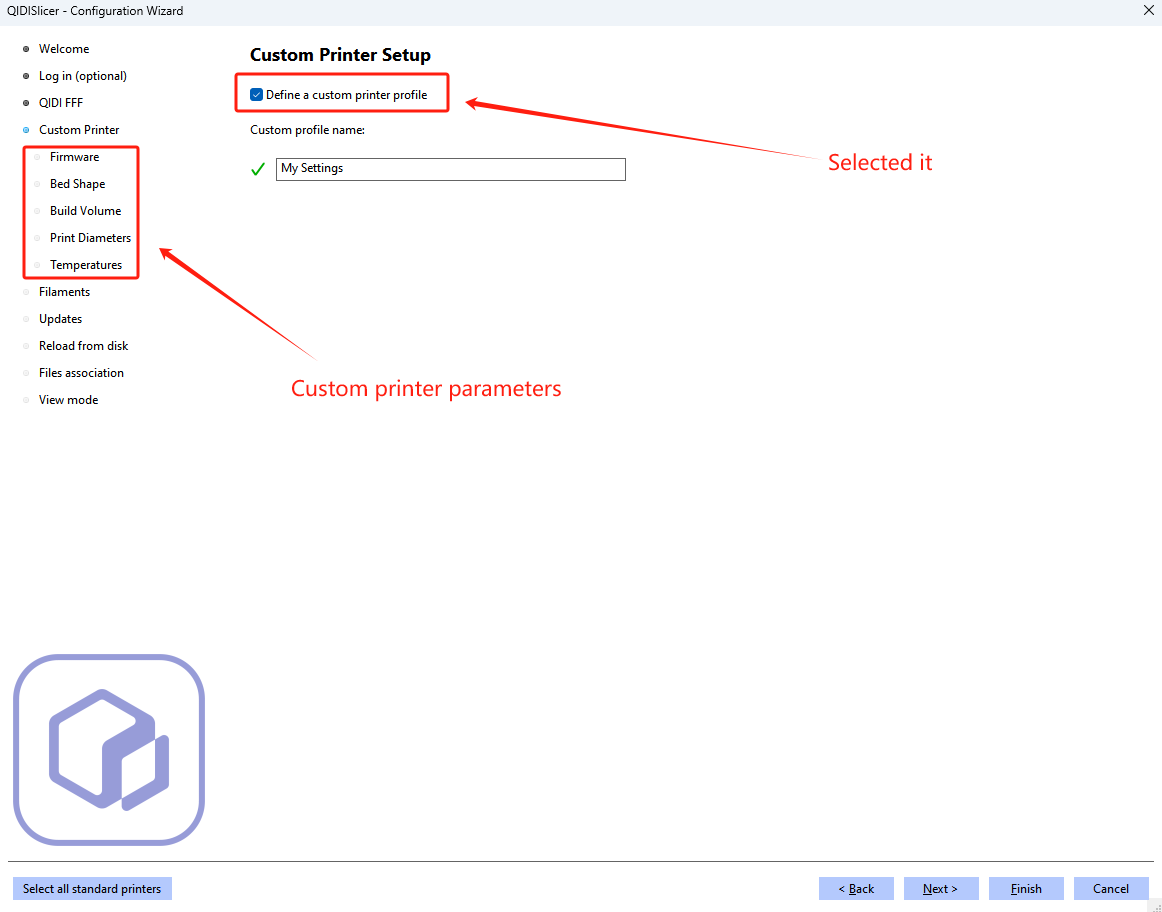
Custom Printer
On the current page, you can add a custom printer. Simply check "Define a custom printer profile" and several options for customizing your printer will appear for you to edit.
-
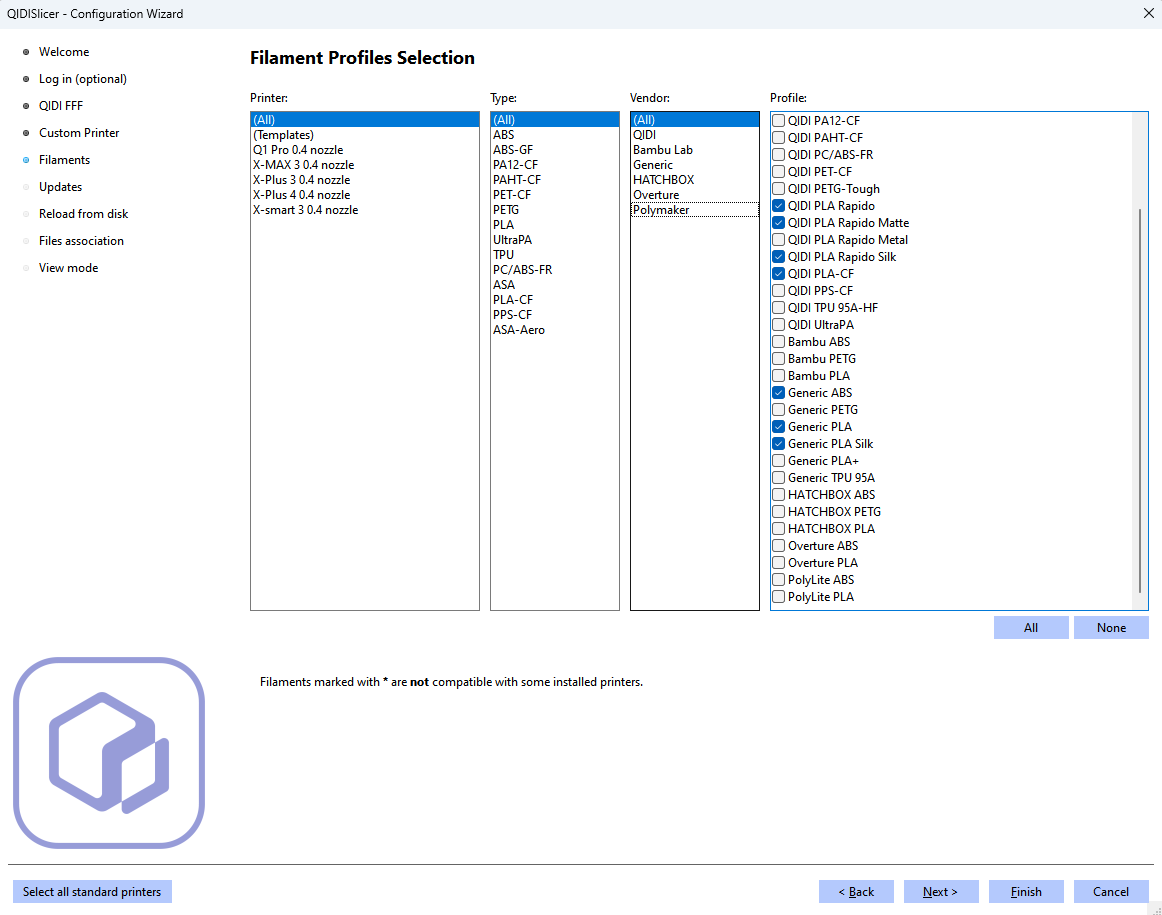
Filaments
On this page, you can select one or more filaments. The selected filaments are saved to the Filament Preset list.
Now, you can click "Finish" to complete your configuration, or continue to the subsequent configuration page. If you are a novice using a 3D printer for the first time, it is recommended that you keep the system default for subsequent configuration options.
¶ Step 2. First Print
¶ Model import
First, you need to import the model you want to print into QISISlicer. You can drag your pre-prepared model directly into the software, use the "Add" button or select "File - Import".
The 3D formats supported by the software include: STL, STEP, 3MF, OBJ and AMF.
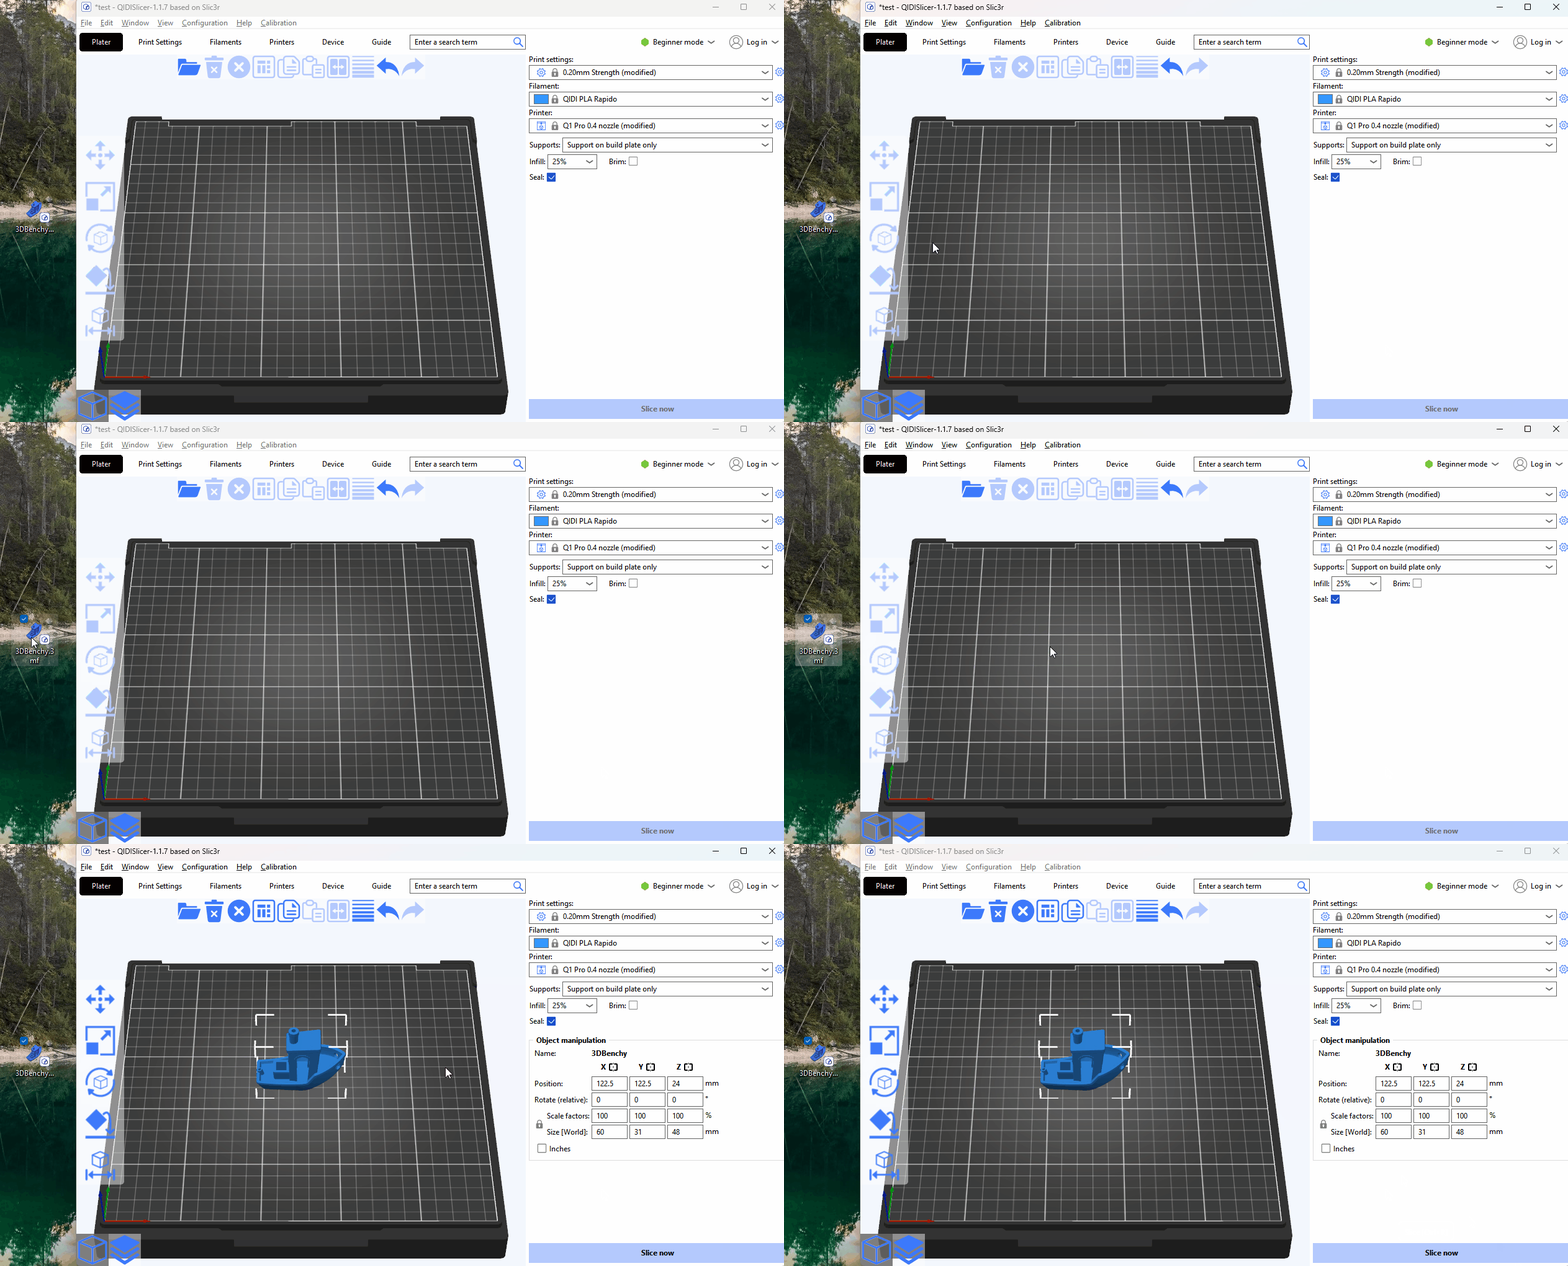
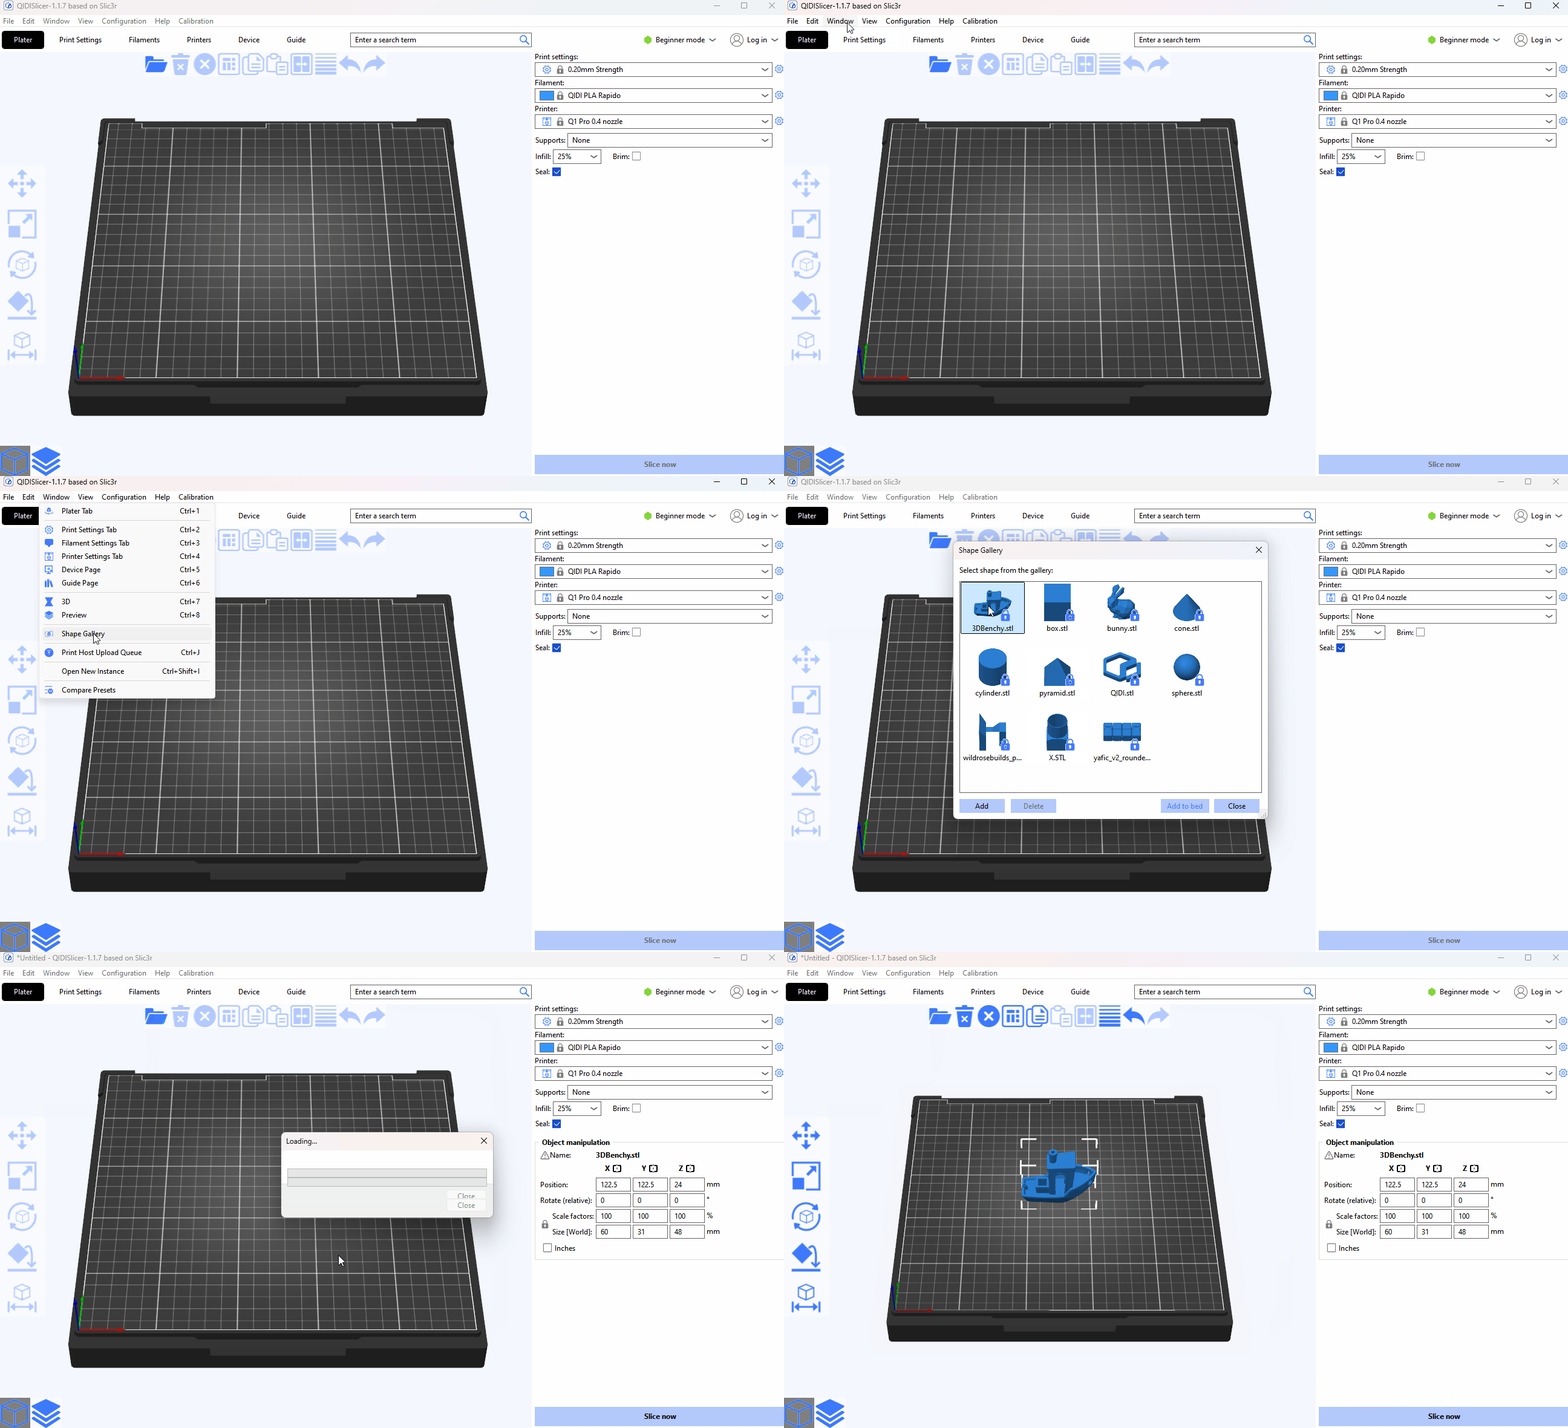
If you haven't prepared a model, don't worry. You can use the model that comes with the software for this printing.
¶ Select printer and filament
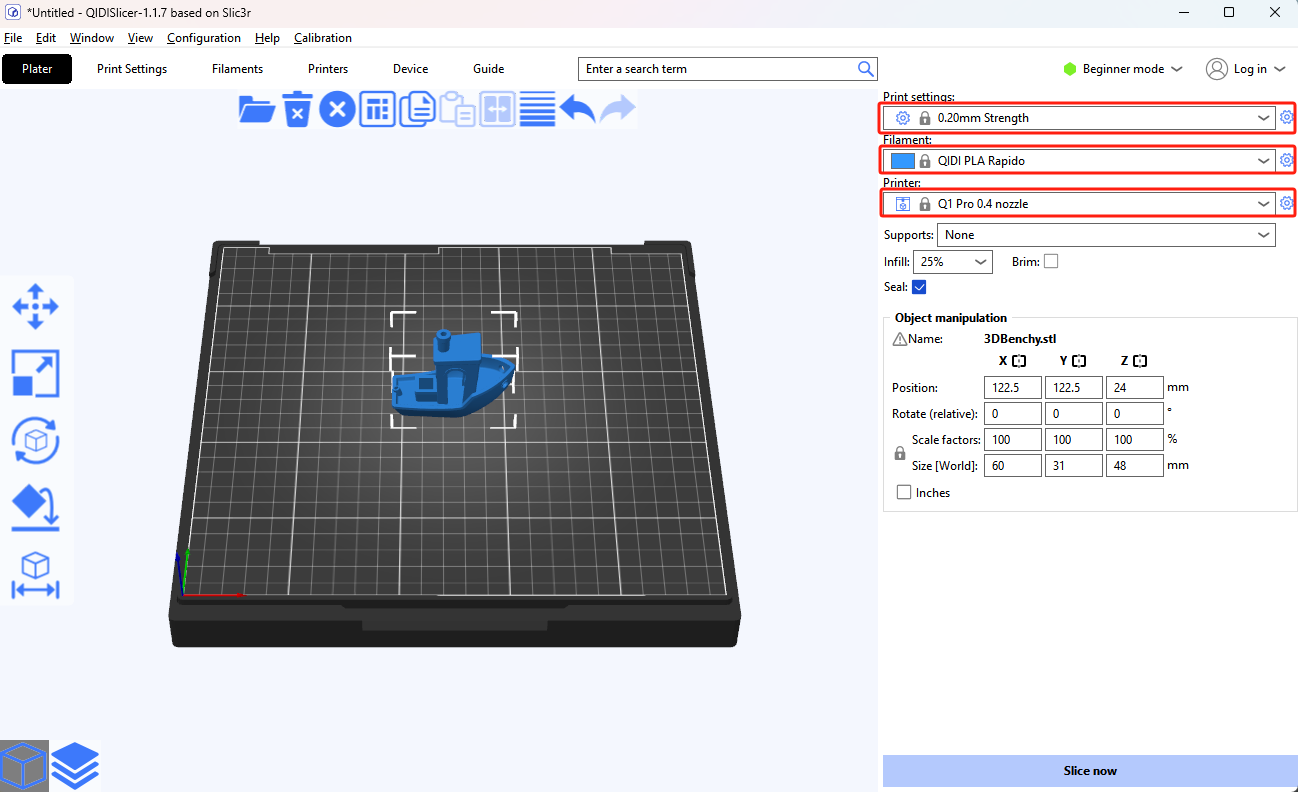
Before starting the slicing process of the model, you need to adjust the print settings/filaments/printer presets. These presets can improve the quality of the printed model.
- Click the "Print settings" drop-down button and select the height of the print model. The lower the height, the model will be finer, but the print time will increase.
- Click the "Filament" drop down button and select the type of filament you are using.
- Click the "Printer" drop down button to select the printer model and the nozzle size you are using. If your printer model is not listed, you can add it via the gear-shaped button to the right of the printer list or by "Add/removing printers" in the list.
¶ Slicing
After the preset adjustment is complete, click the "Slice now" button in the lower right corner to slice the model. When the slicing is complete, it will automatically jump to the GCode preview page. Alternatively, you can use the toggle button between 3D View and Preview mode in the lower left corner, or press the Tab key.
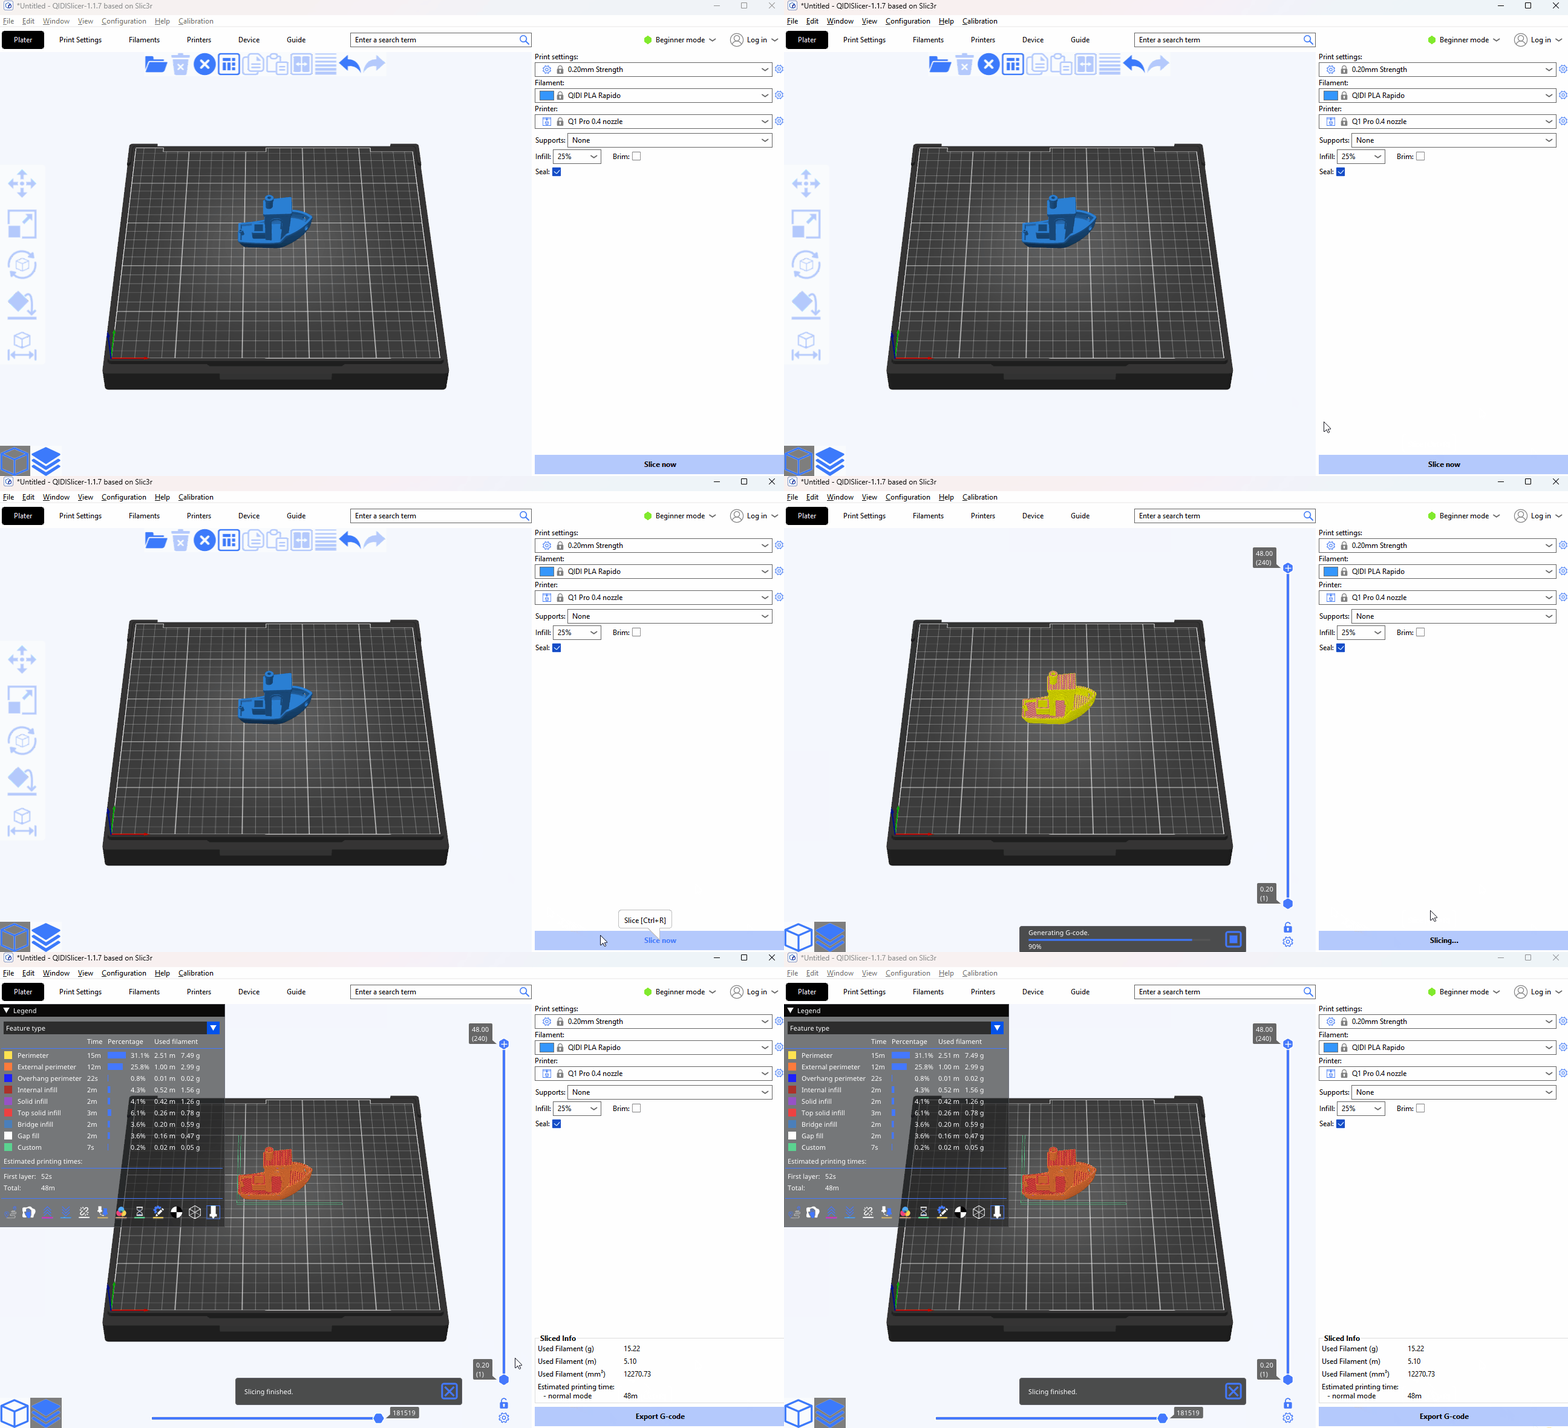
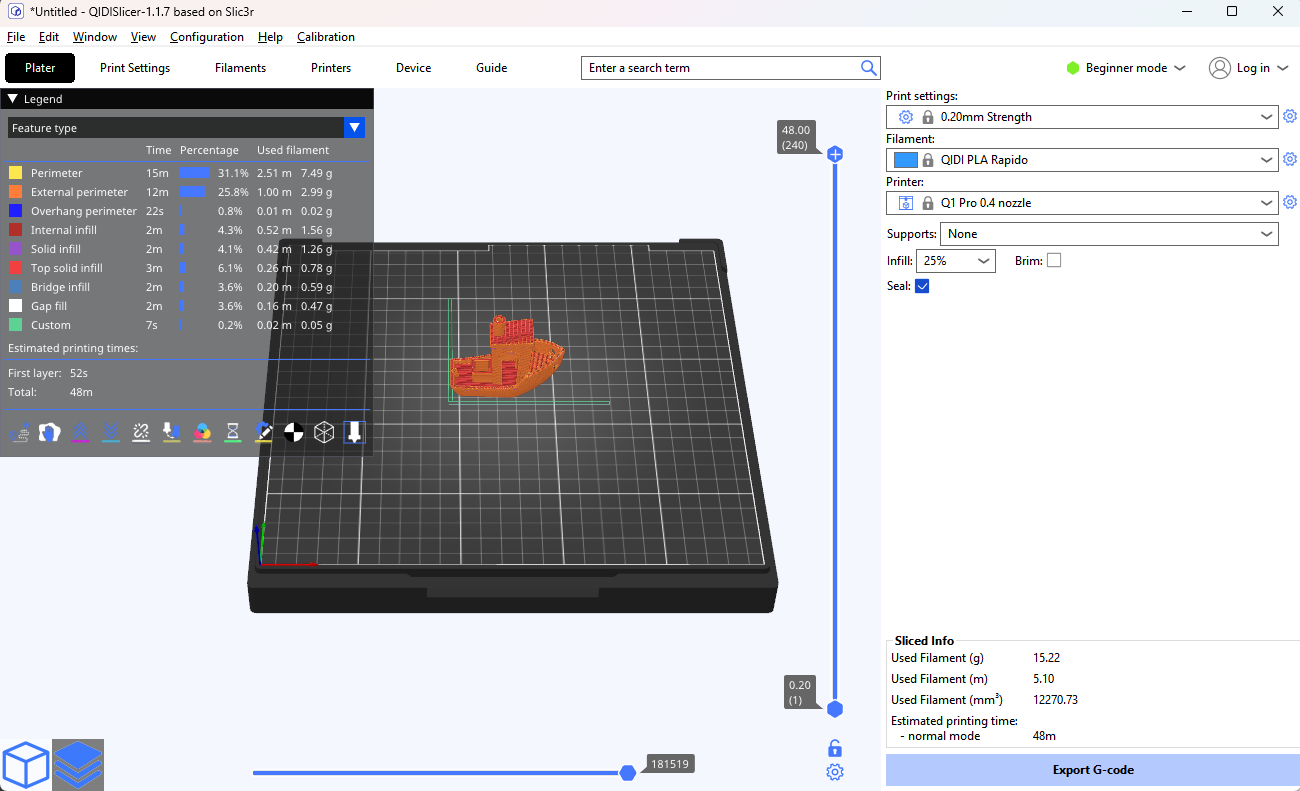
On the GCode Preview page, you can preview the printing process of each layer and understand the specific workflow of the printer. At the same time, the left information panel provides important print details, such as consumables usage and estimated print time.
¶ Send the GCode to printer
You can transfer the GCode code obtained by slicing to the printer in the following three ways for model printing.
-
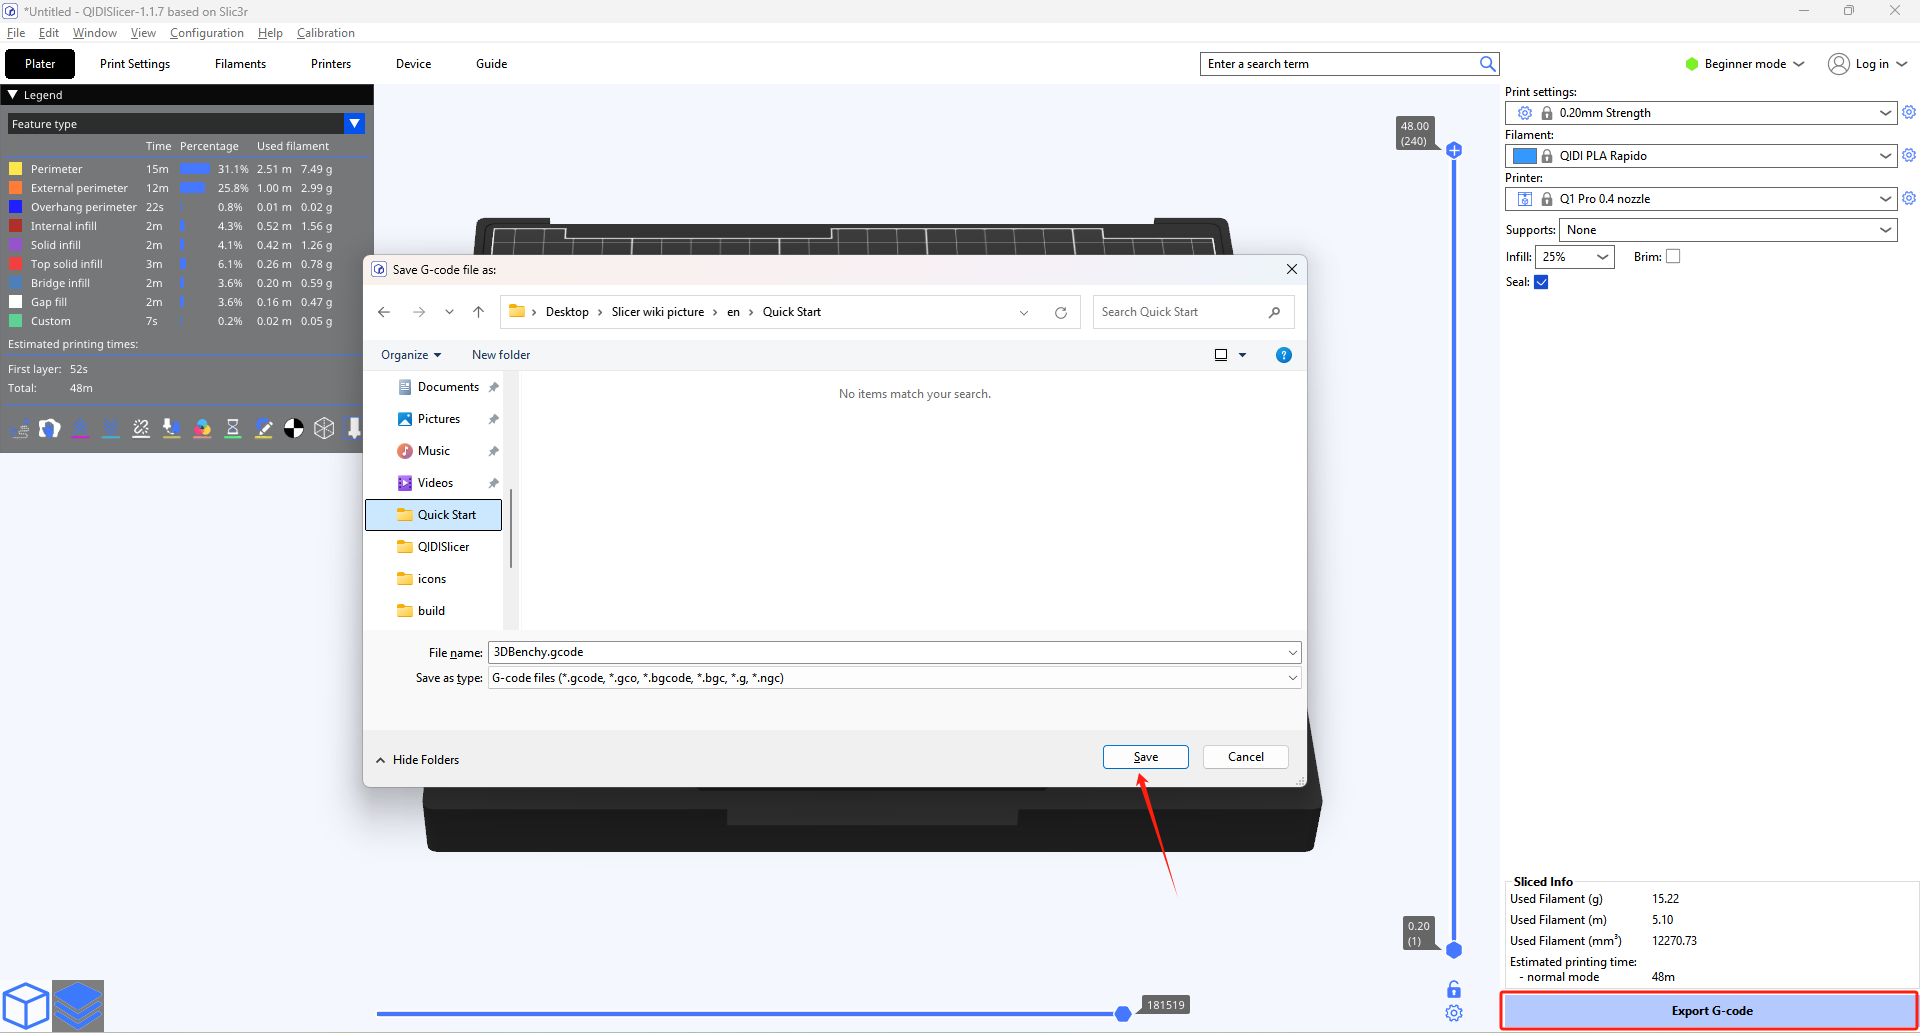
Export the GCode code and then transfer it to the printer using tools such as USB flash drive.
-
Send GCode code through LAN or Internet,You can refer to Send GCode Code to Device for details.