¶ Definition
Layer height refers to the height of each layer in the 3D printing model, during FDM 3D printing the model is built layer by layer, we also regard the layer height as the vertical resolution of the model, that is, the lower the layer height, the higher the fineness of the model.
You can set the layer height parameters in the Process - Quality - Layer height.

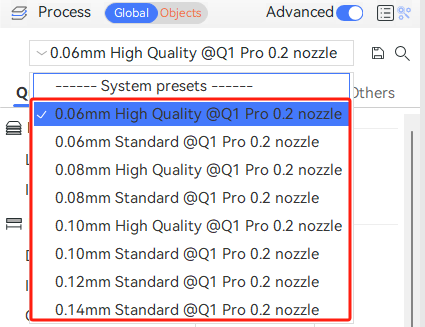
You can also select different layer height presets directly in the Process, QIDI Studio has several layer height presets for different diameter nozzles of QIDI series printers.
¶ First layer height
The first layer height refers to the height of the initial layer of a print, which is the distance between the nozzle and the print bed. In QIDI Studio's system presets, there is a fixed first layer height set for different nozzle sizes, typically calculated as the nozzle diameter multiplied by 0.5. For example, with a 0.4mm nozzle, the default first layer height would be 0.2mm (0.4mm * 0.5 = 0.2mm).
An appropriate layer height ensures good adhesion of the first layer during printing. Better quality of the first layer can improve the overall success rate of printing the model.
¶ Effect
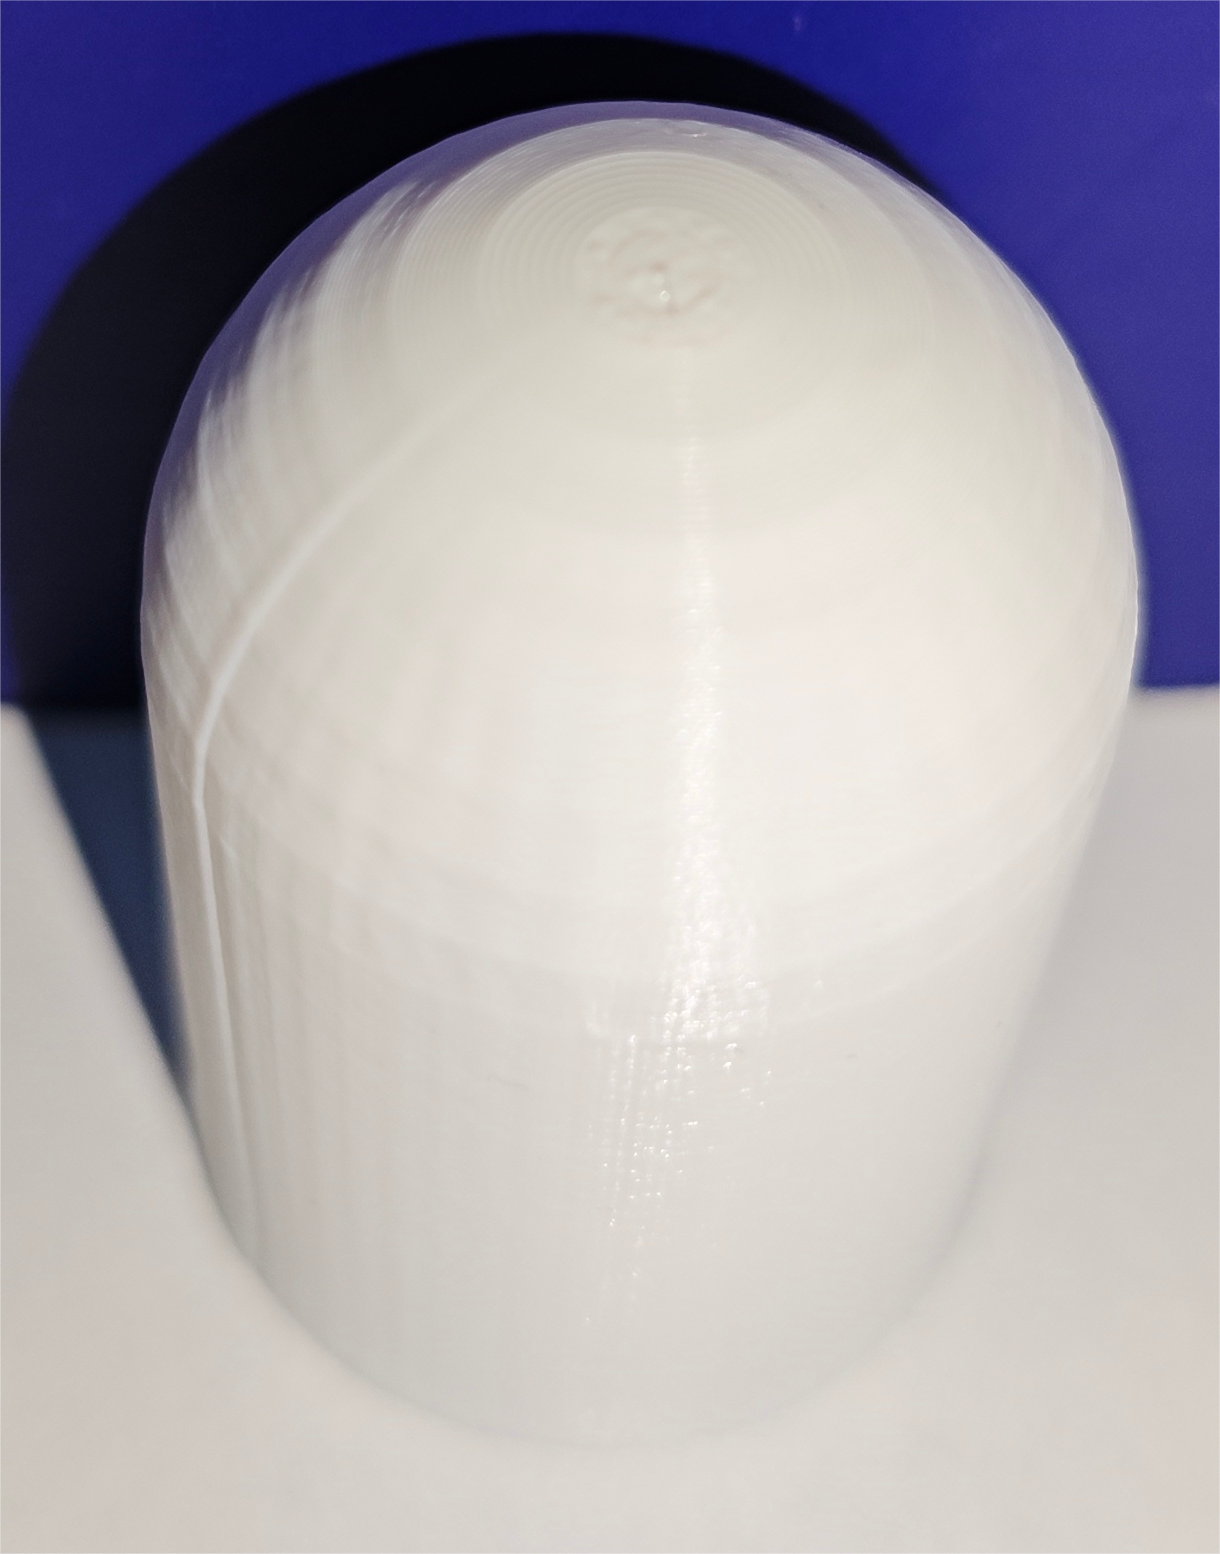
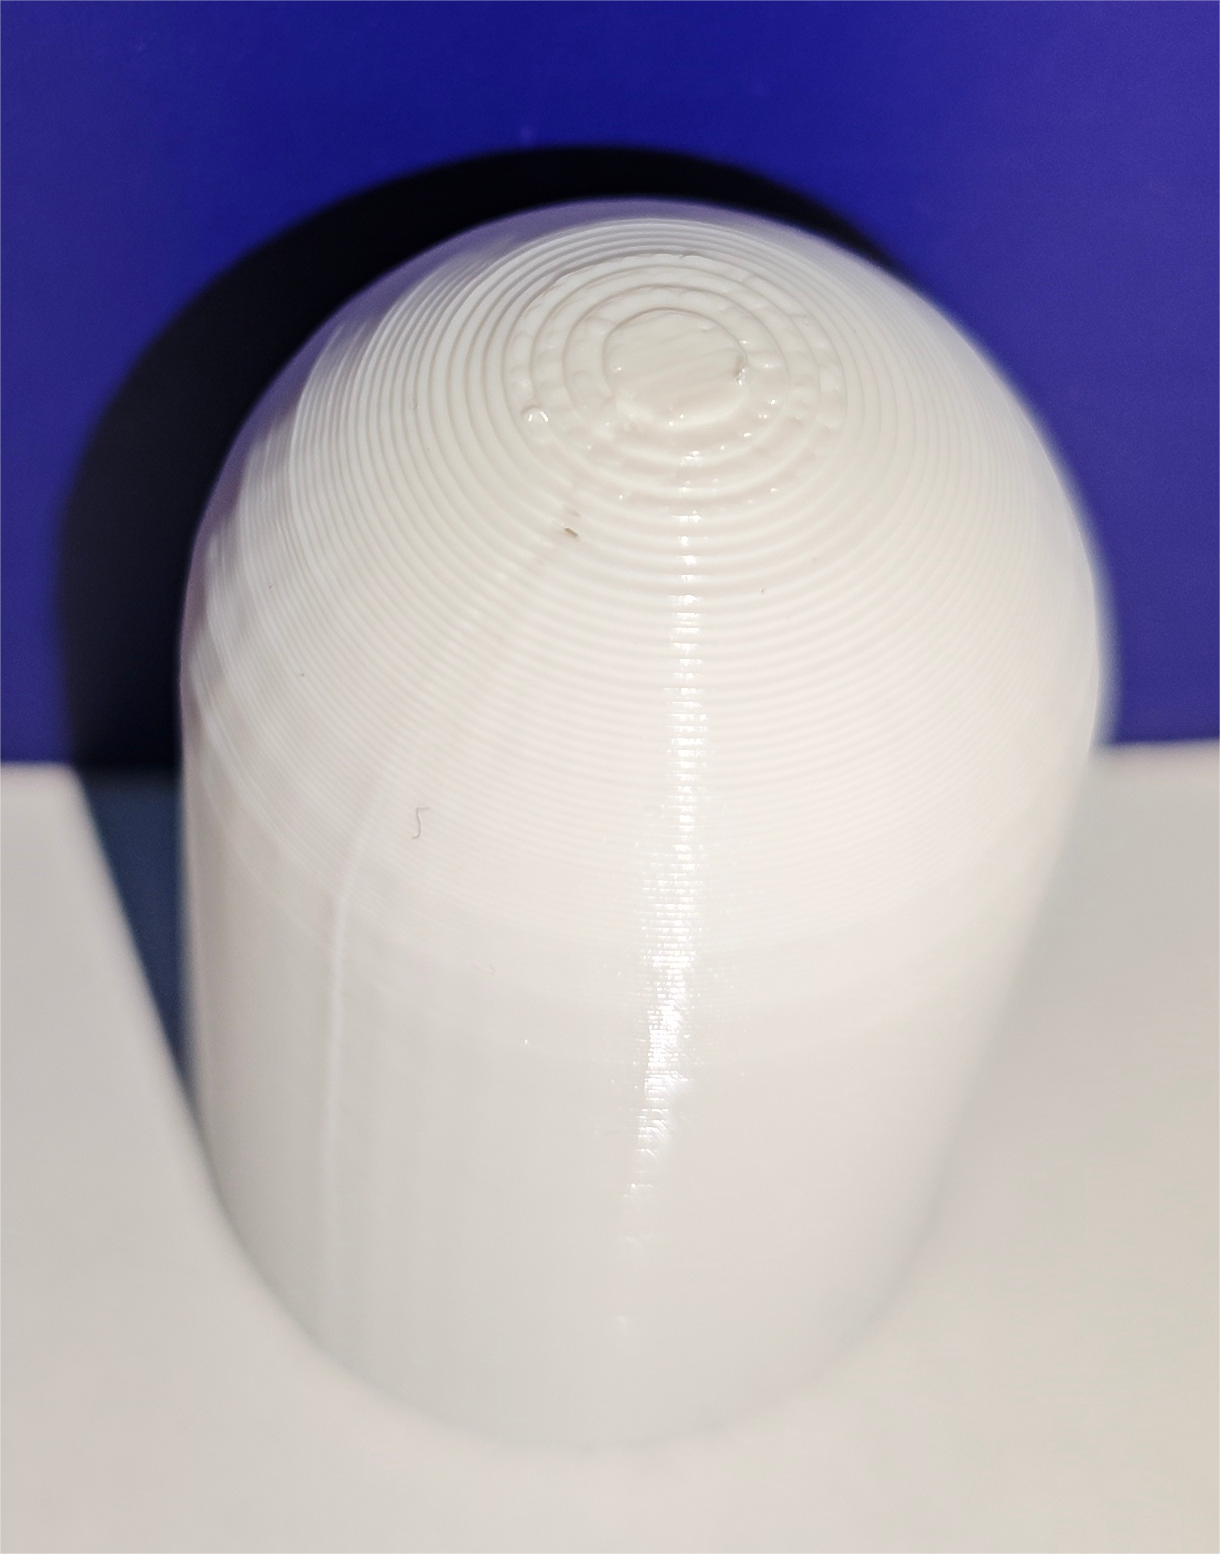
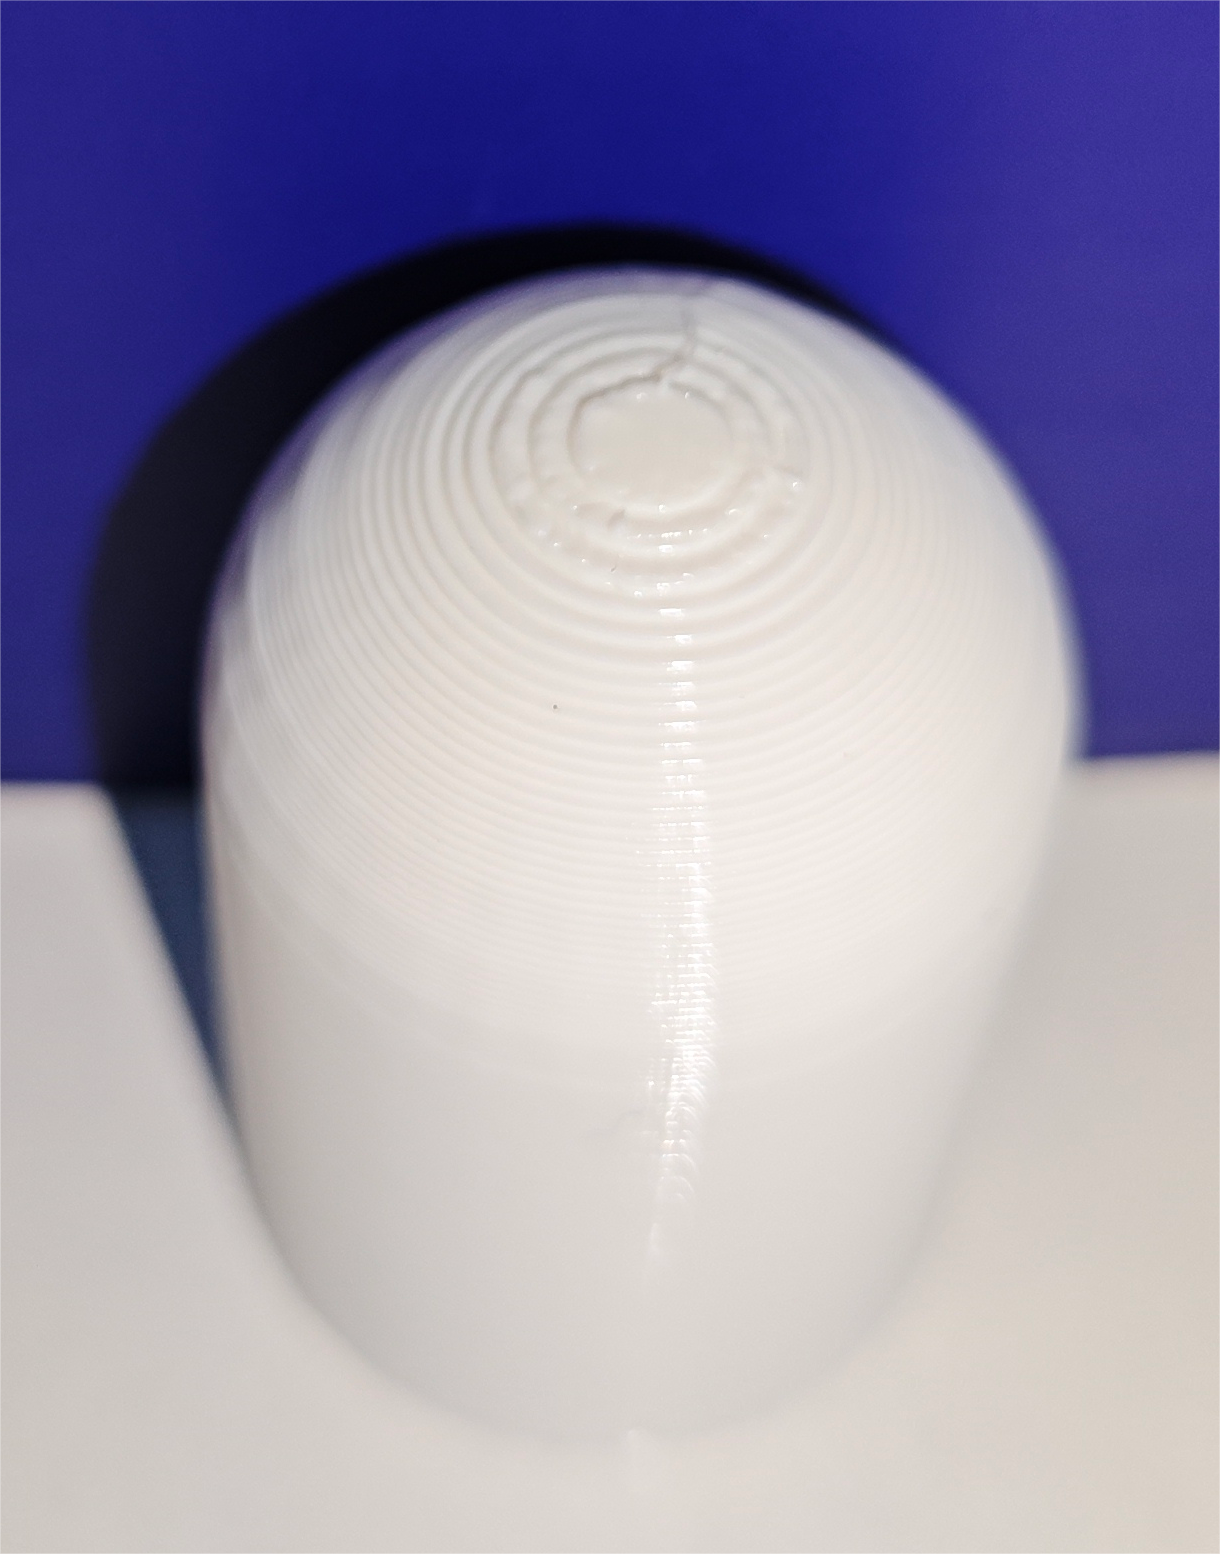
The layer height affects the fineness of the model surface and the printing time. The lower the layer height, the less obvious the interlayer patterns on the model surface, but the printing time will be relatively longer. Because the model height is fixed, the lower the height of a single layer, the more layers are required and the longer the printing time.
| 0.08mm layer height, printing time 47m | 0.2mm layer height, printing time 22m | 0.28mm layer height, printing time 17m |
|
|
|
¶ Adjustable range of layer height
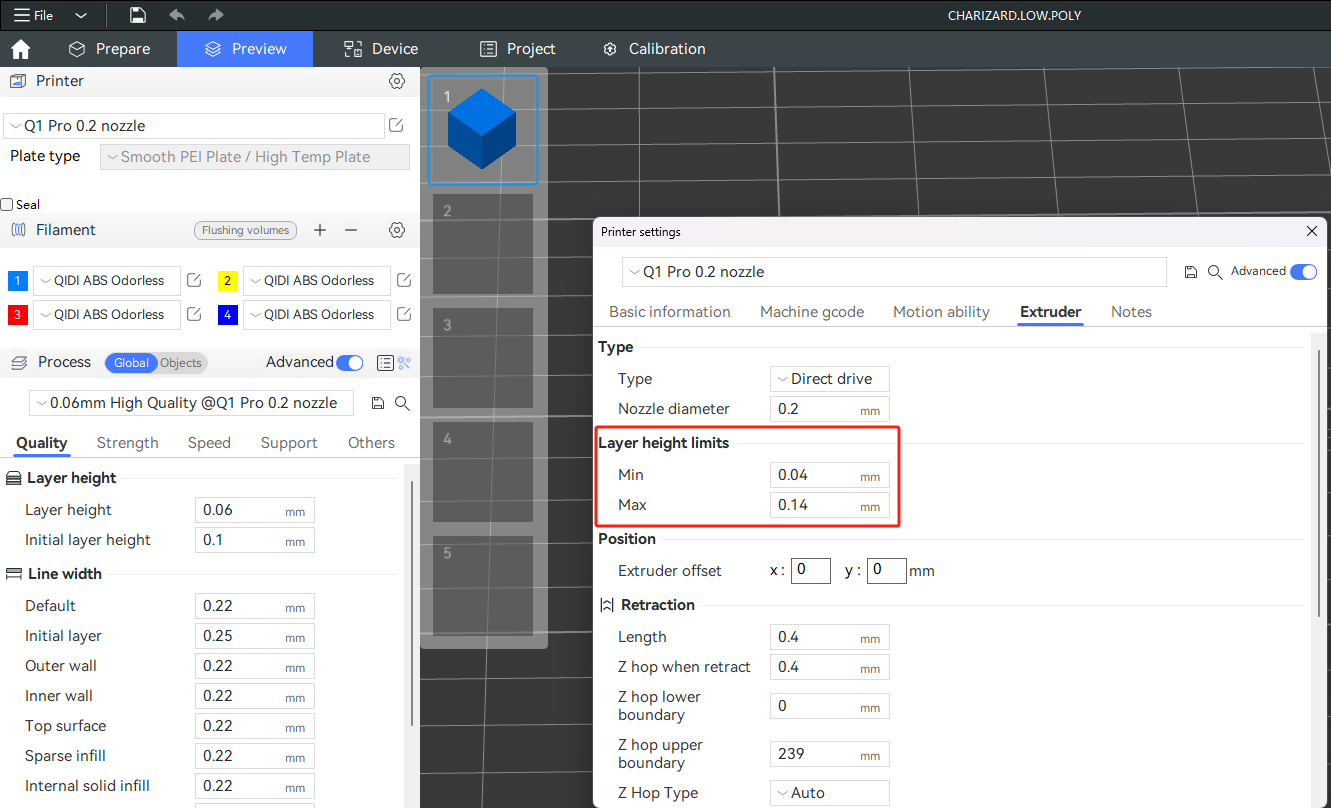
In 3D printing, achieving good print quality depends on setting a reasonable layer height. Typically, a reasonable range for layer height is between 20% ~ 70% of the nozzle diameter.
In the printer settings - "Extruder," you can adjust the range for layer height based on the current size of the nozzle.
¶ The rounding logic of layers
When the model's height is not divisible by the layer height, the slicing software rounds up or down based on the calculation results. QIDI Studio slices the model layer by layer. After slicing the second-to-top layer, it compares the remaining height with the half of the layer height (centerline height). If the remaining height is greater than the centerline height, that layer exists; otherwise, it doesn't, and the second-to-top layer is taken as the topmost layer.
Centerline height = printing layer height / 2
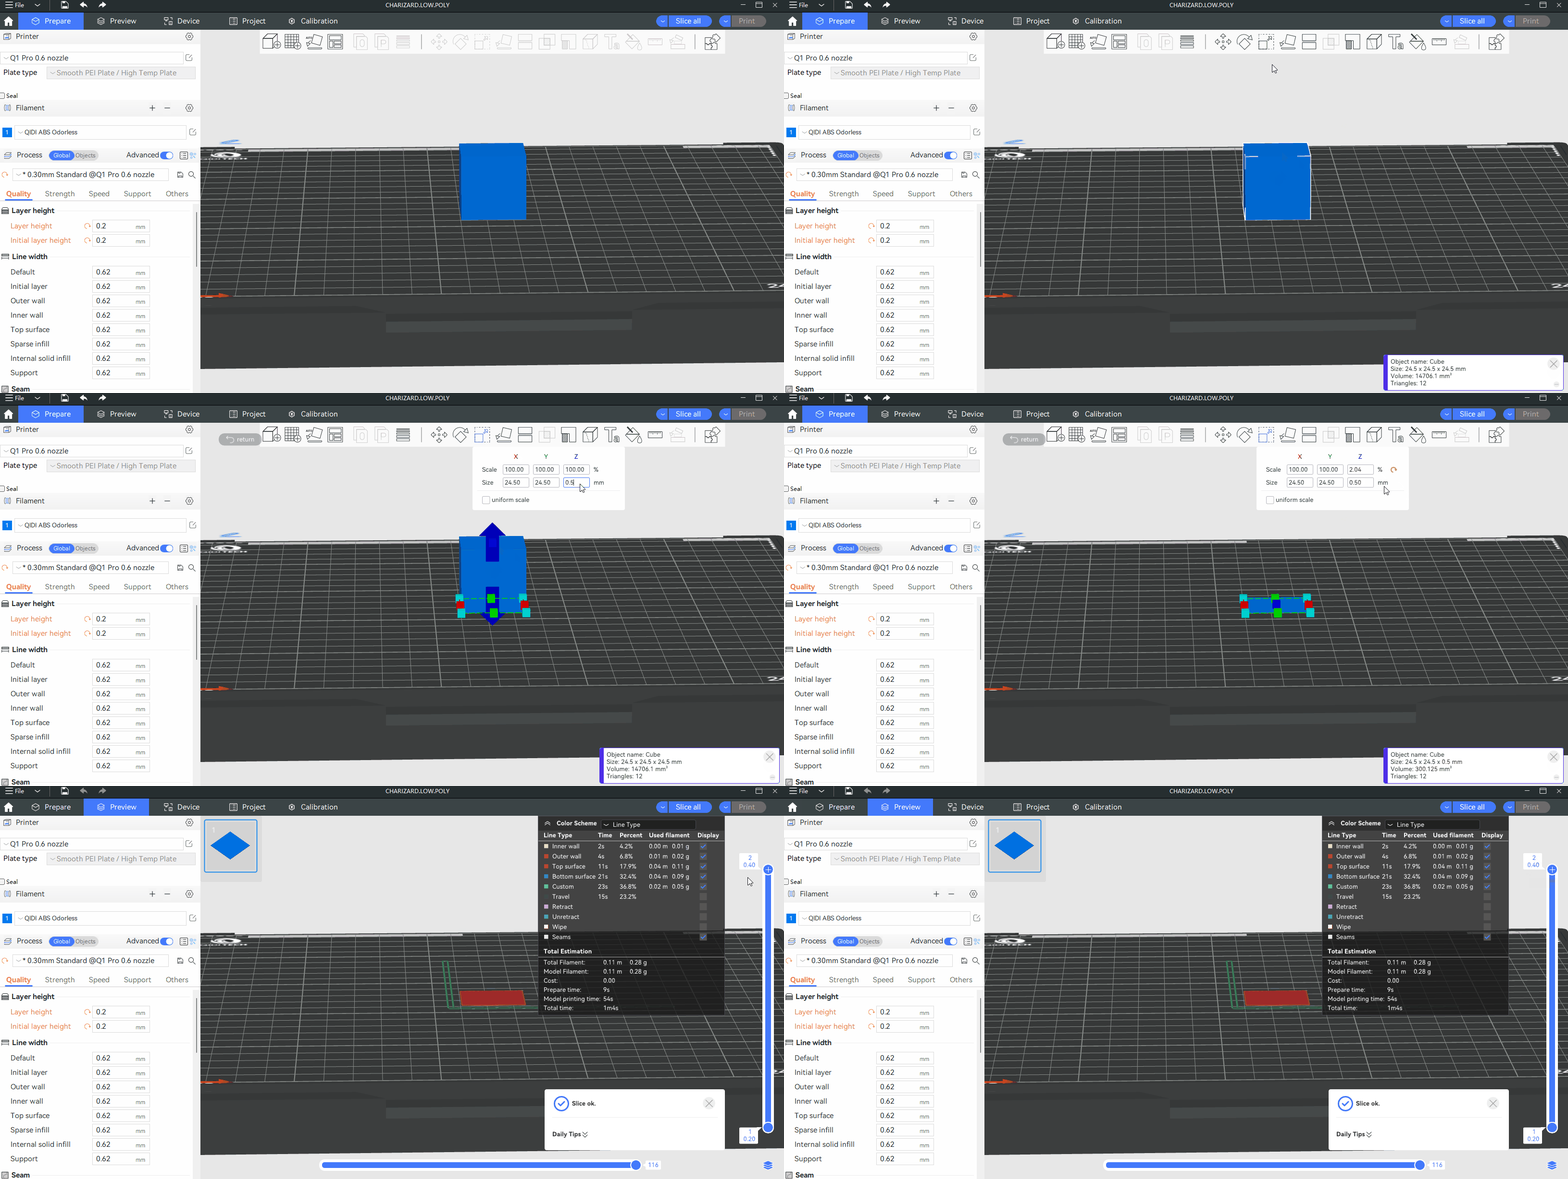
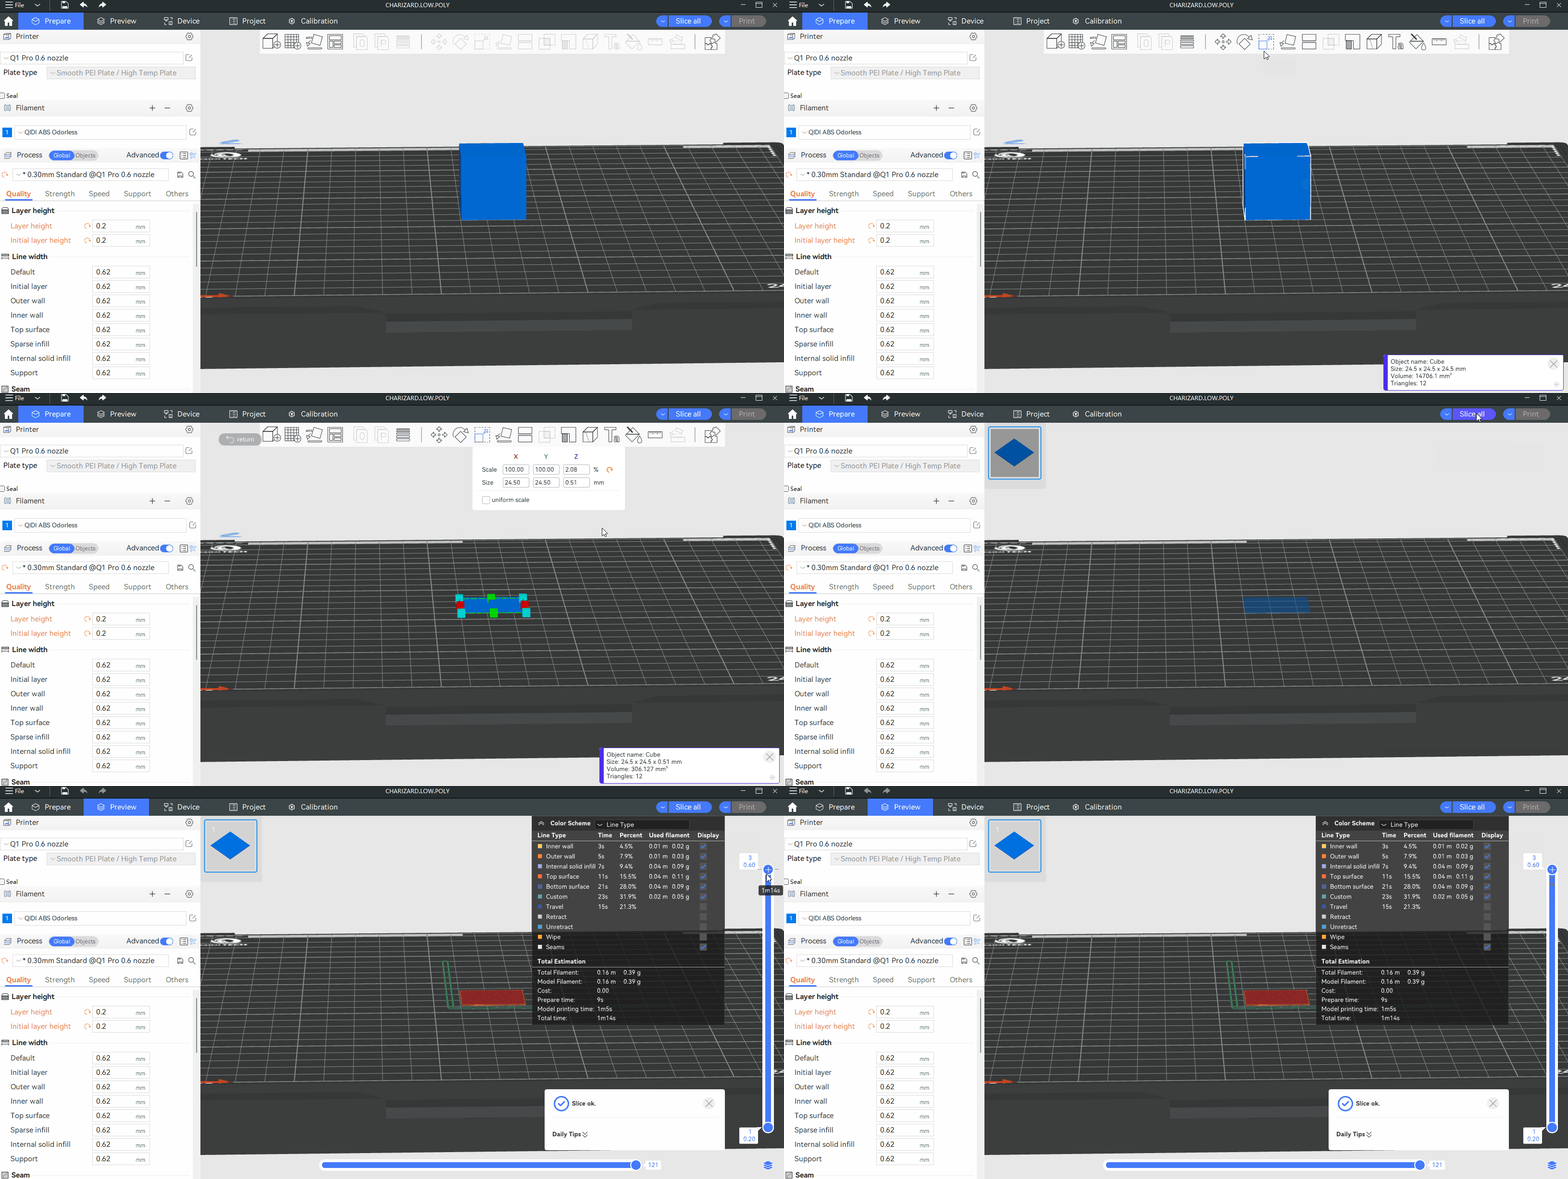
Here is an example. Slice results with a layer height of 0.2mm and model heights of 0.5mm and 0.51mm, respectively.
When the model height is 0.5mm, after printing the first two layers totaling 0.4mm in height, the remaining height for the third layer is 0.1mm, which equals the centerline height. Therefore, the third layer does not exist in the slice, resulting in only two layers being sliced.
¶ Precise Z height
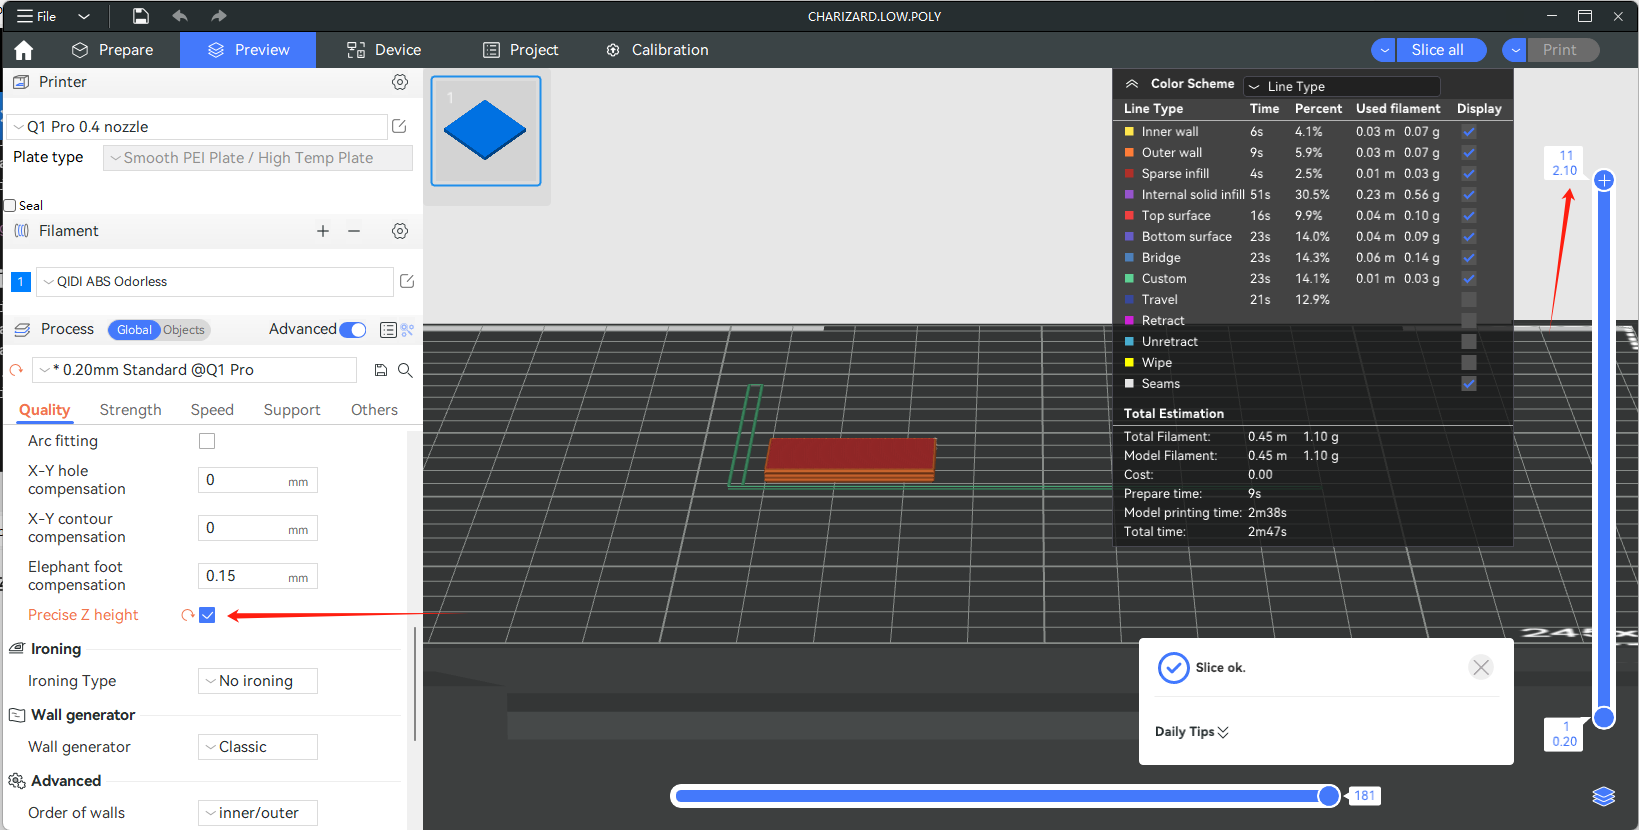
Due to the model height not being perfectly divisible by the layer height, there is a discrepancy between the sliced model and its actual height. In QIDI Studio, you can use "Precise Z height" to achieve an accurate model height after slicing. This feature adjusts the heights of the last 5 layers to match the actual desired height precisely.
Create a rectangular prism with a height of 2.1mm, using a 0.4mm nozzle size. Set both the layer height and initial layer height to 0.2mm. After slicing, it shows 11 layers and a height of 2.2mm.
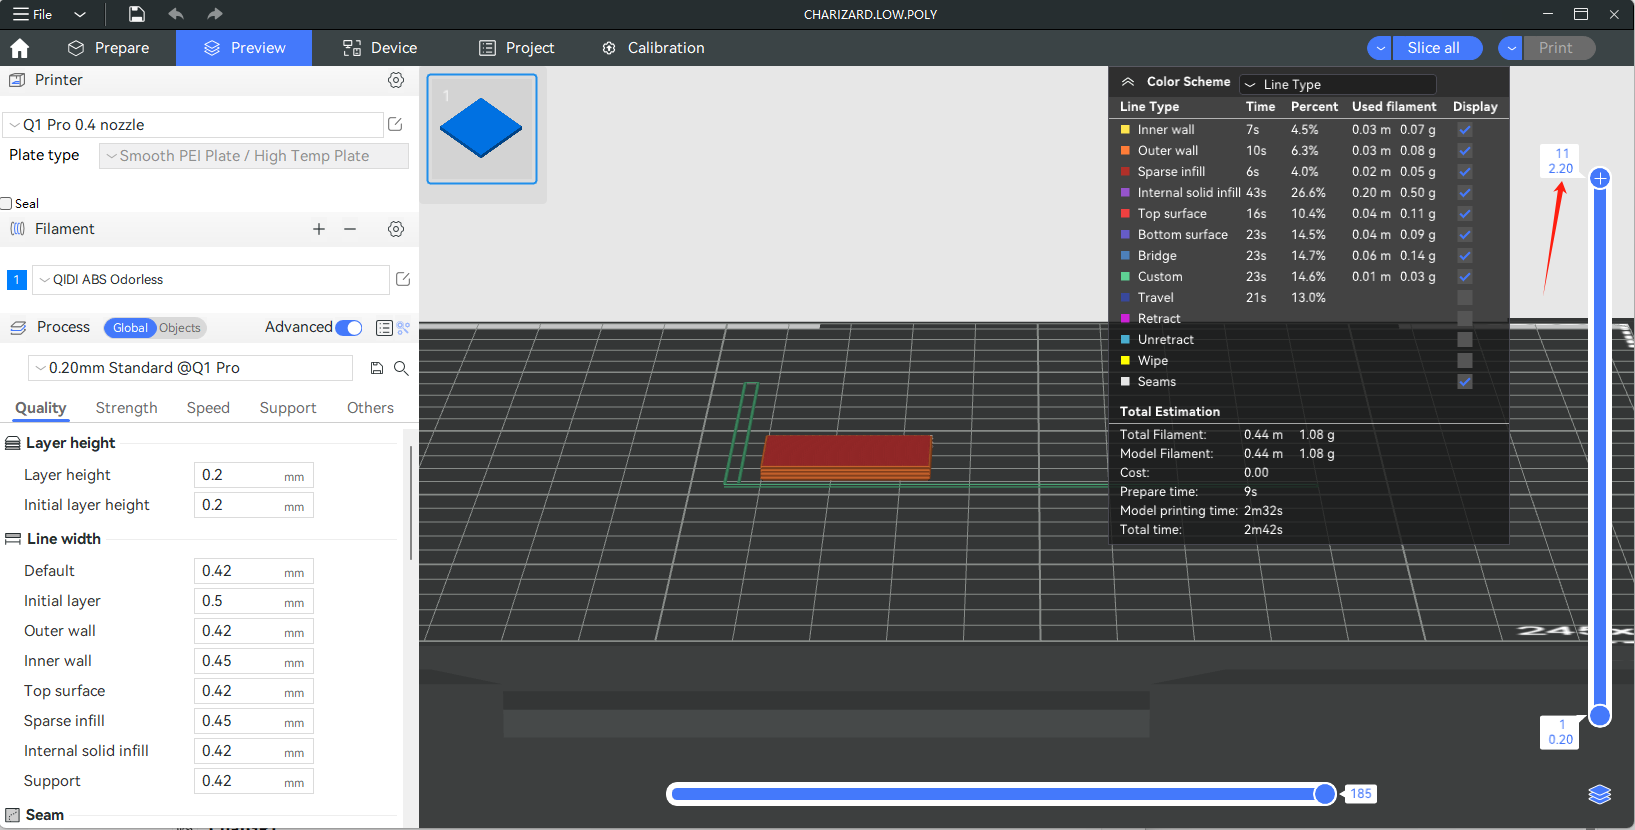
Enabling Precise Z height adjusts the height of the last five layers to increase on average, ensuring that the final sliced object height matches the expected height of 2.1mm.
¶ Variable Layer Height
Printing with lower layer heights results in finer model surfaces but requires longer printing times. For certain models, we may only want to set lower layer heights for specific parts while maintaining default layer heights elsewhere. In such cases, you can use the variable layer height feature to set different layer heights for different parts of the model. This ensures print quality while optimizing printing time as much as possible. For more details, please refer to the wiki on Variable Layer Height.