¶ Slicing Parameters
QIDI Studio has hundreds of slicing parameters, which are used to adjust the behavior of the slicer process to produce desired printing effects. These parameters are divided into three categories: printer, filament and process.
In a category, once values for all parameters have been set, it can be saved as a parameter preset.For ease of use, QIDI Studio provides some built-in presets for each category. Most of the time, you can easily select presets according to your requirements to meet basic slicing needs.
¶ Printer Presets
Before slicing, please configure the correct machine model and nozzle type based on your printer. (We'll take the X-Max 3 with a 0.4mm nozzle as an example).
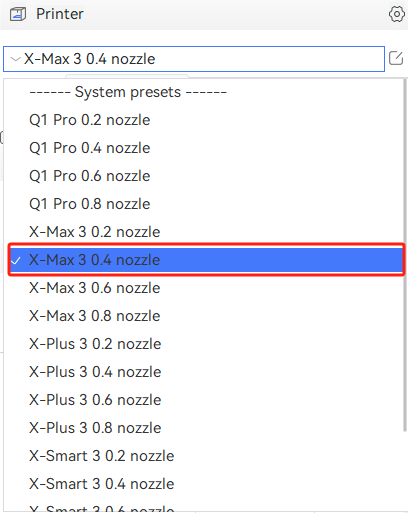
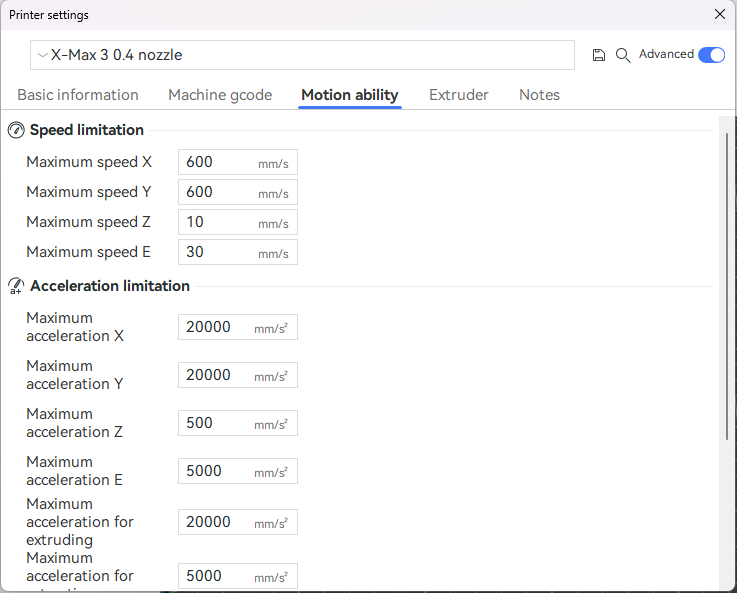
The printer preset includes all hardware settings of the printer, such as maximum print speeds for each axis, print area limitations, and nozzle diameter. (Note: It is not recommended for novice users to change parameters arbitrarily.)
¶ Filament presets
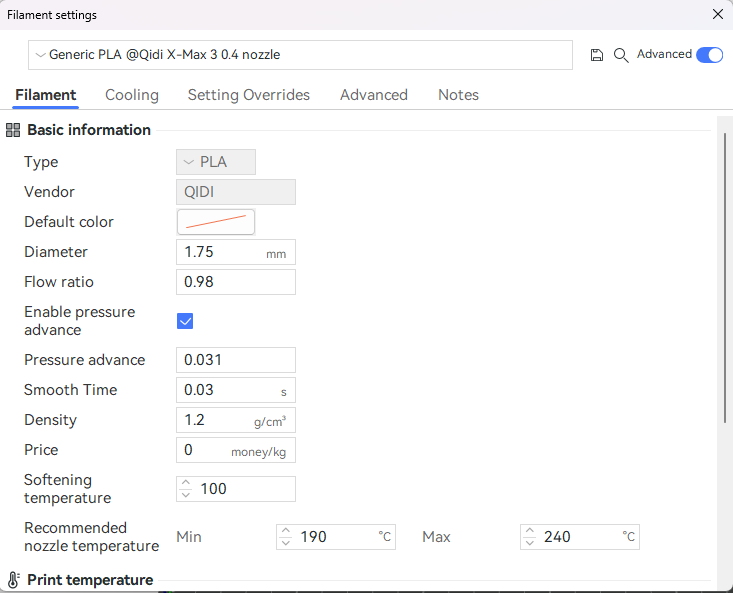
Before slicing, you need to select the correct filament type parameters based on the filament you are using to print the model. Different types of filament require different parameter settings. Selecting the wrong settings can lead to a high risk of print failure.
Filament presets contain all of the filament-specific settings, such as print temperature, hotbed temperature, and flow ratio. (Note: It is not recommended for novice users to change parameters arbitrarily.)
¶ Process presets
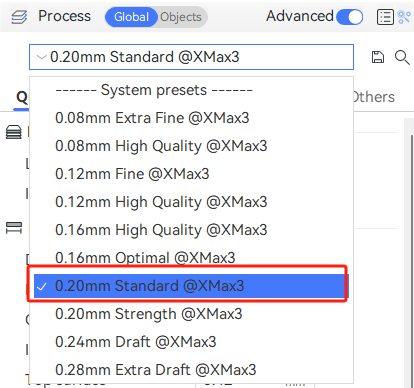
You can choose corresponding parameter settings here based on your printing needs. The number in front represents the layer height. A smaller layer height results in finer models. The default is 0.2mm standard parameter.
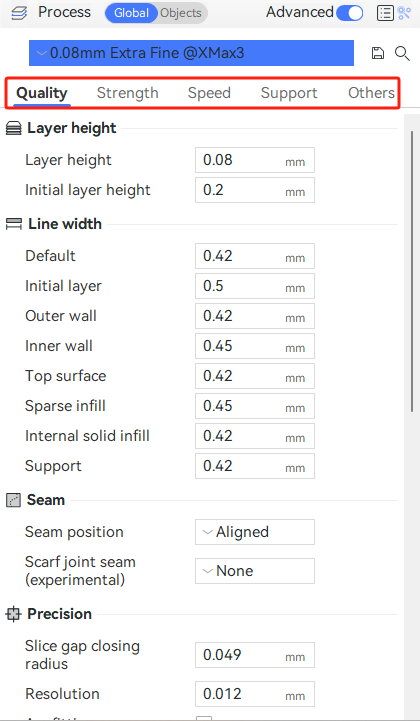
The profile contains all settings for specific printing tasks, where you can adjust parameters such as quality, strength, speed, supports, etc. (Note: It is not recommended for novice users to change parameters arbitrarily.)
¶ Create your own preset
QIDI Studio supports custom user presets for printers, filaments, and print profiles. This feature is very useful when you have specific requirements. For example, you can create a print profile by increasing infill density, wall count, and top/bottom shell count to enhance the overall strength of the model. Alternatively, you can create a filament preset for third-party materials.
The parameter presets provide detailed instructions on how to create custom user presets.
¶ Set Slicing Parameters
¶ Set Printer or Filament parameters
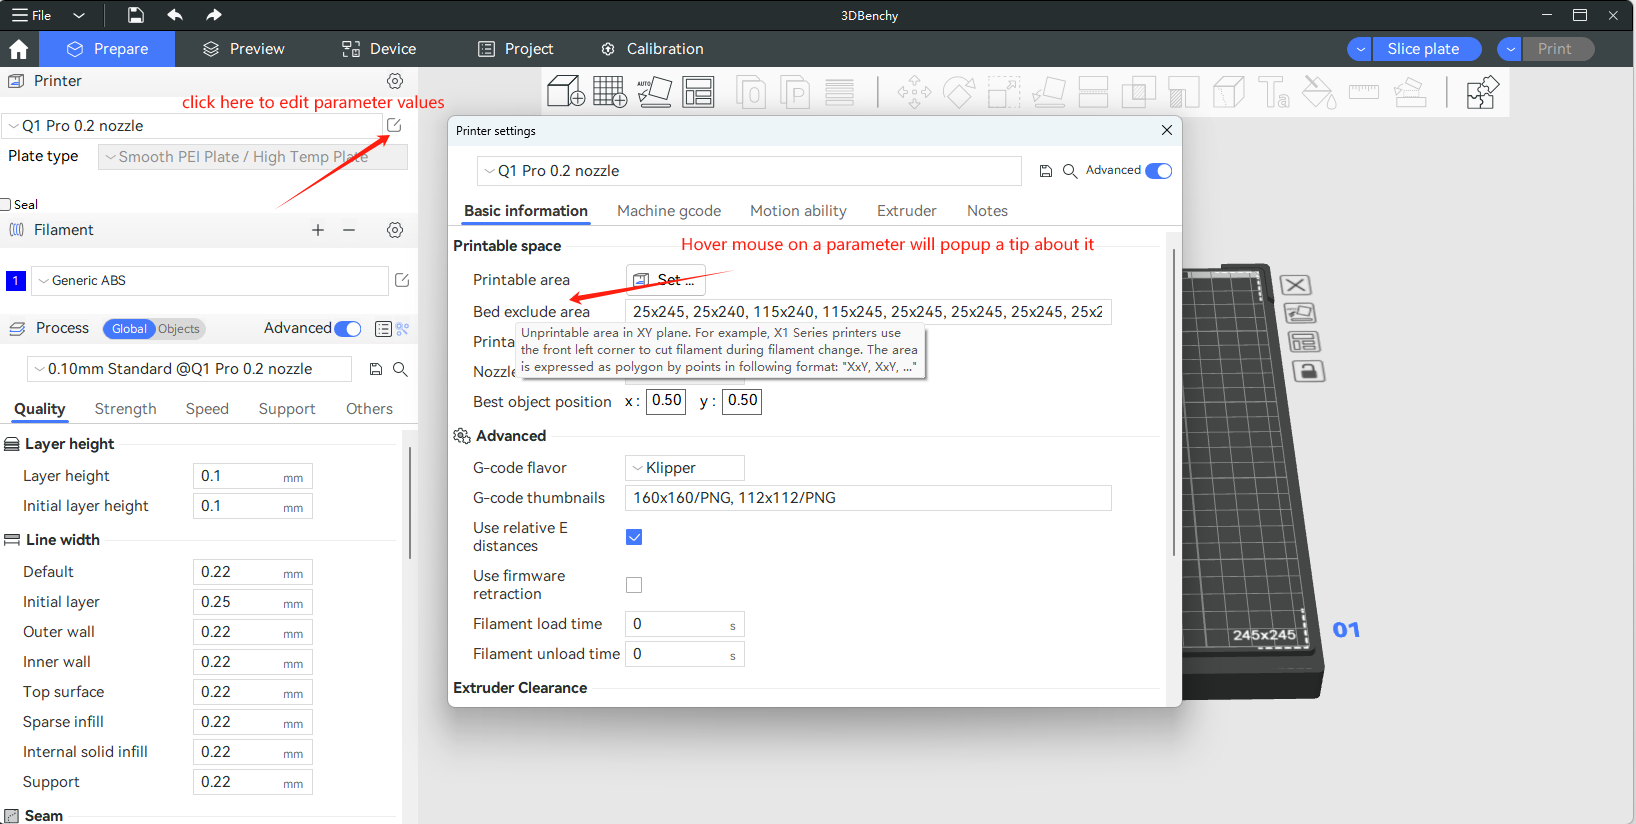
You can set parameters just like following pictures.
The following image shows an example of setting printer parameters. The settings for filament parameters are similar to this.
¶ Set Process parameters
In the process parameters, arranged in order from largest to smallest impact range, they are:
- Global:
A parameter that is set in global level takes effect for each object in the project. - Object:
A parameter that is set in the object level takes effect for all parts in the currently selected object. - Part:
A parameter that is set in part level takes effect for the currently selected part. - Modifier:
A modifier is a special part of an object. It is designed to change parameters for object regions that are intersected with the modifier part.
Usually, if the same parameter is set in multiple levels at different values, the value from the smallest level will be used, as described in the below picture.
¶ Global
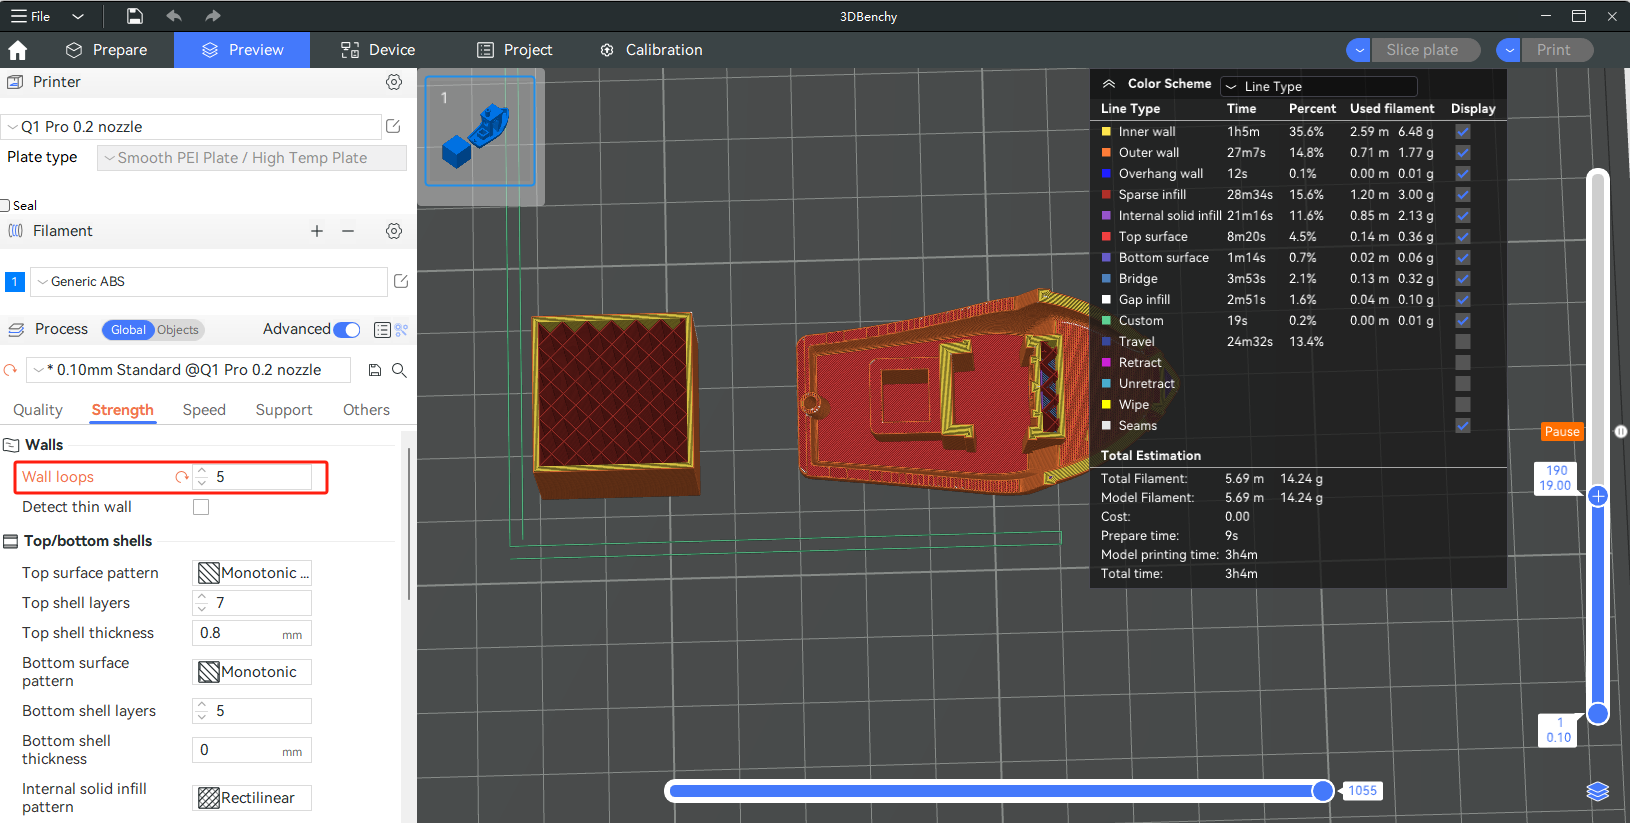
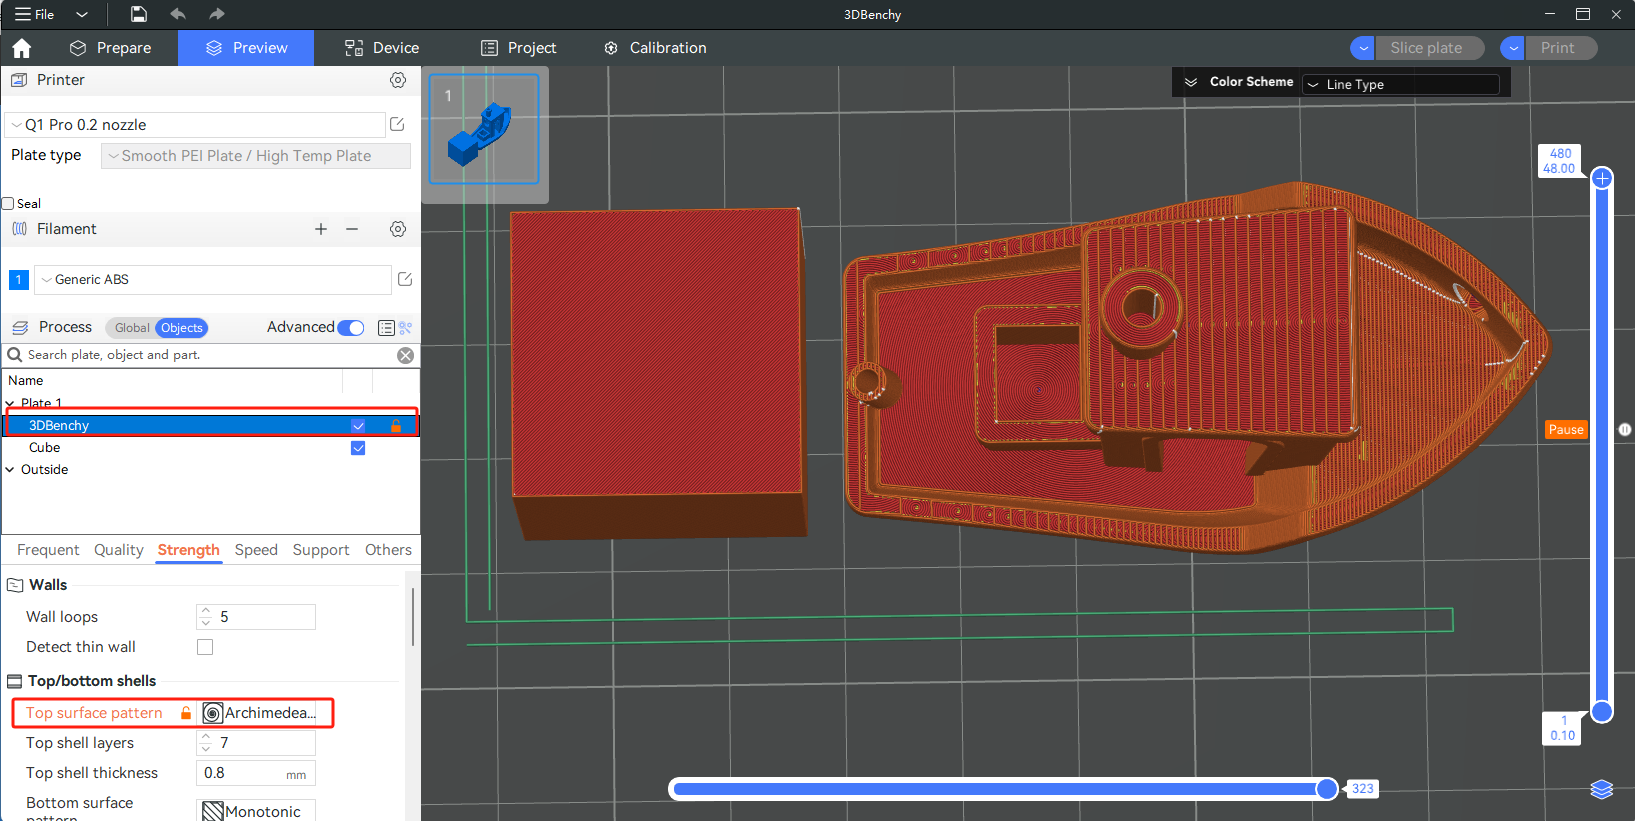
Based on the image below, setting the global parameter "wall loops" to 5 will result in both parts having 5 perimeter loops.
¶ Object
Selecting the object on the right from the "projects" options list and modifying its top pattern type will result in different top patterns after slicing.
Parameters set at the object level will override those set at the global level.
¶ Part
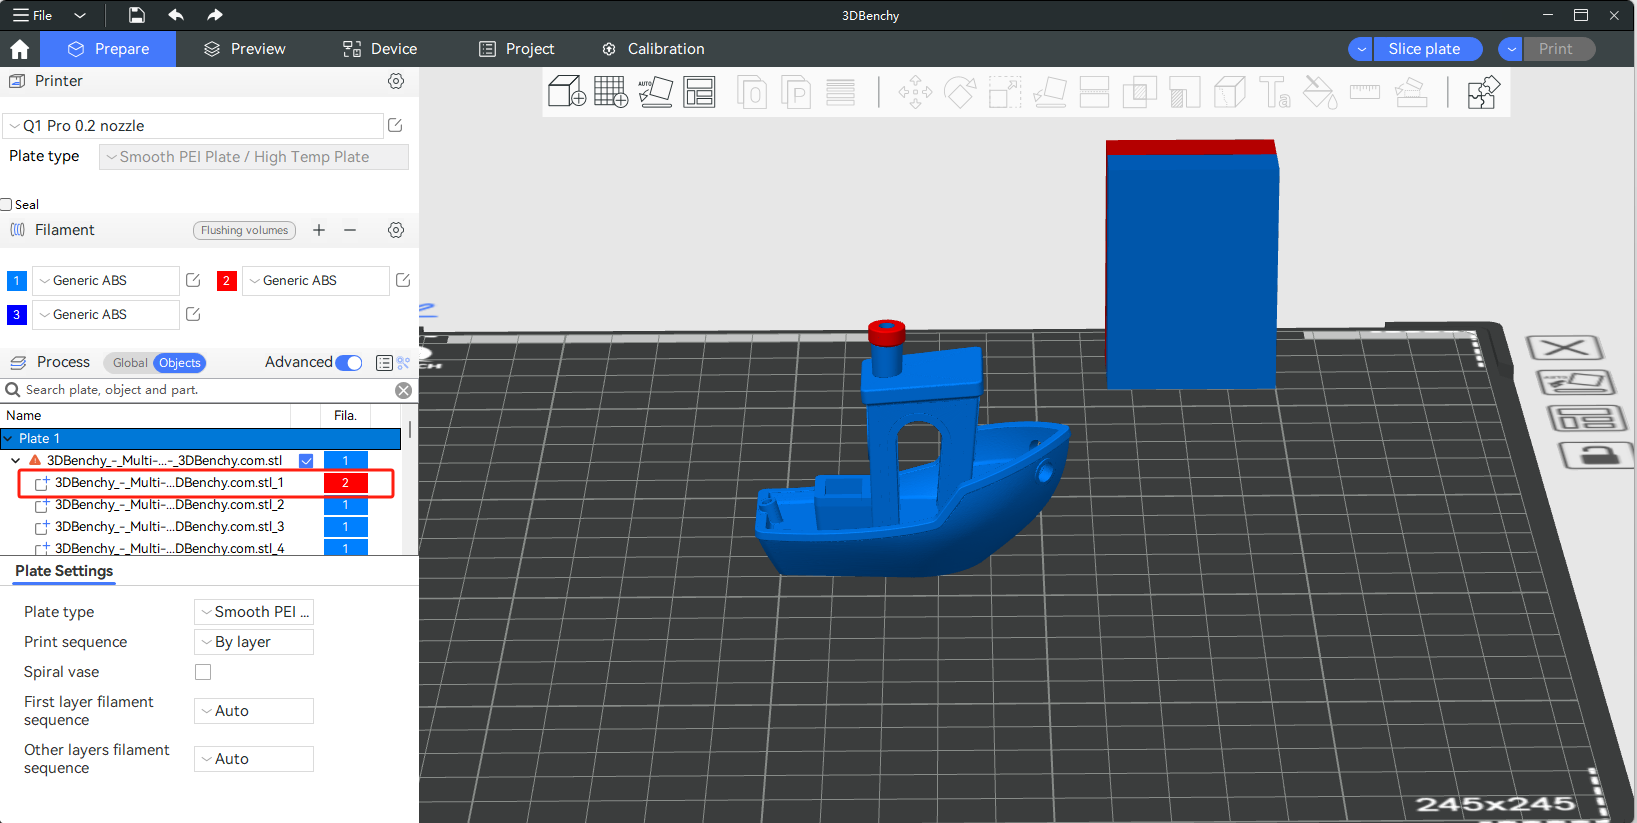
If you want to use different parameter values among different parts of an object, you can select a part in the object list and change its parameter values.
¶ Modifiers
The modifier is a special part of an object, not an object to be printed. As it's name suggests, it is designed to modify the settings where it overlaps with an object. Parameters set via modifiers override those set at part, object, or global levels.
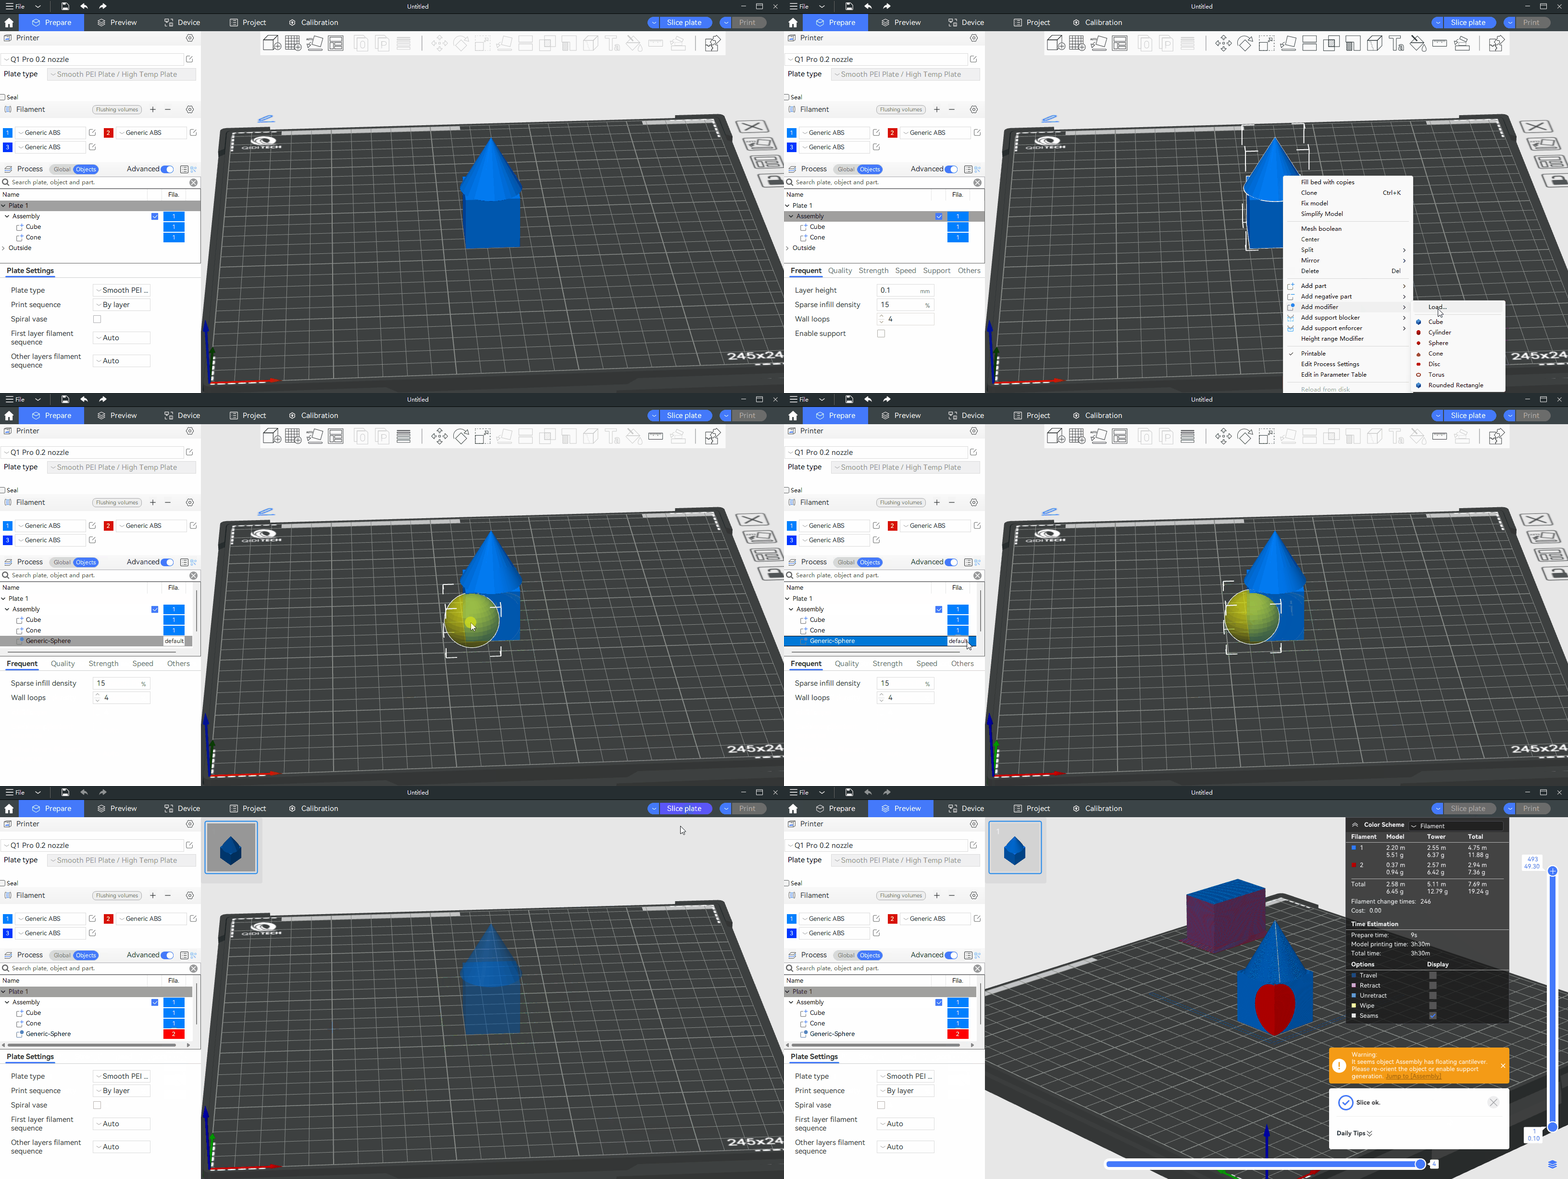
To create a modifier, right-click on an object, choose "Add Modifier" in the context menu and then select the modifier shape that you want.
