Unless you're printing in the Spiral vase mode, each perimeter loop has to start and end somewhere. Furthermore, the printer has to stop extruding for a brief moment when the print head moves up to the next layer. This start/endpoint creates a potentially visible vertical seam on the side of the object. It's also commonly referred to as zits, layer seams or scars.
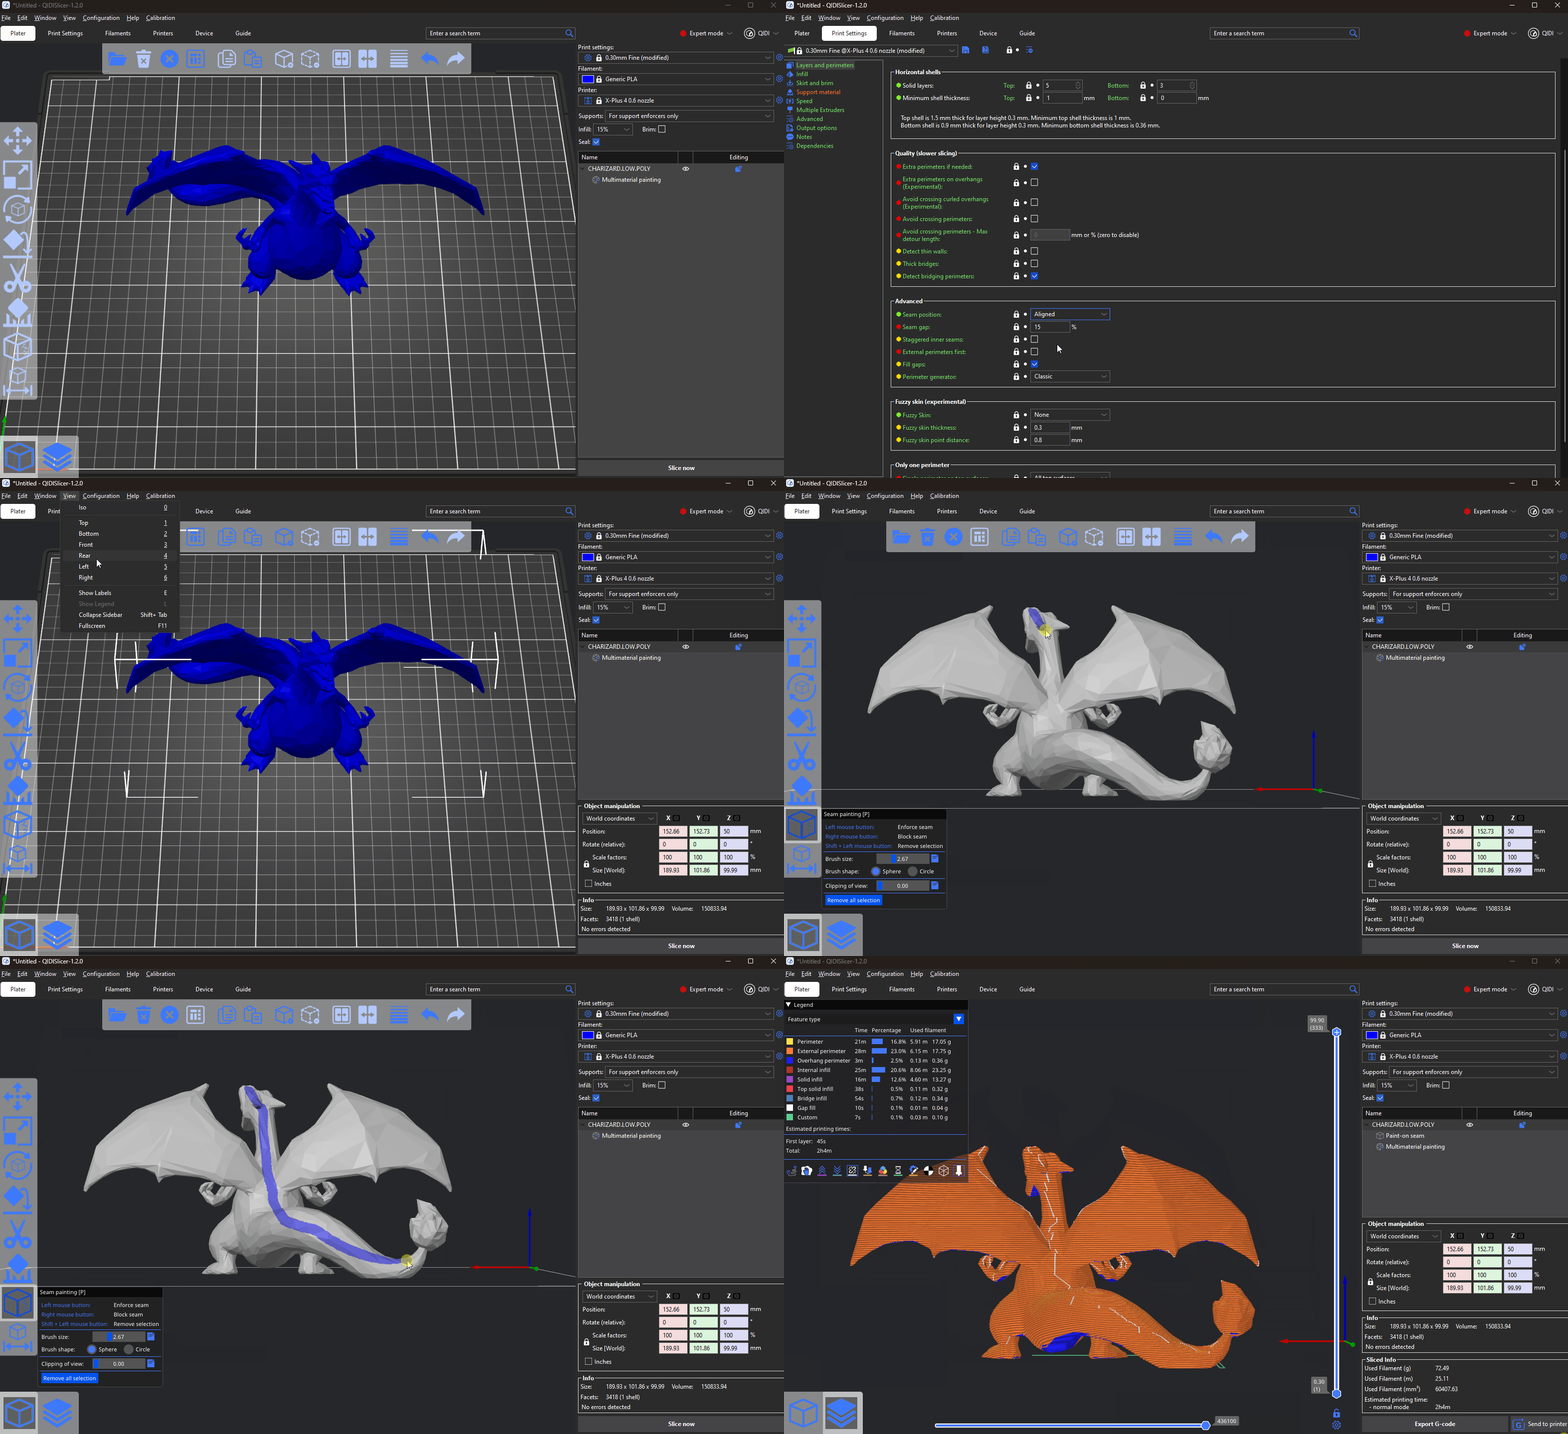
You can set the Seam position in the Print Settings to try and hide the seam in a corner, randomize the seam position or align it with the back of the model.
The seam painting tool provides more detailed control over the seam placement. The tool is accessible from the left toolbar and it is only shown in Advanced and Expert modes. After clicking on the icon, the user can paint 'Seam enforcers' or 'Seam blockers' on the model in a similar way to Paint-on supports.
- Left-mouse button : Enforce seam
- Right-mouse button : Block seam
- Shift + Left-mouse button : Erase selection
- Alt + Mousewhell : Change brush size
¶ Seam placement logic
If you have a draw seam, the model ground seam will appear in the draw area.
If there is a blocker, then this area will be used for no seams to appear.
¶ Seam painting parameters
-
Brush size
You can modify the Seam painting tool's dimensions -
Brush shape
You can select Sphere and Circle. -
Clipping of view
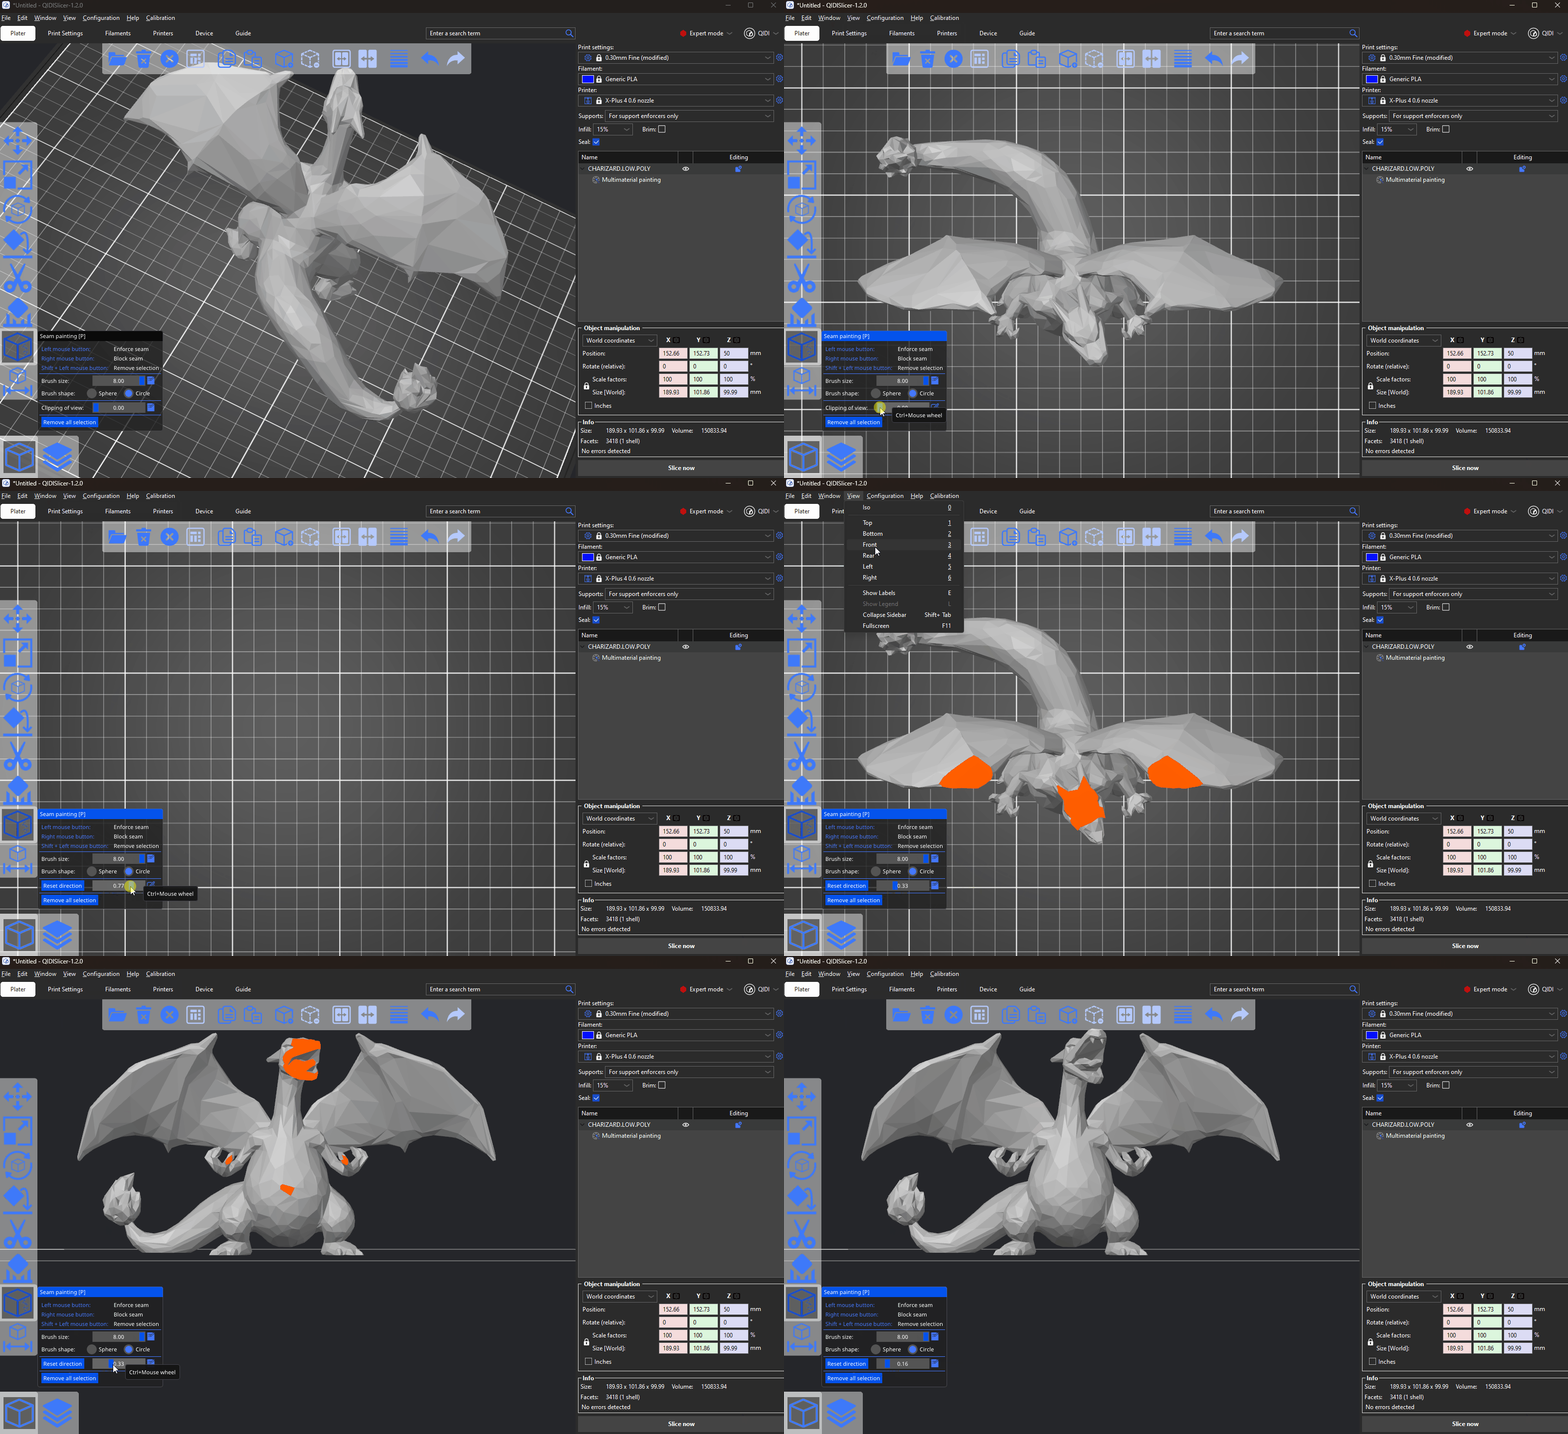
You can use the clipping plane tool to hide a part of the object, so that difficult to reach areas can be easily painted. Move the slider from left to right to move the clipping plane. -
Reset direction
With this button you can change the movement direction of the shear plane.

¶ Seam painting
