¶ Initial Startup Guide — QIDI Studio
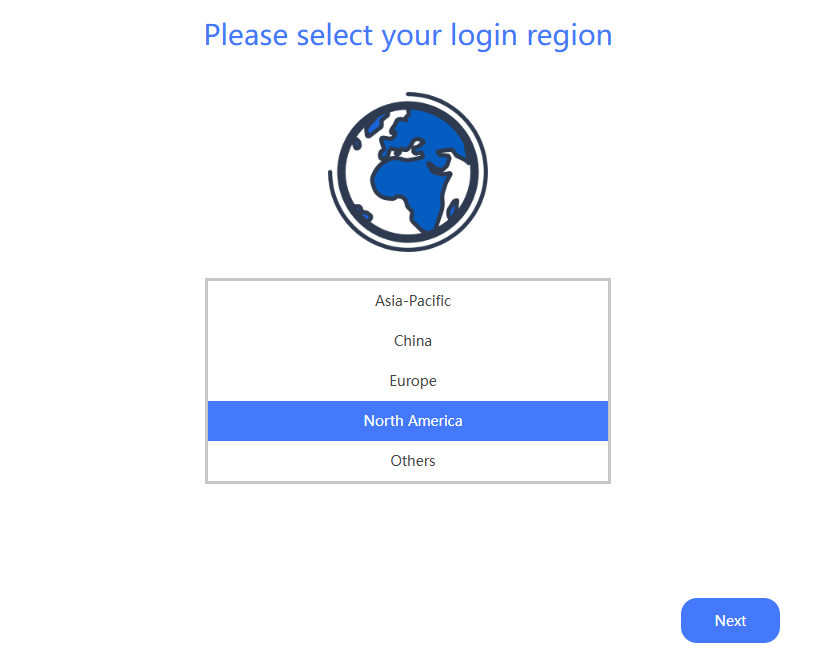
¶ Step 1 — Select region
Select the region where you are located (for example, North America).
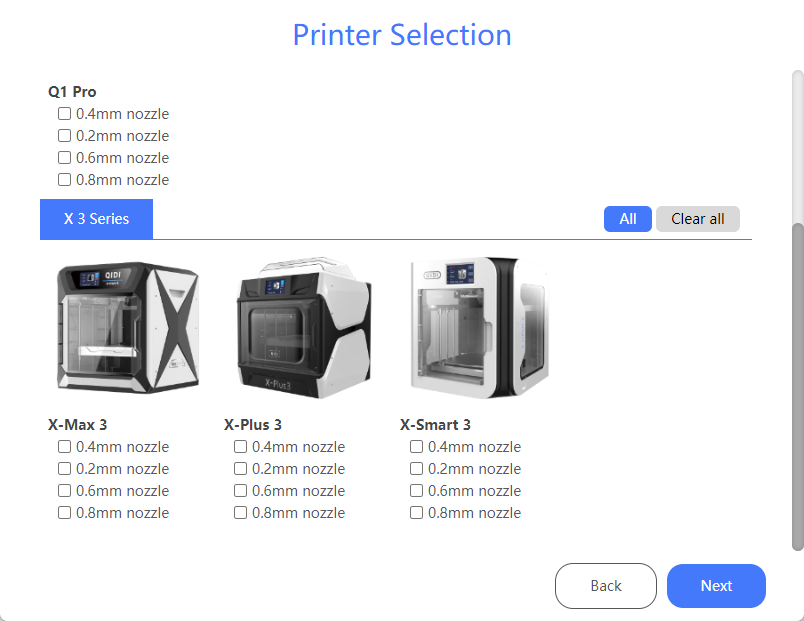
¶ Step 2 — Select printer
Select the printer model(s) you want to add.
You may select one or multiple printers.
These selections can be modified later from the printer menu.
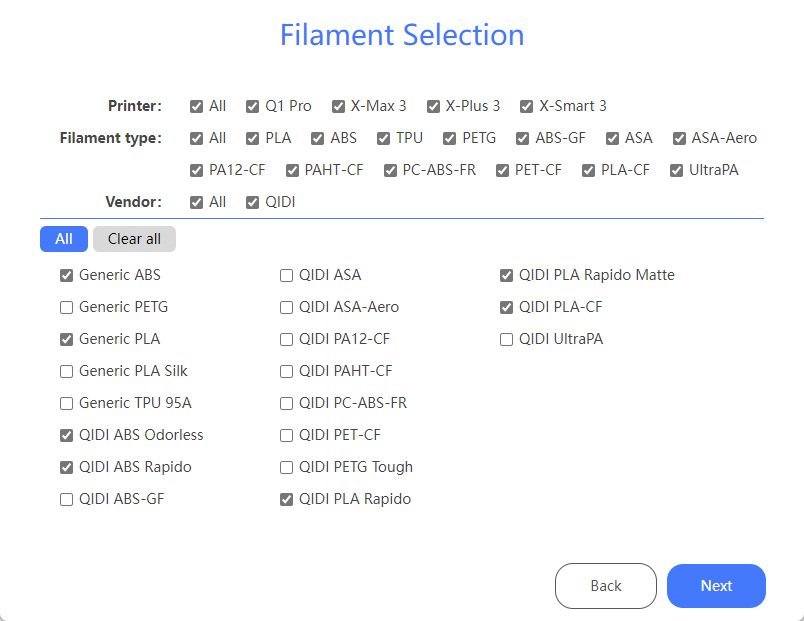
¶ Step 3 — Select filament
Select one or multiple filament types you plan to use.
The selected filament profiles will be saved in the Filament Presets list.
¶ First Print
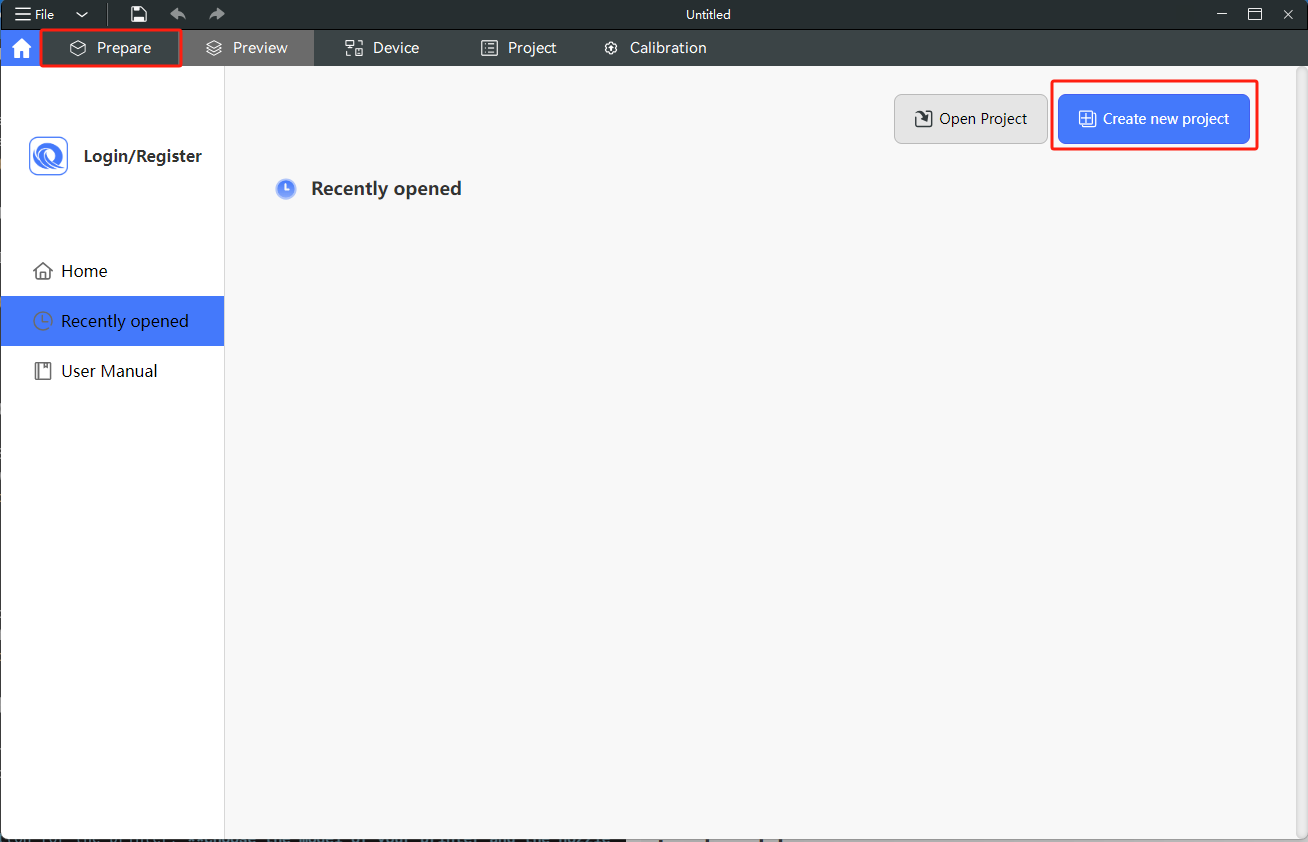
¶ Create a new project
When opening QIDI Studio for the first time:
- Click Create New Project, or
- Click Prepare
to start a new project.
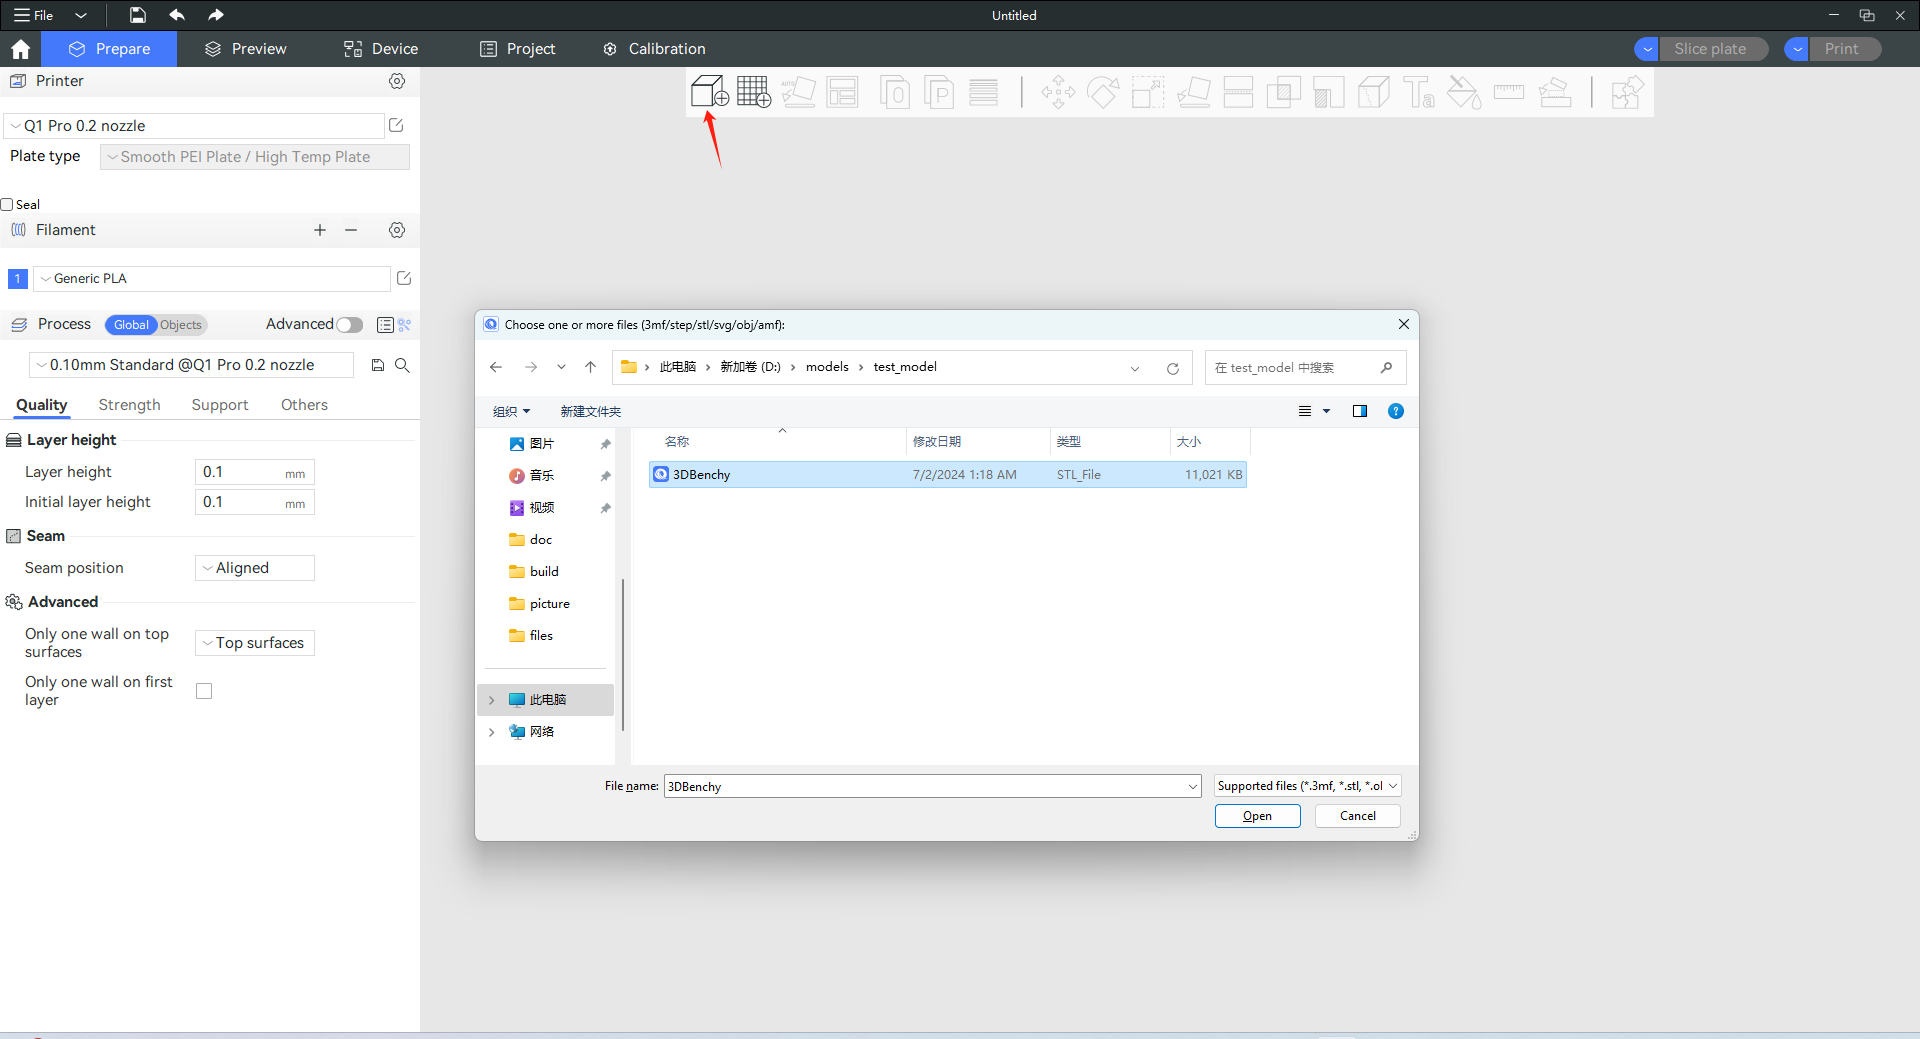
¶ Load a model
Click Add in the top menu bar, or use the shortcut Ctrl + I, to open the file import dialog.
Select the model file and click Open.
Supported file formats:
.3mf · .stl · .step · .amf · .obj
¶ Select printer, filament, and process presets
Before slicing, configure the required presets.
Proper preset selection ensures correct hardware configuration and print quality.
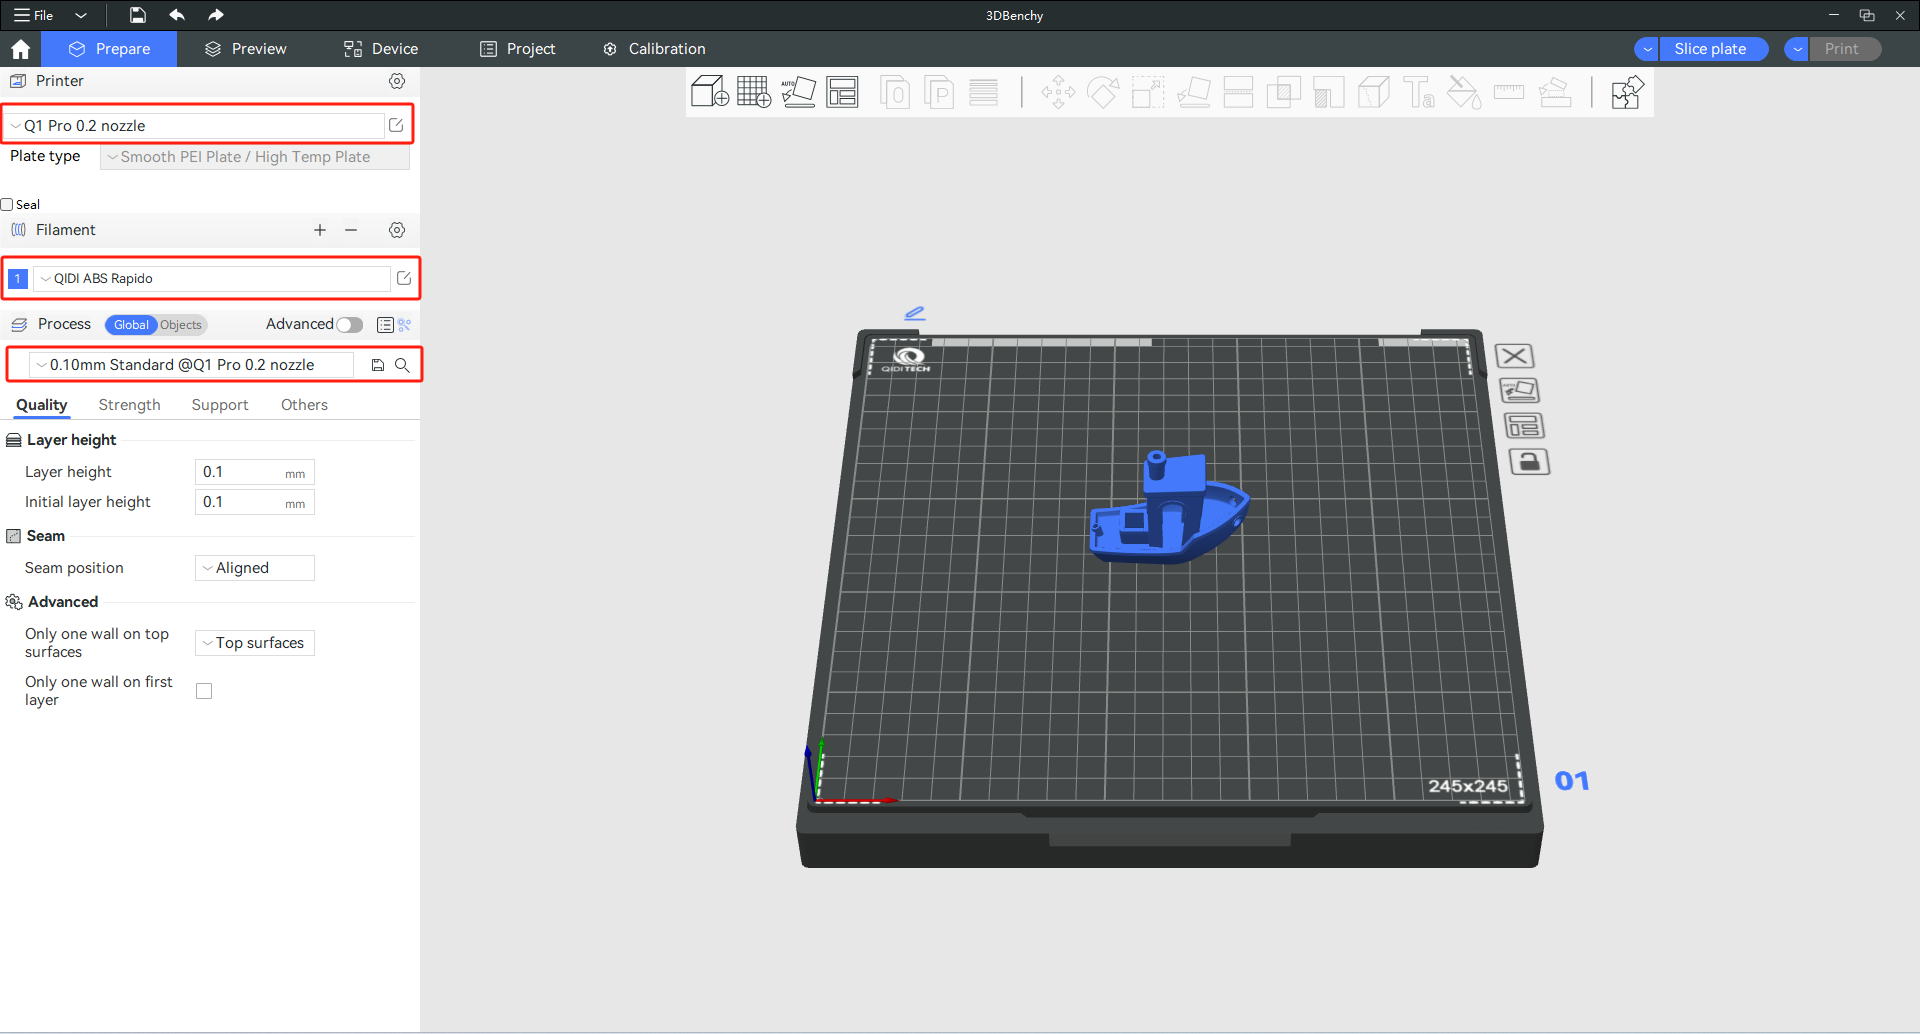
¶ 1. Select printer preset
Click the printer dropdown and:
- Select your printer model
- Select the correct nozzle size
If your printer is not listed, add or remove it using the gear icon in the printer list, or by selecting/removing it from System Presets.
¶ 2. Select filament preset
Click the filament dropdown and select the filament type being used.
¶ 3. Select process preset
Click the process dropdown and select the desired layer height.
If you want to create a custom preset, refer to:
How to Create Custom Preset
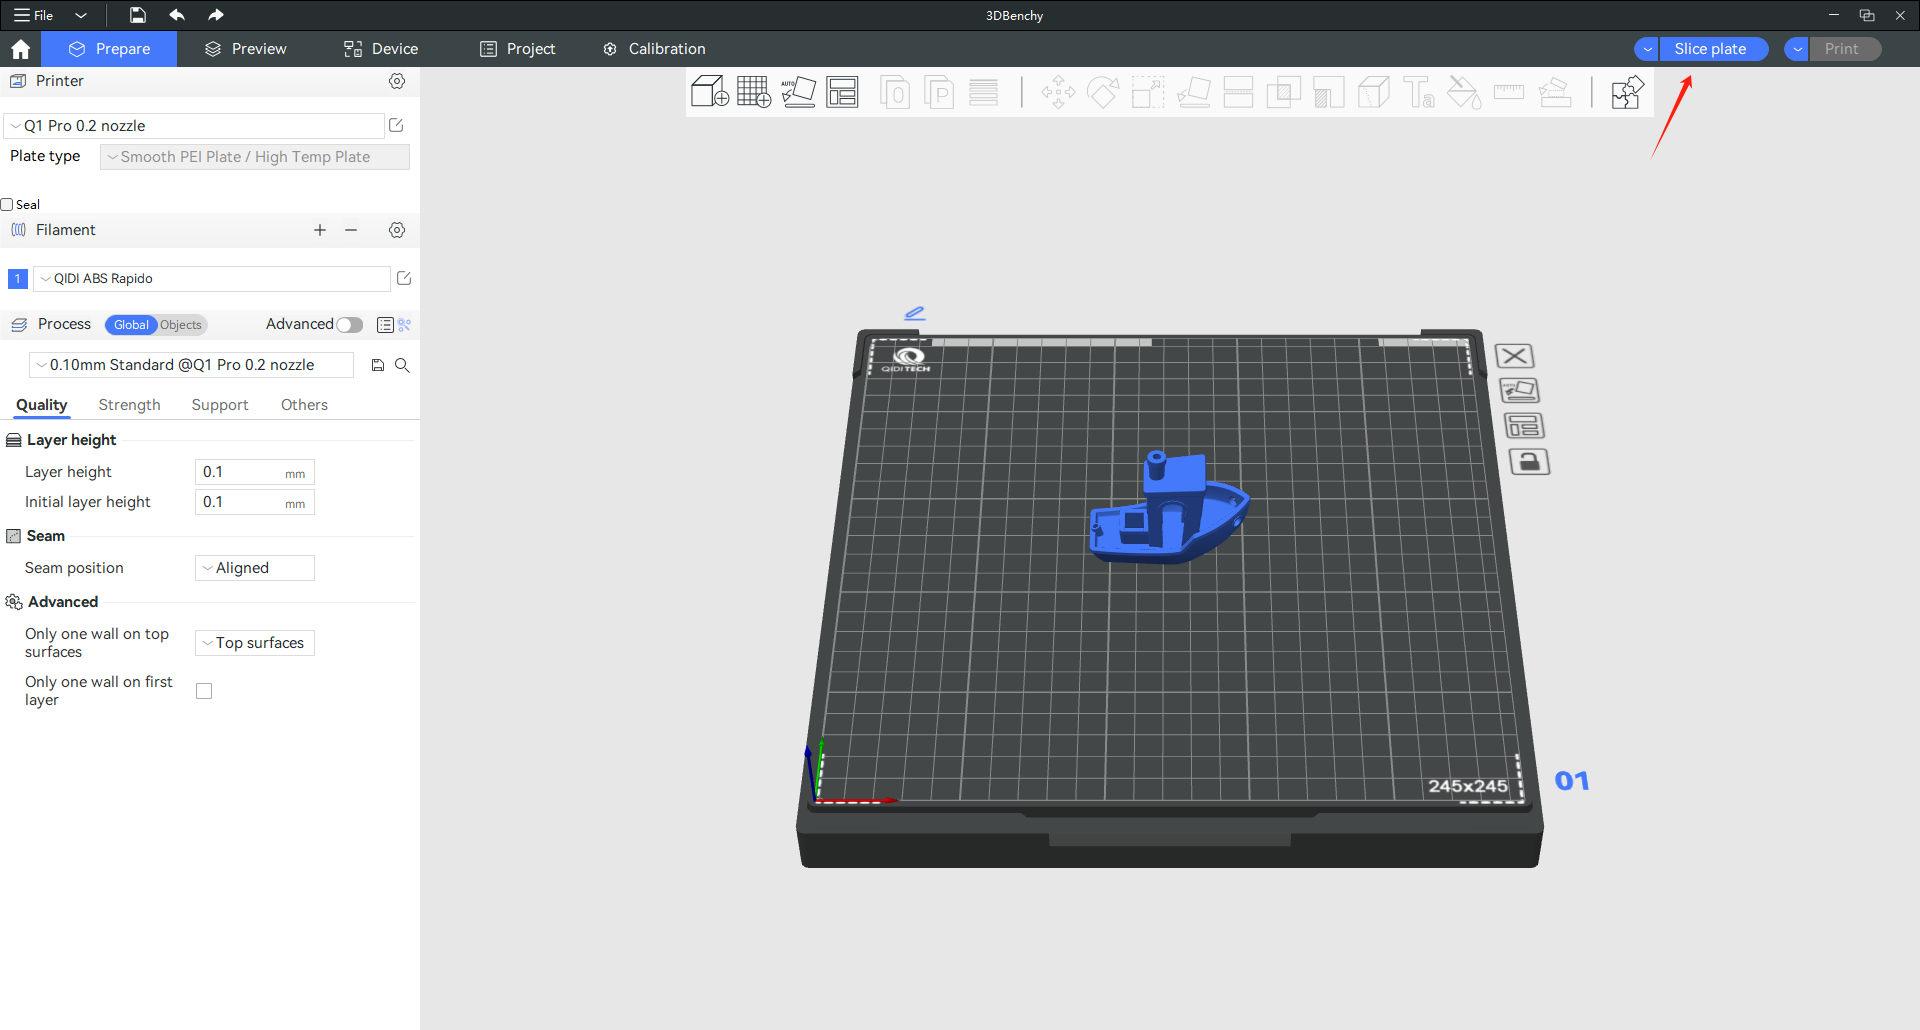
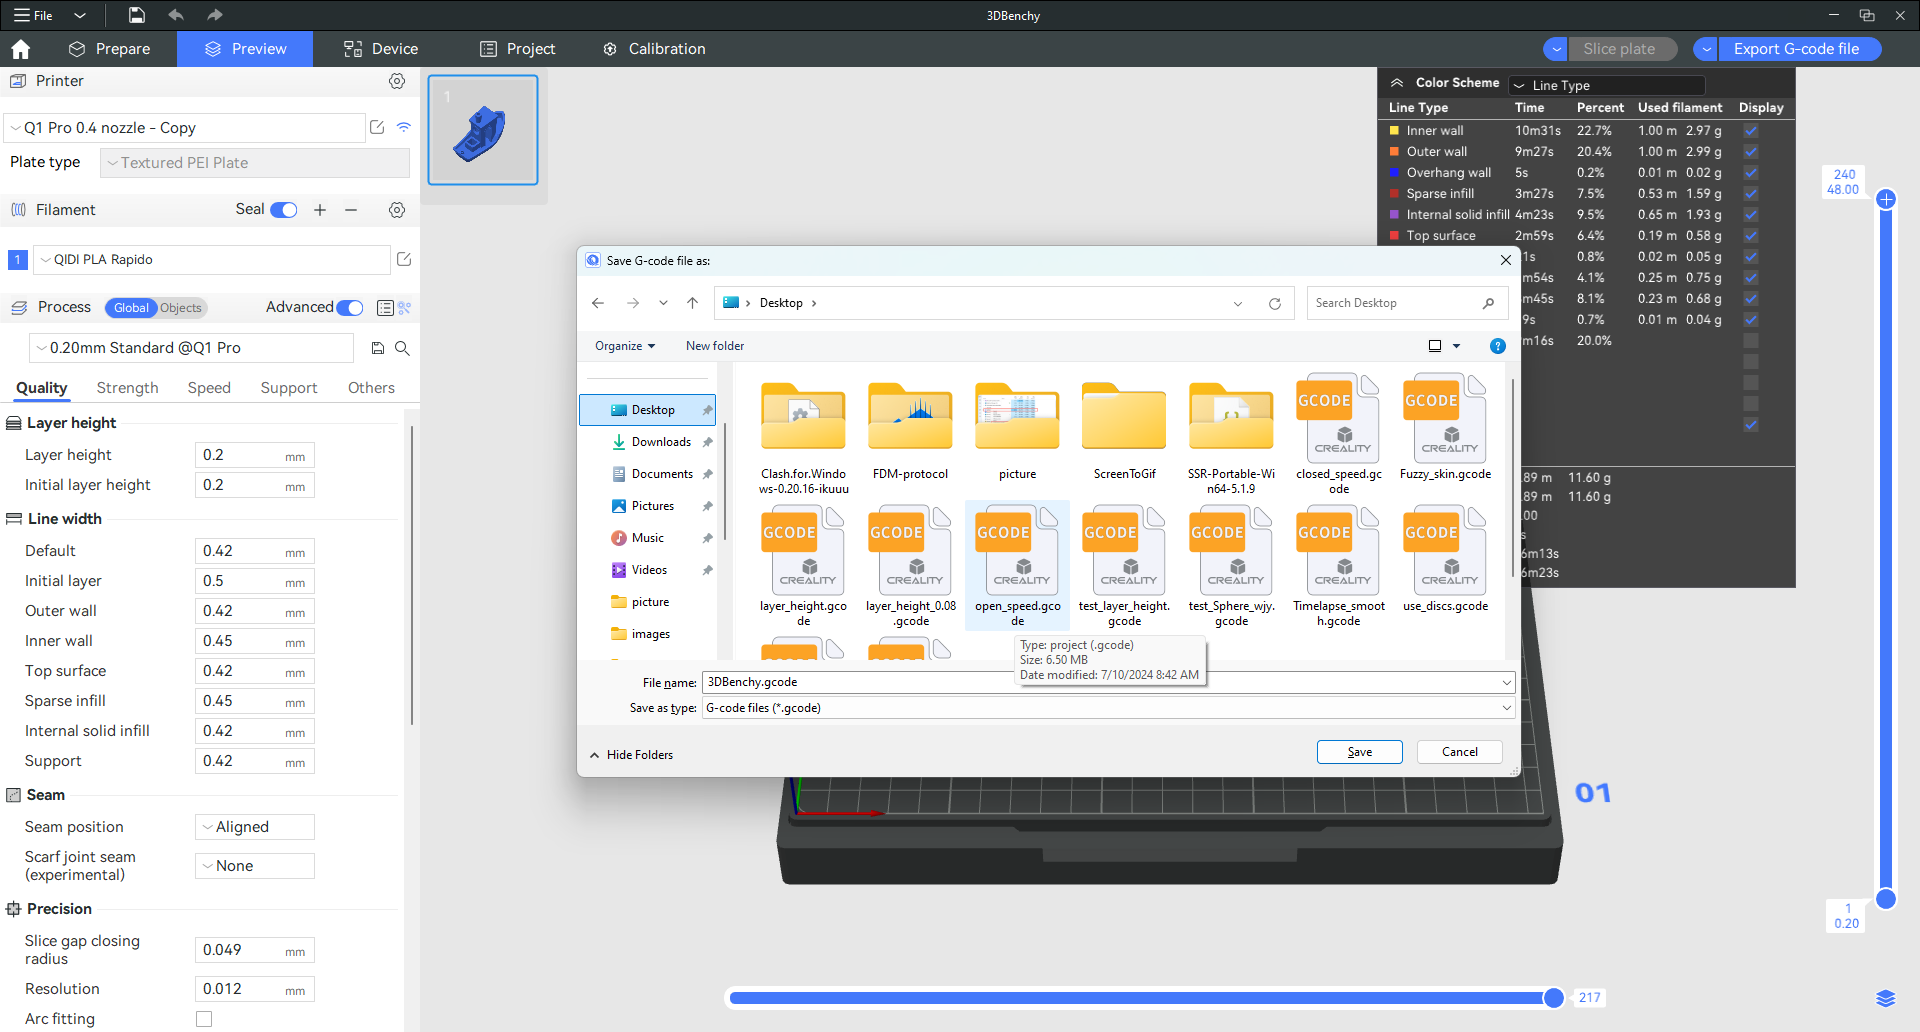
¶ Slice the model
After configuring the presets, click Slice Plate in the top-right corner.
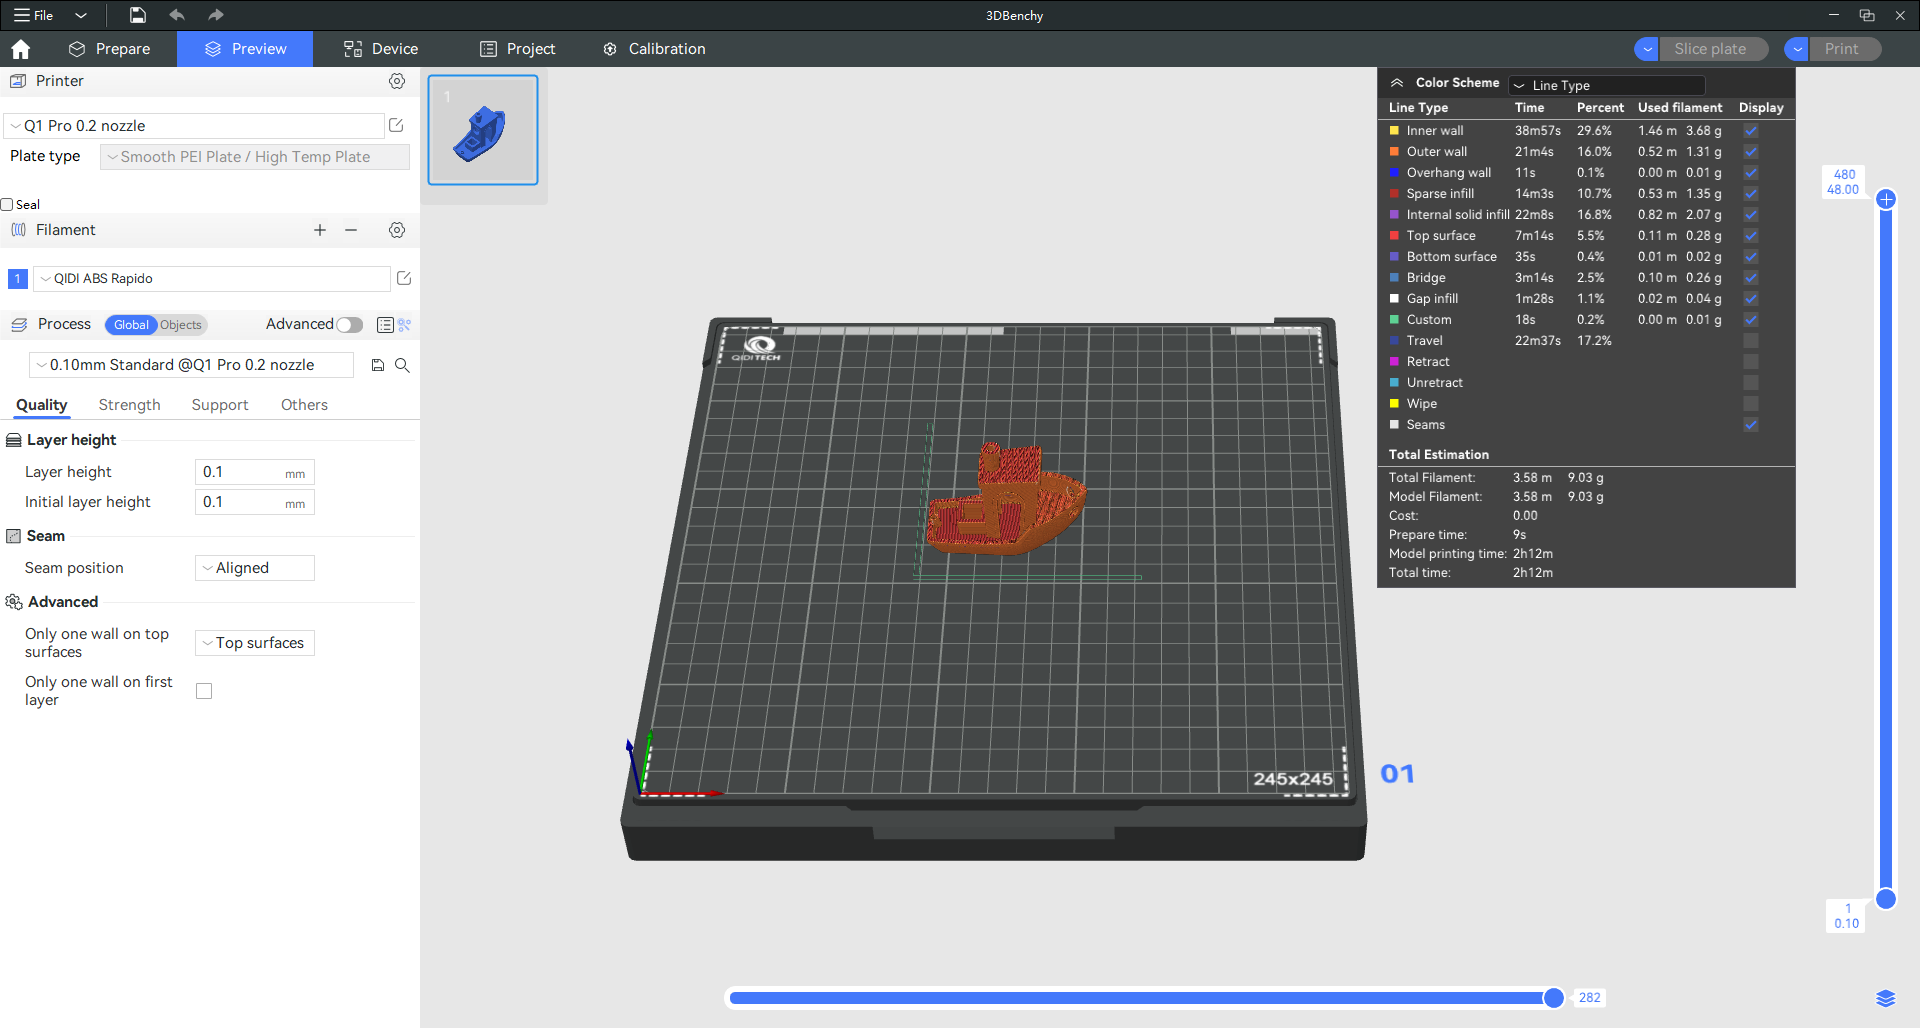
After slicing:
- A G-code file is generated.
- QIDI Studio switches to the Preview tab.
The Preview screen displays:
- Model appearance after slicing
- Filament usage
- Estimated print time
Use the progress sliders to preview specific print layers.
You can transfer the generated G-code file to the printer using one of the following methods:
- Print Plate
- Send
- Export Plate Sliced File

- How to synchronize consumables during printing
- Select the machines to be synchronized on the device page
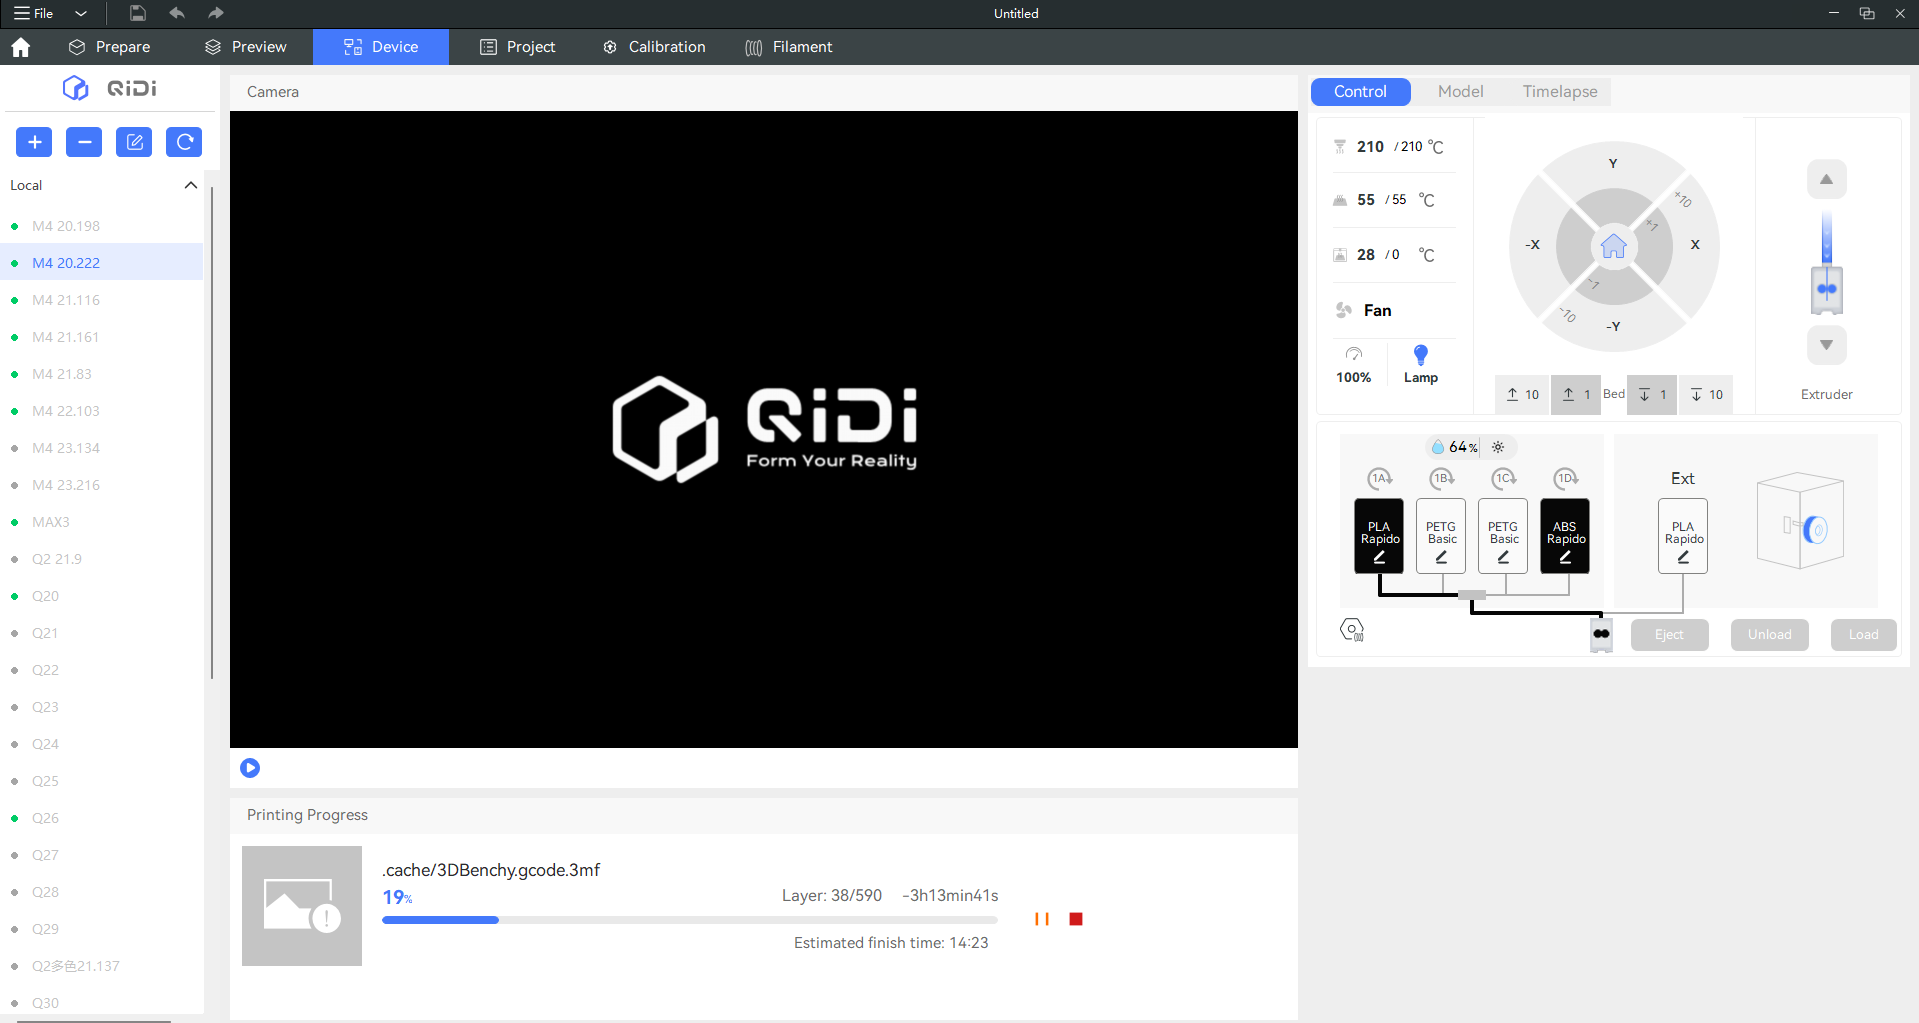
- Click the "Synchronize Information" button on the homepage
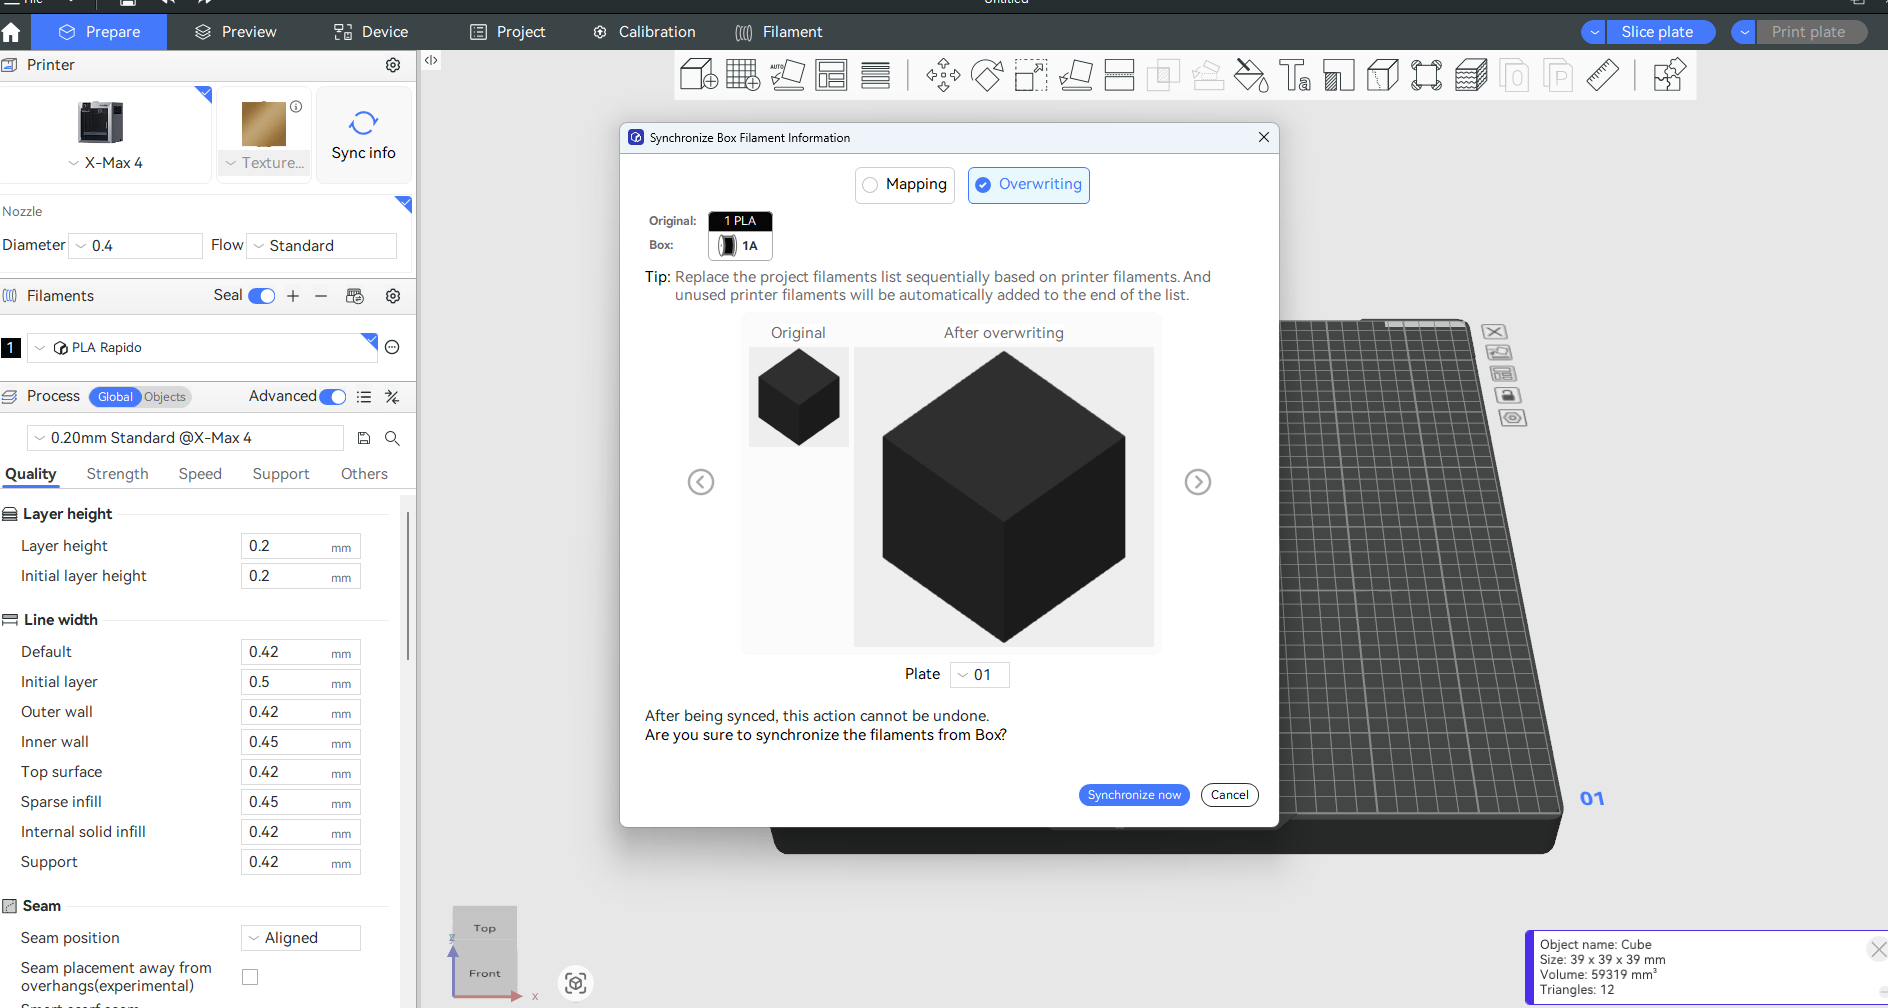
- As shown in the figure, click "Overwrite" -> "Synchronize Now"
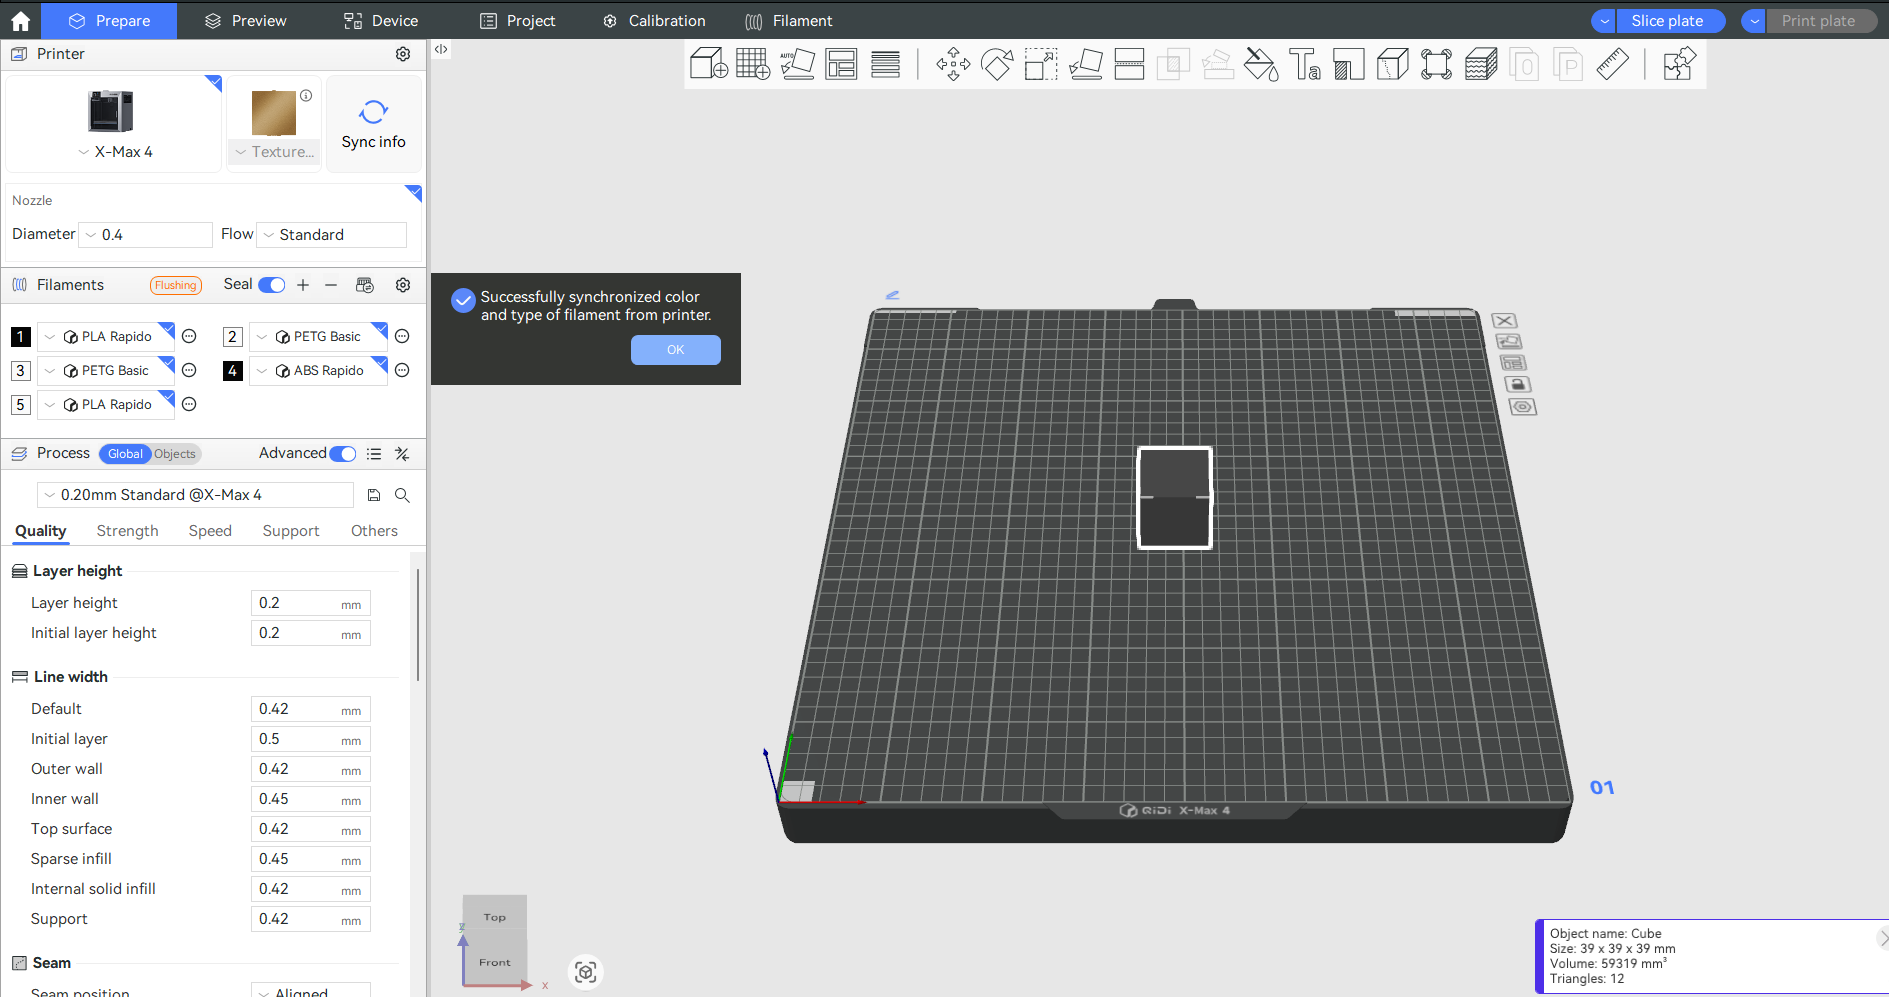
- The synchronization result is shown in the figure
- Click to print the single disc, select the corresponding consumable number and type, and click to send
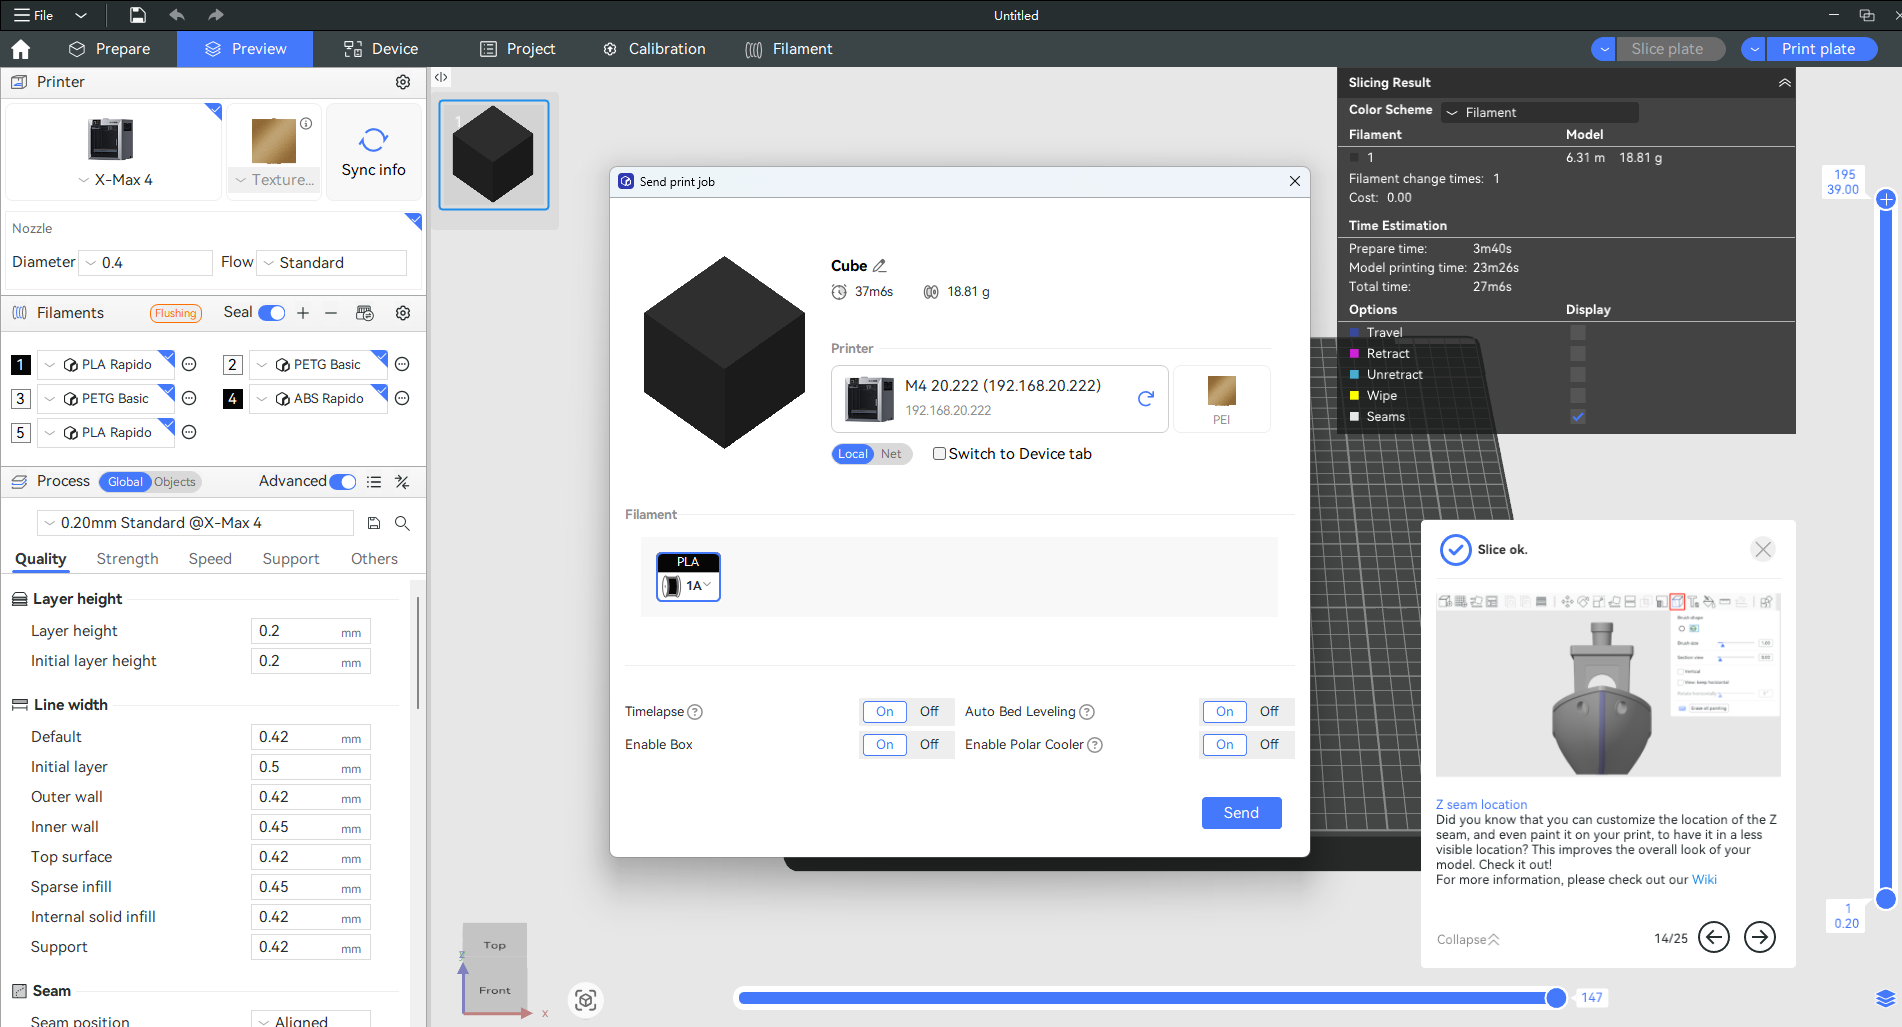
¶ Send to printer (Network)
After slicing:
- Click Print Plate in the pop-up window, or
- Click Send
The printer will begin printing automatically after receiving the file.
Note: To transfer files over a network, the printer must be connected.
For details, see:
Connect a Physical Printer to the Fluidd Interface

¶ Use USB flash drive
You may also:
- Export the G-code file locally.
- Copy it to a USB flash drive.
- Insert the USB drive into the printer.
- Select the model manually on the printer screen.
¶ Important
Ensure that the software configuration matches the printer hardware configuration before printing.
Examples:
- Filament type
- Printer preset
- Nozzle size
Configuration mismatches may cause print failure or nozzle clogging.